
How Often to Season Cast Iron A Practical Guide
For anyone who swears by their cast iron, the question of "how often do I season it?" is a big one. The simple, honest-to-goodness answer is this: season it whenever it needs it.
If you're using your skillet every day, this usually just means a quick maintenance season after you cook. That full-blown, in-the-oven re-seasoning process? You’ll probably only need to do that 2-3 times a year.
How to Read Your Pan's Seasoning Needs
The best way to care for cast iron isn't about following some rigid calendar. It's about learning to read the pan itself. This approach not only saves you a ton of time but also builds a much tougher, more non-stick surface than just seasoning on a set schedule.
It really comes down to two different methods, each with its own job. Once you get these two approaches down, you've pretty much mastered cast iron care.
Two Types of Seasoning
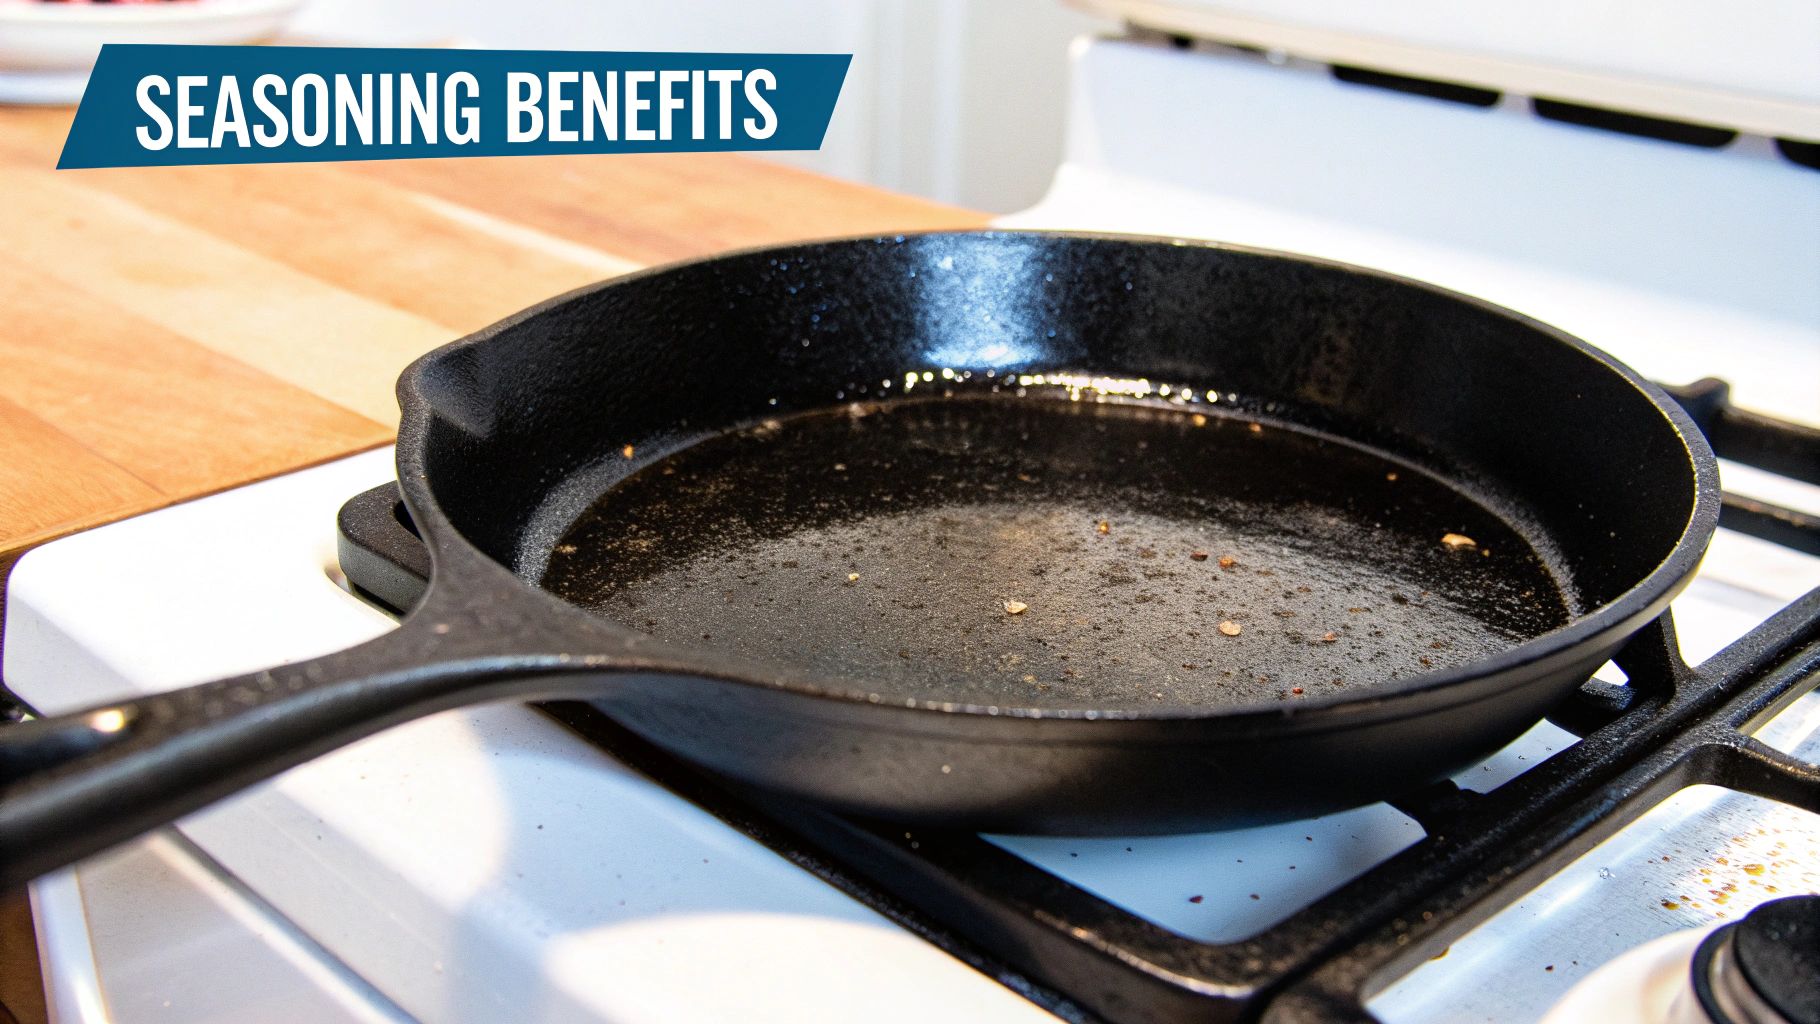
- Maintenance Seasoning: This is your quick, everyday upkeep. After you cook and clean your pan, you just wipe a super-thin layer of oil on it while it's still warm on the stovetop. It reinforces the existing seasoning and keeps everything protected.
- Restorative Seasoning: This is the more involved method, where you coat the pan in oil and bake it in the oven. You'll do this to build a solid foundation on a new pan, bring a rusty antique back to life, or fix a damaged surface. It's what creates that durable, slick, polymerized layer that makes cast iron famous.
The goal isn’t to season constantly. It’s about responding to what your pan is telling you. A skillet that's used and maintained well every day might not need a full oven season for a year or more, while a pan you found in the back of the cupboard will need some immediate TLC.
This same logic applies to any piece of cast iron, from your home skillet to the heavy-duty gear in a commercial kitchen. The principles behind learning how to season cast iron grates for a restaurant charbroiler are exactly the same—you're just building that same protective, non-stick layer on a bigger scale.
For your cookware at home, most experts agree that doing a thorough re-seasoning just a few times a year is plenty to keep a pan in prime condition. By focusing on consistent daily maintenance and a full restoration only when needed, you’ll make sure your cast iron is always ready to go.
Cast Iron Seasoning Frequency at a Glance
To make it even simpler, here’s a quick guide to help you figure out the best seasoning schedule for your specific pan and how you use it.
| Usage Level / Pan Condition | Recommended Seasoning Frequency |
|---|---|
| Daily Use | Quick stovetop maintenance after most uses; full oven seasoning 1-2 times per year. |
| Weekly Use | Quick stovetop maintenance after each use; full oven seasoning 2-3 times per year. |
| Occasional Use | Always do a maintenance season before storing; check for rust before use. |
| Dull or Sticky Surface | Immediate full oven seasoning. |
| New or Restored Pan | 3-5 rounds of full oven seasoning to build a solid base layer. |
| Visible Rust | Strip the pan completely, then perform 3-5 rounds of restorative oven seasoning. |
This table is just a starting point. Always let the look and feel of your pan's surface be your ultimate guide.
Recognizing the Signs Your Cast Iron Needs Help
Your cast iron skillet talks to you; you just have to learn its language. A well-seasoned pan has a certain look and feel that's hard to miss once you've seen it. We're talking about a deep, semi-glossy black color and an incredibly smooth surface—the kind of slickness that lets a fried egg glide right onto your plate.
Knowing the signs of a weak seasoning layer is probably the most important skill you can have for proper cast iron care.
Spotting these issues early means you can act when needed, not just out of habit. It's the difference between a quick touch-up and a full-blown restoration project down the road.
Visual and Performance Cues
The first and most obvious giveaway is a dull, matte gray appearance. That flat, lifeless look tells you the protective layer of polymerized oil is either paper-thin or completely gone. You'll notice it when you cook, too—food will start to stick, and the pan loses that amazing non-stick quality.
Another major red flag is a blotchy or uneven surface. This is what happens when the seasoning starts flaking off or wearing away in spots, creating a patchy landscape. These vulnerable areas are usually where bigger problems, like rust, first take hold.
Here's a quick trick I use: the water test. Sprinkle a few drops of water onto a warm pan. If they bead up and dance across the surface, your seasoning is in great shape. If the water just sizzles and evaporates on contact, your pan is thirsty for a new coat of oil.
Finally, any hint of rust is an immediate call to action. Even tiny, reddish-brown spots are a clear signal that moisture has broken through the seasoning and started to oxidize the iron. You need to jump on these right away to stop the rust from spreading and pitting the pan's surface. Catching these cues early is the key.
This isn't just for home cooks, either. Recognizing these signs is crucial for maintaining commercial kitchen gear. We offer a wide selection of commercial charbroilers for your restaurant, and our tough infrared, gas, and electric char broilers rely on well-maintained surfaces for peak performance. A properly seasoned grate means a non-stick surface and perfect sear marks, which is non-negotiable for any restaurant's success.
Building and Maintaining a Bulletproof Seasoning
Getting the hang of how often to season cast iron is pretty straightforward once you realize there are two different jobs: building the initial surface and then keeping it up. One is a bigger project, the other is a quick daily habit. Nail both, and you'll have a non-stick pan that your grandkids will fight over.
The first method is what I call restorative seasoning. This is the full-on oven treatment you'll do for a brand-new pan or one you've just stripped down to bare iron. The trick here isn't to slather on one thick, sticky layer of oil. Instead, you're building up several paper-thin coats over a few cycles. This creates a tough, polymerized foundation that won't flake off when you're searing a steak.
The Power of Maintenance Seasoning
The second, and honestly more crucial, technique is maintenance seasoning. This is the simple, two-minute ritual you'll do on your stovetop right after washing the pan. While it's still warm, just wipe a tiny bit of oil on the cooking surface and heat it until you see the very first wisp of smoke.
This light, consistent upkeep does more for your pan's long-term health than the occasional big seasoning project. It constantly reinforces the surface, fills in any microscopic imperfections, and keeps your pan slick, black, and ready for action.
So many people think seasoning is a one-and-done deal. It’s not. A truly great non-stick surface is built over time, layer by layer. Think of it like painting a house—you’d always choose multiple thin coats over one thick, gloppy one.
A lot of old-school cast iron fans swear by this gradual approach, especially with new pans. Instead of a single marathon oven session, they'll just wipe a thin coat of oil on the pan and heat it for a few minutes every evening for a week.
This chart breaks down the key signs that your pan is trying to tell you something, whether it needs a quick touch-up or a full restoration.
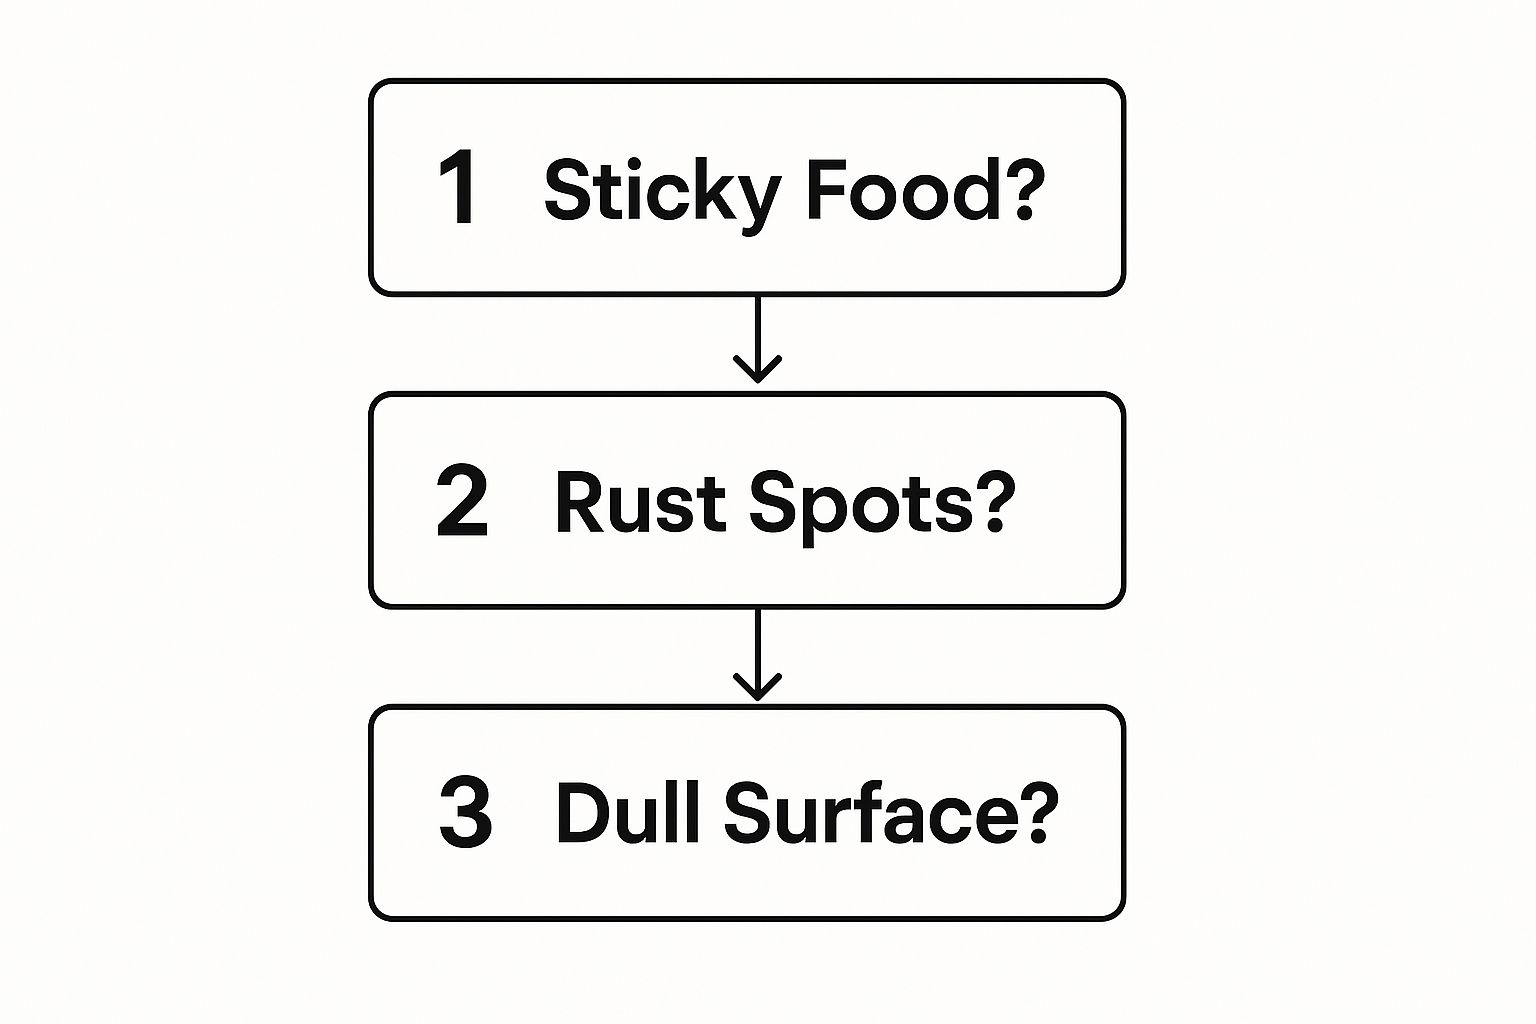
From food starting to stick to seeing a dull, gray patch, these are the simple visual cues that tell you it's time to give your pan a little love.
Choosing Your Tools
To build that solid foundation in the oven, you need the right oil. An oil with a high smoke point is non-negotiable—it ensures the oil polymerizes correctly without filling your kitchen with smoke. Grapeseed, canola, or even specialty cast iron conditioners are all fantastic choices. For the quick stovetop maintenance, you have more flexibility; there are plenty of quality olive oils for seasoning that work great for that.
If you happen to spot any serious rust during your checks, you'll want to tackle that right away before re-seasoning. The process is the same for any piece of cast iron, and our guide on how to remove rust from a grill will walk you through the steps.
Common Seasoning Mistakes and How to Fix Them
Even folks who have been using cast iron for decades run into trouble now and then. You might pull your pan from the oven expecting that perfect, slick surface, only to find a sticky, gummy mess. It’s a common part of the learning curve, and thankfully, most of these seasoning snafus are surprisingly easy to fix.
The number one mistake, by a long shot, is using too much oil. It feels backward, I know. You'd think a thicker coat of oil would create a stronger seasoning layer, but it does the exact opposite. All that excess oil just pools up and polymerizes into a tacky, uneven coating that will eventually flake right off into your food.
The secret is to create a micro-thin layer. Drizzle a tiny bit of oil in the pan, rub it all over, then take a clean paper towel and try to wipe every last bit of it off, as if you made a mistake and are trying to start over. That nearly invisible film left behind is precisely what you need for a hard, durable finish.
Diagnosing and Fixing Common Issues
Another frequent misstep is picking the wrong kind of oil for seasoning in the oven. If you grab an oil with a low smoke point, like certain olive oils, you’re just signing up for a smoky kitchen and a weak, ineffective coating. The oil has to get hotter than its smoke point to properly polymerize; a low-smoke-point oil will just burn and break down.
You can usually spot other issues just by how your pan looks and feels.
- An Uneven, Blotchy Surface: This is a classic sign of incomplete polymerization. The pan probably wasn't hot enough for long enough. The fix is simple: just run the pan through another full seasoning cycle in the oven for an hour at high heat to properly cure that existing layer.
- A Sticky or Gummy Texture: This one's a dead giveaway you used way too much oil. Unfortunately, there's no shortcut here. You'll need to scrub the pan well with soap and a stiff brush to get all that sticky gunk off, then start the seasoning process from scratch.
Don't look at these hiccups as failures. Every mistake teaches you something important. A sticky pan teaches you to be stingy with the oil. A kitchen full of smoke is a memorable lesson on choosing a fat with a high smoke point.
Mastering your technique isn't just about getting a non-stick surface; it's also about safety. A buildup of excess oil or grease can quickly become a fire hazard when you're working with high heat. By learning the right way to season, you're also learning how to prevent grease fires, which is a vital skill for any home cook. Getting a handle on these troubleshooting steps will build your confidence and help turn your cast iron into the reliable kitchen workhorse it’s meant to be.
A Practical Seasoning Schedule for Every Cook
Knowing the signs is one thing, but turning that knowledge into a routine that actually fits your life is the real key to effortless cast iron care. The best approach? Match your maintenance schedule to how often you cook.
Forget about a rigid calendar. Let’s build a simple, practical plan based on how you really use your skillet. We can break this down into three common cook profiles. Find the one that sounds most like you and just adopt its simple routine.
For the Daily Driver
Does your cast iron skillet basically live on your stovetop? If you're using it for everything from morning eggs to evening steaks, you’re a Daily Driver. The good news is your pan's seasoning is constantly being reinforced through regular cooking with fats and oils.
- Your Plan: Do a quick stovetop maintenance season after every one or two uses. Seriously, just a quick wipe of oil on a warm pan is all it takes. A full oven seasoning might only be necessary once a year—if that—because your daily cooking is doing most of the heavy lifting for you.
For the Weekend Warrior
You’re the one who breaks out the skillet for Saturday morning pancakes, a big Sunday brunch, or that special weekend dinner. Your pan sees consistent action, just not every single day.
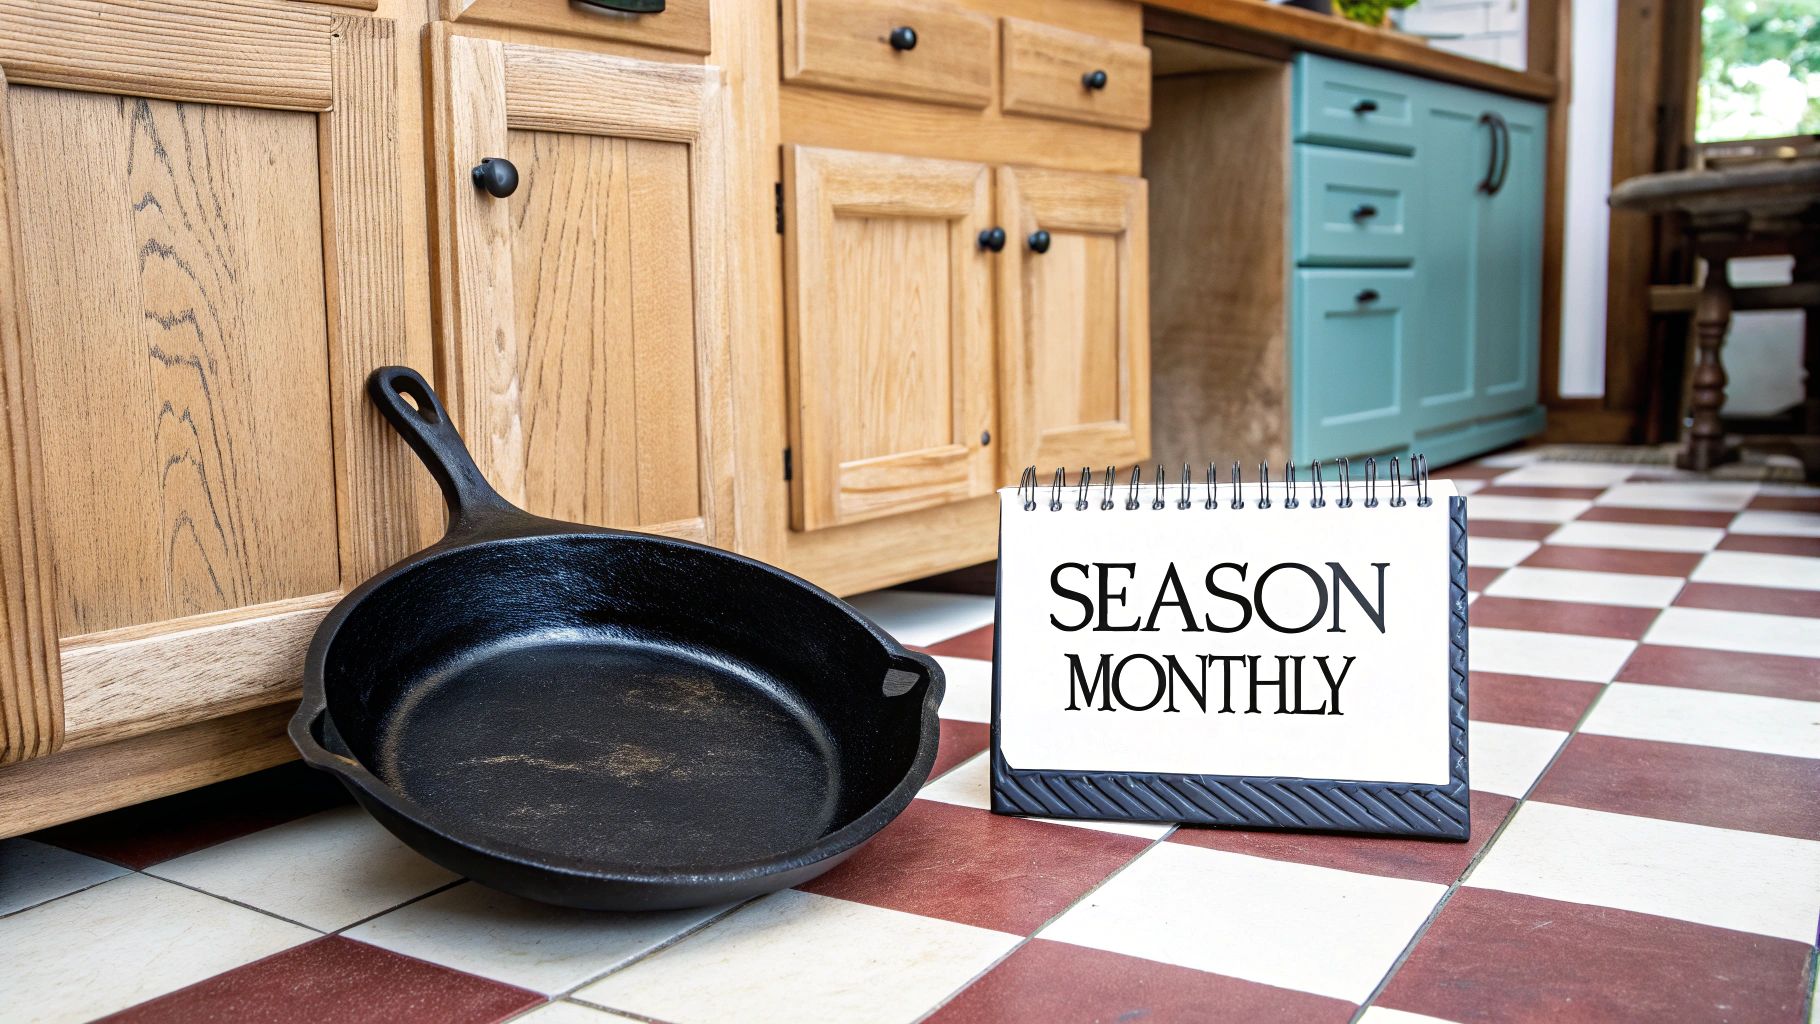
- Your Plan: A stovetop maintenance season after each use is non-negotiable. This protects the pan while it sits between cooks. As for a deep seasoning, a good rule of thumb is to do a full oven seasoning process about once a month. This monthly ritual keeps that smooth, non-stick surface in top shape. You can read more about striking this monthly seasoning balance on The Daily Meal.
A great seasoning isn't built in a day; it’s built meal by meal. Consistent, light maintenance will always outperform infrequent, heavy-duty restoration.
For the Occasional User
Your skillet comes out of the cupboard a few times a month for specific recipes, like that perfect cornbread or a deep-dish pizza. Because it sits in storage longer, your top priority is protecting it from rust.
- Your Plan: Before you even think about putting it away, always perform a thorough stovetop maintenance season. Make sure it’s completely dry and has a light, even coat of oil. Then, before you use it next time, give it a quick inspection for any dull spots or hints of rust. Plan on a full oven seasoning 2-3 times a year to keep its protective layer strong and ready for action.
Taking Your Searing Game to the Pros
If you've ever obsessed over getting that perfect crust on a steak in your cast iron pan, you already understand the soul of professional-grade equipment. That same principle of building a bulletproof, non-stick surface is exactly what makes a commercial charbroiler a kitchen powerhouse.
The core science behind a perfectly seasoned home skillet—that beautiful, slick layer of polymerized oil—is identical to prepping a commercial charbroiler for a busy dinner service. The scale is bigger and the heat is way more intense, but the fundamentals don't change.
The Secret to Restaurant-Quality Flavor
You know that incredible, consistent quality you get from a top-tier restaurant? It’s not magic. It’s the result of having powerful, reliable tools that perform under pressure, night after night. That’s exactly what our lineup of commercial charbroilers is built to do. We've got a solution for pretty much any kitchen layout or cooking style you can dream up.
- Infrared Charbroilers: These are the champs for intense, direct heat. They sear food in a flash, locking in all the juices and creating that mind-blowing flavor with almost no flare-ups.
- Gas Charbroilers: A true kitchen workhorse. You get fantastic temperature control and they heat up fast, making them incredibly versatile for high-volume cooking.
- Electric Charbroilers: The perfect choice when gas lines aren't an option. They deliver incredibly consistent and even heat, so you can count on reliable results every single time.
Think about it: the whole idea is to create a protective, non-stick surface that can handle screaming-hot temperatures. Whether you're doing that on a 12-inch skillet at home or a 48-inch commercial griddle, the goal is the same.
Finding the right gear can completely change your cooking. When you're ready to achieve that coveted, restaurant-level performance in your own operation, exploring our diverse range of charbroilers is the first step.
A Few Common Cast Iron Seasoning Questions
Got questions about seasoning? You're not alone. Let's tackle some of the most common head-scratchers I hear from people just getting started with cast iron.
What’s the Best Oil for the Job?
When you're doing a full seasoning in the oven, you absolutely need an oil with a high smoke point. Think grapeseed, canola, or basic vegetable oil. These are fantastic, inexpensive choices that create a tough, durable surface without turning your kitchen into a smoke pit. They polymerize beautifully at high heat, which is exactly what you want.
For the quick, daily wipe-down on the stovetop after you cook, you've got more options. Any of those high-smoke-point oils work great, but a little olive oil will do the trick just fine for simple maintenance.
Is It Possible to Over-Season a Pan?
Yes, but probably not in the way you're thinking. "Over-seasoning" isn't about doing it too often; it's about using way too much oil at one time. If you slather it on, you won't get that slick, hard layer. Instead, you'll be left with a sticky, gummy mess that can even flake off later.
The trick is simple: apply a super-thin layer of oil, then take a clean cloth and wipe it all off like you made a mistake and didn't want any on there in the first place. That microscopic film left behind is all you need.
How Do I Fix a Sticky or Rusty Skillet?
A sticky pan is a dead giveaway that you used too much oil and it didn't fully polymerize into a hard layer. The fix is to scrub the pan really well with hot, soapy water and a stiff brush to get all that gummy gunk off. Then, dry it completely and start the seasoning process from scratch.
If you spot rust, don't panic. Just grab some steel wool or make a paste with coarse salt and a little water. Scour those rusty spots until you're back down to the bare metal. As soon as you're done, wash it, dry it immediately and thoroughly, and get a fresh layer of seasoning on there right away to protect the raw iron.
For commercial kitchens that demand a perfect sear every single time, having the right gear is non-negotiable. At Charbroilers, we stock a huge selection of commercial charbroilers designed to take your restaurant’s performance to the next level. Check out our lineup of tough, efficient infrared, gas, and electric charbroilers to find the right fit for your kitchen. See everything we offer at https://charbroilers.com.