
How to Remove Rust from Grill: Easy Tips for a Fresh Look
Getting rust off your grill grates isn't complicated. It usually comes down to a good scrub with a wire brush, using a food-safe cleaner like a baking soda paste or a commercial rust remover, and then re-seasoning the grates with oil to build back that protective layer. It’s a simple process that keeps your grill performing its best and, more importantly, keeps your food safe.
Why Grill Rust Is a Serious Kitchen Problem
Before you reach for the scraper, it’s crucial to understand that rust on a commercial charbroiler is way more than just an ugly patch. In a professional kitchen, it's a silent saboteur that directly undermines the quality and safety of every plate you send out. This is exactly why knowing how to remove rust from grill grates isn't just another cleaning chore—it's a fundamental part of maintaining your operational standards.
The True Cost of Corrosion
The first and most obvious hit is to the flavor. Nothing ruins a customer's experience faster than a perfectly cooked steak that has a weird metallic aftertaste. That’s what happens when tiny flakes of iron oxide break off the grate and stick to the food, an issue that can quickly stain your restaurant’s reputation.
But it goes beyond just bad taste. There are serious food safety issues at play. Those rust particles are contaminants, plain and simple. If a health inspector walks in and sees a heavily corroded cooking surface, they’re going to have some tough questions about your kitchen’s overall hygiene and maintenance protocols.
Unchecked rust doesn't just mess with today's service; it actively shortens the lifespan of your expensive equipment. Corrosion eats away at cast iron and steel, weakening the grates until they crack, heat unevenly, and eventually fail, forcing you into a costly and inconvenient replacement.
Protecting Your Investment and Reputation
At the end of the day, dealing with rust proactively is just good business. It’s about protecting your equipment and your brand. The problem is so common that the global rust remover market was valued at around USD 493 million back in 2021 and is expected to climb to USD 713 million by 2029. You can find more details on this trend over at Data Bridge Market Research.
For any restaurant owner, this just proves that investing time and a little money into proper cleaning isn't an expense. It's a non-negotiable strategy for ensuring your food is consistent, your customers are safe, and your equipment lasts as long as it should.
Building Your Professional Rust Removal Toolkit
Let's be honest, tackling rust is a kitchen chore nobody loves. But walking into the job with the right gear can turn a frustrating headache into a routine maintenance task. It’s not just about grabbing the first brush you see; it’s about putting together a smart, dedicated arsenal for keeping your commercial charbroiler in top shape.
Think of it like a three-part strategy: attack, clean, and protect.
The Right Tools for the Job
Your first line of defense is a solid set of scrapers and brushes. A stainless steel wire brush is absolutely non-negotiable—it’s your heavy hitter for getting rid of that stubborn, flaky rust that just won't budge. For lighter corrosion or smoother surfaces where you want to avoid deep scratches, having a few different scouring pads on hand is a smart move. This simple combo will handle about 90% of the rust issues you’ll encounter day-to-day.
Choosing Your Cleaning and Seasoning Agents
Once you've scraped away the loose stuff, you need cleaning agents that are both effective and safe for food contact surfaces. Always, and I mean always, reach for food-safe commercial rust removers and powerful degreasers specifically certified for professional kitchens. For minor rust spots, you'd be surprised how well a simple paste of baking soda and water can work in a pinch.
After everything is sparkling clean, the final step is all about protection. You’ll need a high-smoke-point oil—canola or vegetable oil works great—to re-season the grates. This quick wipe-down creates a non-stick barrier that shields the metal from moisture, which is rust's best friend.
Proper maintenance isn't just a kitchen best practice; it's a growing industry. The global market for grill cleaning tools was valued at around USD 1.2 billion in 2024 and is expected to climb to USD 2.0 billion by 2033. You can dig into the numbers yourself in this grill cleaning tool market report.
Key Takeaway: A complete rust removal kit isn't just about scrubbing. It needs to cover all three phases: aggressive removal, safe cleaning, and protective seasoning. If you skip any one of these, you're just inviting the rust to come right back.
Whether you're firing up one of our powerful infrared, gas, or electric charbroilers, having these tools ready to go will add years to the life of your equipment. More importantly, it guarantees every dish is cooked on a clean, safe, and professional surface. If you're looking to upgrade, feel free to browse our full line of commercial charbroilers to find the perfect fit for your kitchen. We offer a wide selection of commercial charbroilers for your restaurant, including powerful infrared, versatile gas, and efficient electric char broilers.
Proven Methods for Removing Grill Rust
Alright, you've got your tools lined up. Let's get to work. The right way to tackle rust on your grill grates really comes down to two things: how bad the corrosion is and what kind of metal you're dealing with. There's no single magic bullet for cast iron and stainless steel—you have to match the method to the problem.
For minor surface rust or just part of a regular cleaning routine, you don't need to go nuclear with harsh chemicals. A simple paste made from baking soda and a bit of water often does the trick. Slather it on, give it about 20-30 minutes to work, and then get in there with a scouring pad. It's a surprisingly effective first line of defense.
This image lays out the essential gear you’ll want to have ready before you start.
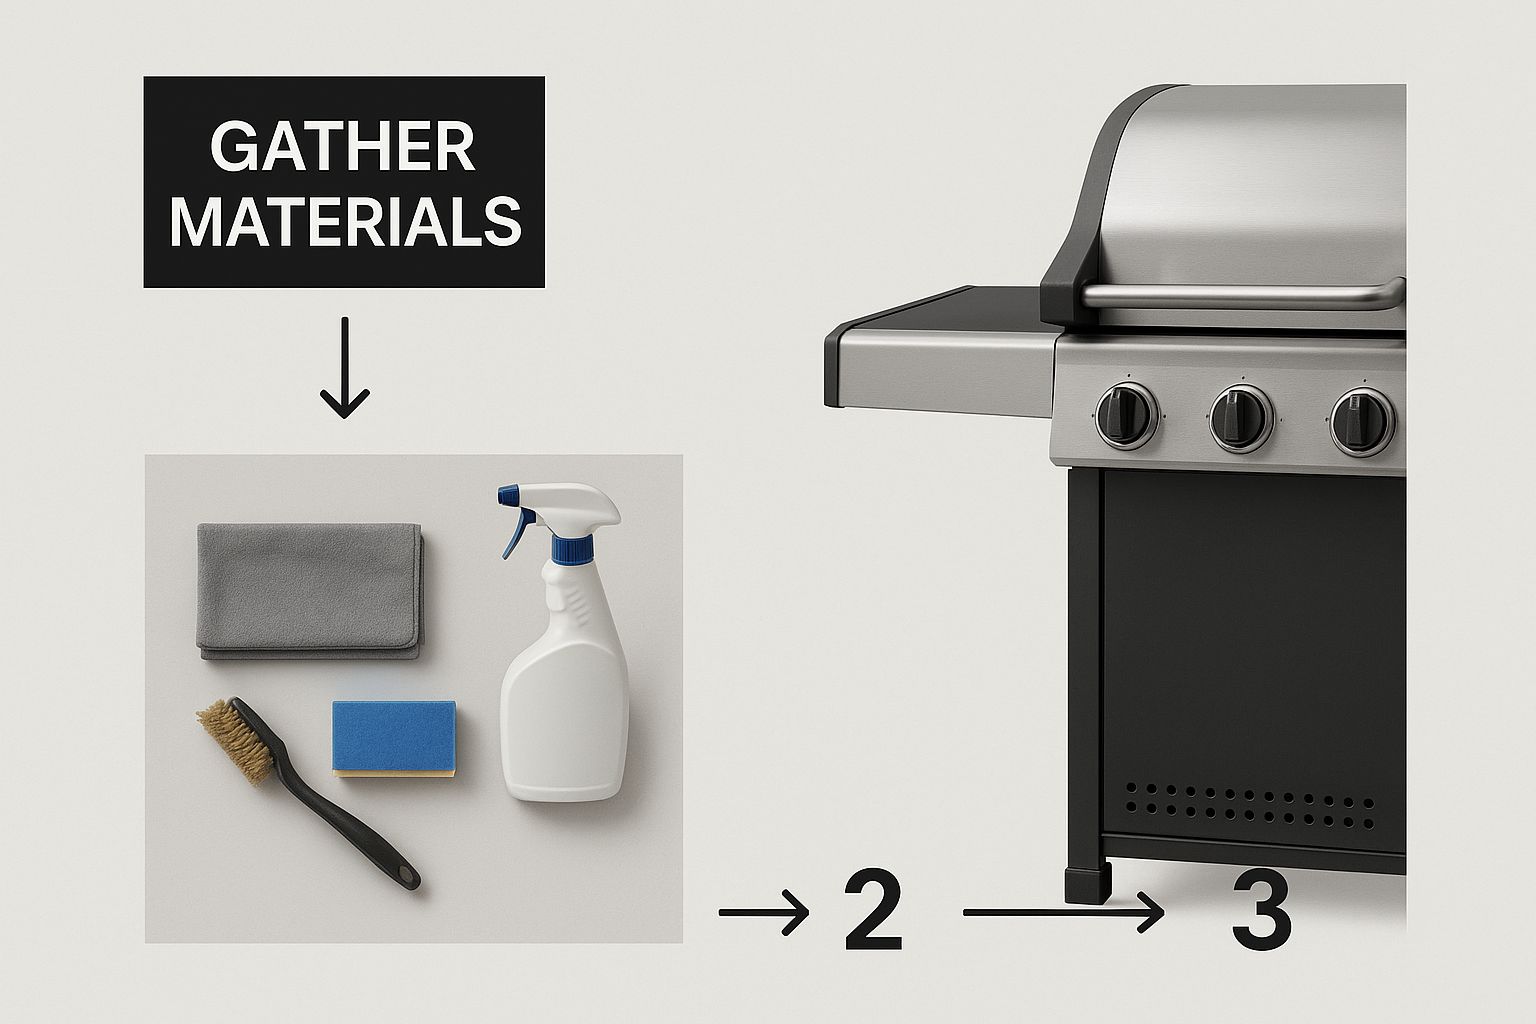
Having everything organized and within reach turns this from a painful chore into just another streamlined part of your kitchen's maintenance flow.
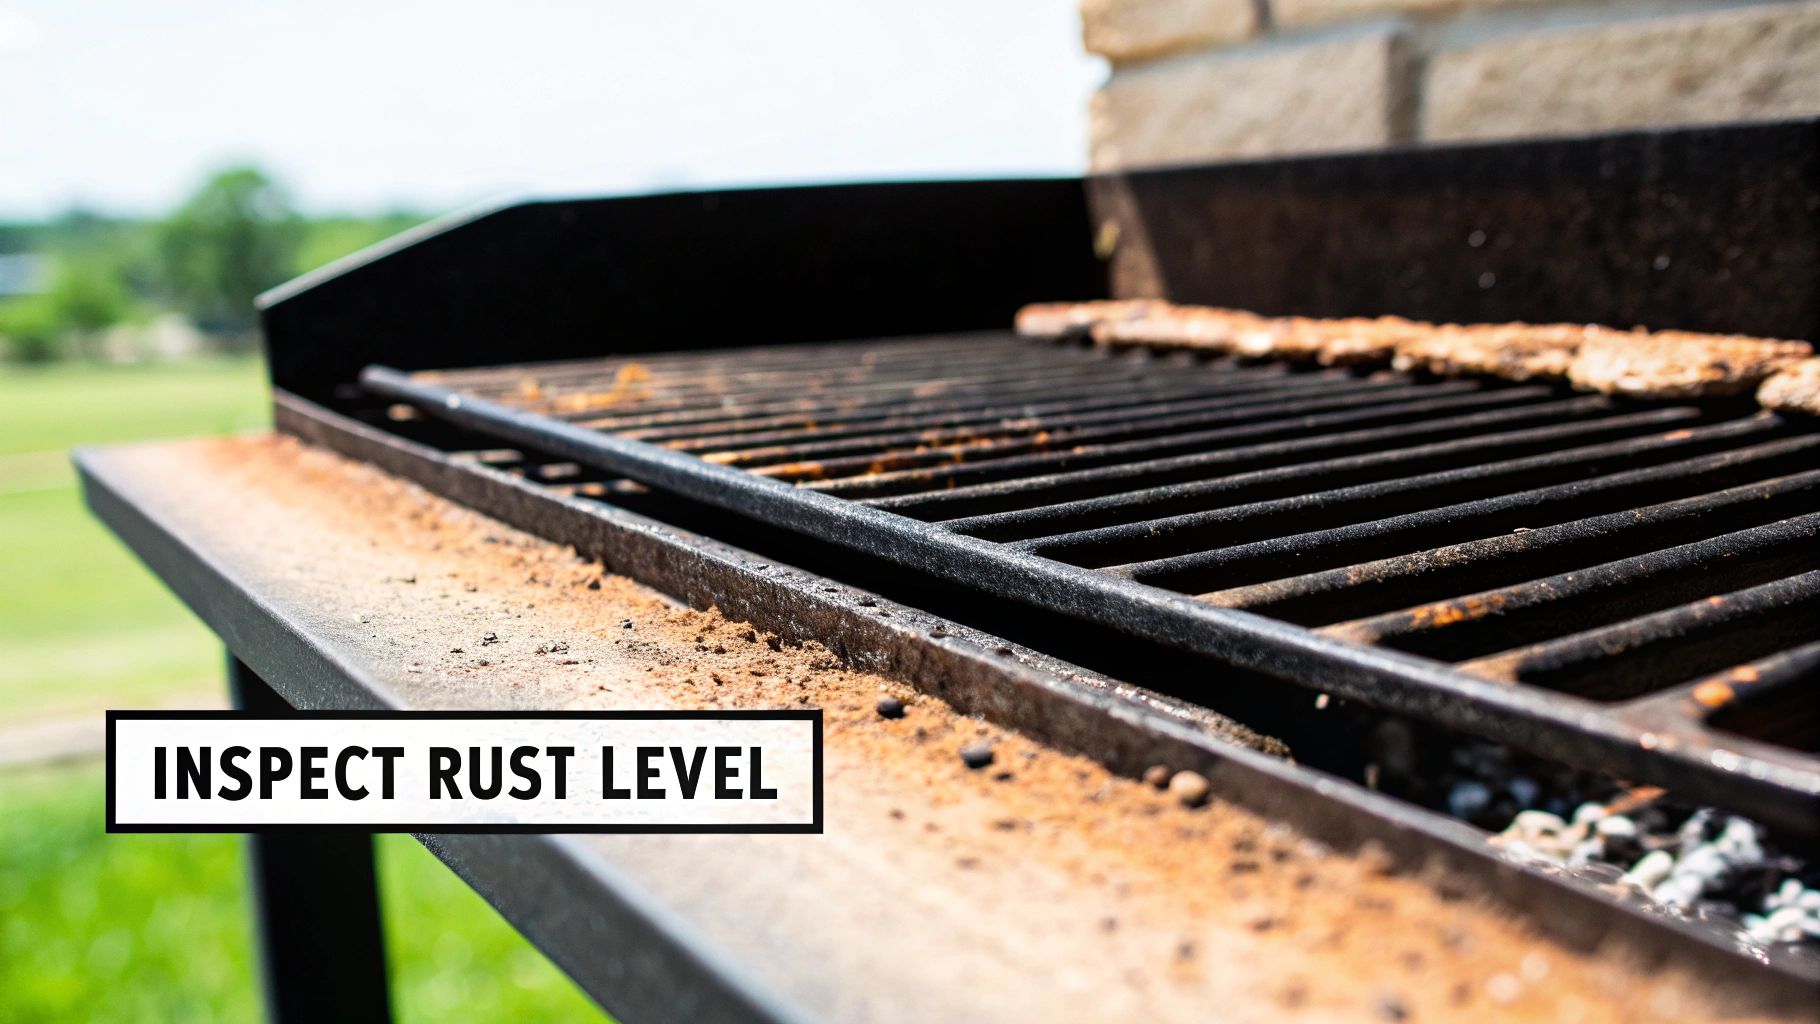
Handling Moderate to Heavy Rust
When you're up against rust that’s more than just a surface stain—the kind that's starting to pit the metal—it's time to get a little more aggressive. This is where a heavy-duty wire brush becomes your best friend. Your first move is to scrub the grates hard to knock off all that loose, flaky rust.
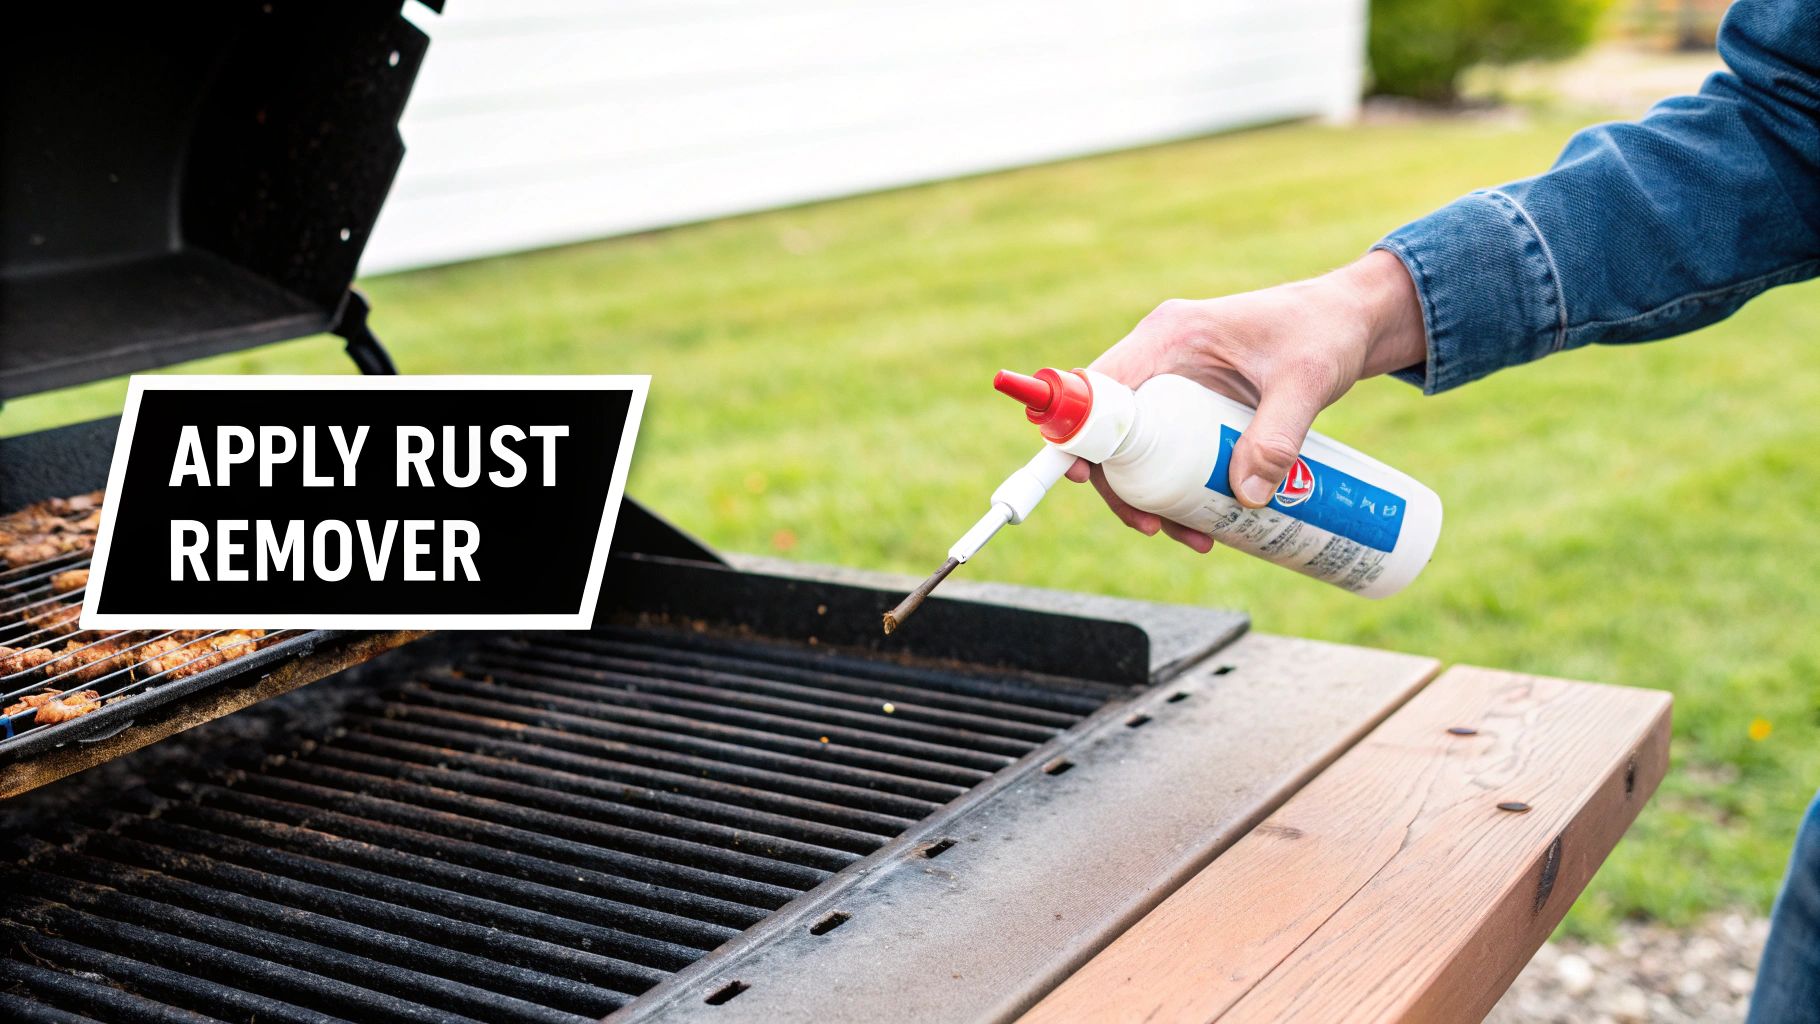
Once you've done the heavy lifting, a commercial-grade, food-safe rust remover can dissolve the stubborn bits that remain. Just be sure to follow the manufacturer's directions to the letter, especially when it comes to contact time and rinsing. You want to make absolutely certain no chemical residue is left behind.
Expert Tip: For those really stubborn rust patches on cast iron, some old-school pros swear by the "burn off" method. Crank the charbroiler to its highest setting for 15-20 minutes. This intense heat often turns the rust into a fine ash that you can easily brush away once the grates have completely cooled.
Not every method is right for every situation. To help you choose the best approach for your grates, here's a quick comparison of the most common rust removal techniques.
Choosing Your Rust Removal Method
| Method | Best For | Pros | Cons |
|---|---|---|---|
| Baking Soda Paste | Light surface rust on any grate material. | Food-safe, non-toxic, and inexpensive. | Not effective on heavy, pitted rust. |
| Wire Brush & Scrubber | Moderate rust; prepping for chemical treatment. | Excellent for removing loose, flaky corrosion. | Very labor-intensive; can scratch surfaces. |
| Commercial Rust Remover | Stubborn, deep rust on cast iron or steel. | Highly effective at dissolving embedded rust. | Requires careful handling and thorough rinsing. |
| High-Heat Burn-Off | Tough, caked-on rust on cast iron only. | Minimal scrubbing needed; turns rust to ash. | Can damage stainless steel; uses a lot of fuel. |
Each of these has its place in a professional kitchen. The key is knowing which tool to pull out of the toolbox for the job at hand.
Matching the Method to Your Charbroiler
The techniques you use are just as important as the cleaning agents themselves. For a more complete look at keeping your whole unit in top shape, our guide on commercial charbroiler cleaning has you covered.
Whether you're running one of our high-performance infrared, versatile gas, or efficient electric charbroilers, these rust removal methods can be adapted. For instance, the controlled, even heat of our electric models makes the burn-off method incredibly effective and safe. On the other hand, the raw power from a gas unit means you have to keep a close eye on it to avoid overheating the grates during cleaning.
Our commercial charbroilers are built to last, but consistent maintenance is what guarantees that long-term performance. Once the rust is gone, the next crucial step is re-seasoning, which we'll dive into next.
Seasoning Your Grates to Keep Future Rust Away
Scrubbing away all that corrosion is a solid start, but it's only half the job. If you really want to know how to get rust off your grates and keep it from coming back, this next part is absolutely non-negotiable. Proper seasoning builds a tough, protective barrier that literally blocks the moisture that causes rust in the first place.
The whole process is about applying a super-thin layer of a high-smoke-point oil and then heating the grates until that oil polymerizes. This chemical reaction turns the liquid oil into a hard, non-stick surface that's bonded right to the metal. It’s an essential piece of maintenance, especially for porous cast iron grates that can start rusting again almost the second you finish cleaning them.
A well-seasoned grate does a lot more than just prevent rust. It makes a huge difference in cooking performance. Food doesn't stick, you get much cleaner char marks, and the daily cleanup becomes a whole lot faster. Skipping this step is the single biggest mistake I see that leads to rust coming back again and again.
The Right Way to Get That Perfect Seasoning
First things first, make sure your grates are bone dry. Any lingering moisture will mess this up. Grab a paper towel and apply a thin, even coat of a high-smoke-point oil like canola or vegetable oil. You're aiming for a light sheen, not a thick, dripping mess. Way too much oil will just get sticky and gummy instead of creating that hard, protective layer you want.
Now, fire up your charbroiler to a high heat—somewhere around 400-500°F—and let the oiled-up grates bake for about an hour. You'll see the oil start to smoke, and that's a good thing! It means the polymerization is happening just like it should.
After an hour, kill the heat and just let the grates cool down completely inside the charbroiler. If you want an even tougher, more durable barrier, you can repeat this whole process a couple more times.
For a deeper dive into this, our guide on how to season cast iron grates breaks it all down with a great step-by-step walkthrough. Making this simple habit part of your routine will seriously extend the life of your equipment and guarantee your grill is always ready for service.
Creating a Proactive Grill Maintenance Schedule
The best way to deal with rust? Stop it before it ever starts. A rock-solid maintenance schedule is your secret weapon for getting the most life out of your commercial charbroiler. It turns a potential nightmare into a simple, manageable routine for your kitchen crew. We’re not talking about a full-blown deep clean every night—this is all about smart, proactive habits.
A simple, effective routine is everything. The daily tasks should be quick, almost muscle memory, part of the end-of-service workflow. Your weekly and monthly duties can then tackle the heavier lifting, making sure nothing slips through the cracks.
This preventative mindset is a big deal in the industry. For example, North America is on track to hold a 35.1% share of the rust remover market by 2025, largely because pros know that staying on top of equipment maintenance pays off.
Building Your Maintenance Routine
A great maintenance plan isn't complicated. It's just a set of simple, time-based tasks that anyone on your team can knock out. This kills the guesswork and builds consistency—the mortal enemy of rust.
Here's a template you can steal and tweak for your kitchen:
- Daily (Post-Service): Right after service, while the grates are still warm, give them a good scrape-down with a wire brush to get all that food crud off. Once they've cooled a bit, wipe them with a thin layer of a high-smoke-point oil. This creates a protective seal against overnight moisture.
- Weekly: Set aside a few minutes for a more serious scrape-down of the grates and the inside of the grill box. This is your chance to hunt for any new rust spots and kill them on sight before they can spread.
- Monthly: Time for a deep dive. Pull the grates out, give them a thorough cleaning, check your burners or elements, and then re-season the grates completely.
A consistent schedule turns the dreaded task of figuring out how to remove rust from a grill into a non-issue. It’s a lot easier to spend five minutes oiling a grate every night than it is to spend hours scrubbing deep corrosion on a Monday morning.
If you want to zoom out and see how this fits into the bigger picture of kitchen upkeep, our comprehensive commercial kitchen cleaning checklist is a fantastic resource. It can help you integrate grill care into your overall sanitation plan. While different charbroilers have their own quirks, this basic schedule is a solid foundation for any professional kitchen.
Got Questions About Grill Rust? We’ve Got Answers.
When it comes to keeping your charbroiler in top shape, a few common questions always pop up. Let’s tackle them head-on with some straight-from-the-kitchen advice.
Can I Use Oven Cleaner On My Commercial Grill Grates?
In a word: don’t. It’s tempting to grab that can of oven cleaner for a tough job, but we strongly advise against it.
Most of those products are packed with harsh, non-food-safe chemicals that can leave behind a toxic residue you definitely don't want near your customers' food. Beyond that, those chemicals can completely strip the essential seasoning off your cast iron grates or even start to eat away at the metal itself. Stick to cleaners and methods designed specifically for grills.
How Often Should I Re-Season Cast Iron Grates?
For a busy commercial kitchen, the best practice is a light wipe-down with oil after every single service. It only takes a minute and makes a huge difference.
A full re-seasoning—where you apply oil and heat it to bake on a new protective layer—should be on your calendar at least once a month. You'll also want to do it any time you've done a deep clean. If you start seeing dull spots or notice food sticking more than usual, that's your grill telling you it's time to re-season.
It's always better to take a few moments to scrub and re-oil the grates before cooking. Rust flakes can impart a metallic taste, and it signals that the protective seasoning has failed, leaving the metal vulnerable.
Whether you operate one of our high-performance infrared, versatile gas, or efficient electric charbroilers, this regular seasoning schedule is the secret to longevity and performance. Consistent maintenance ensures your investment keeps turning out incredible food for years to come.
At Charbroilers, we pride ourselves on offering a wide selection of commercial charbroilers perfect for any restaurant's needs. Explore our extensive inventory of infrared, gas, and electric models today at https://charbroilers.com.