

The Ultimate Walk-In Cooler Installation Checklist
Why Proper Walk-In Cooler Installation Is Critical for Your Restaurant
Walk in cooler installation is the foundation of efficient food storage. A properly installed unit ensures optimal temperature control, energy efficiency, and food safety, while poor installation leads to costly repairs, energy waste, and potential health code violations.
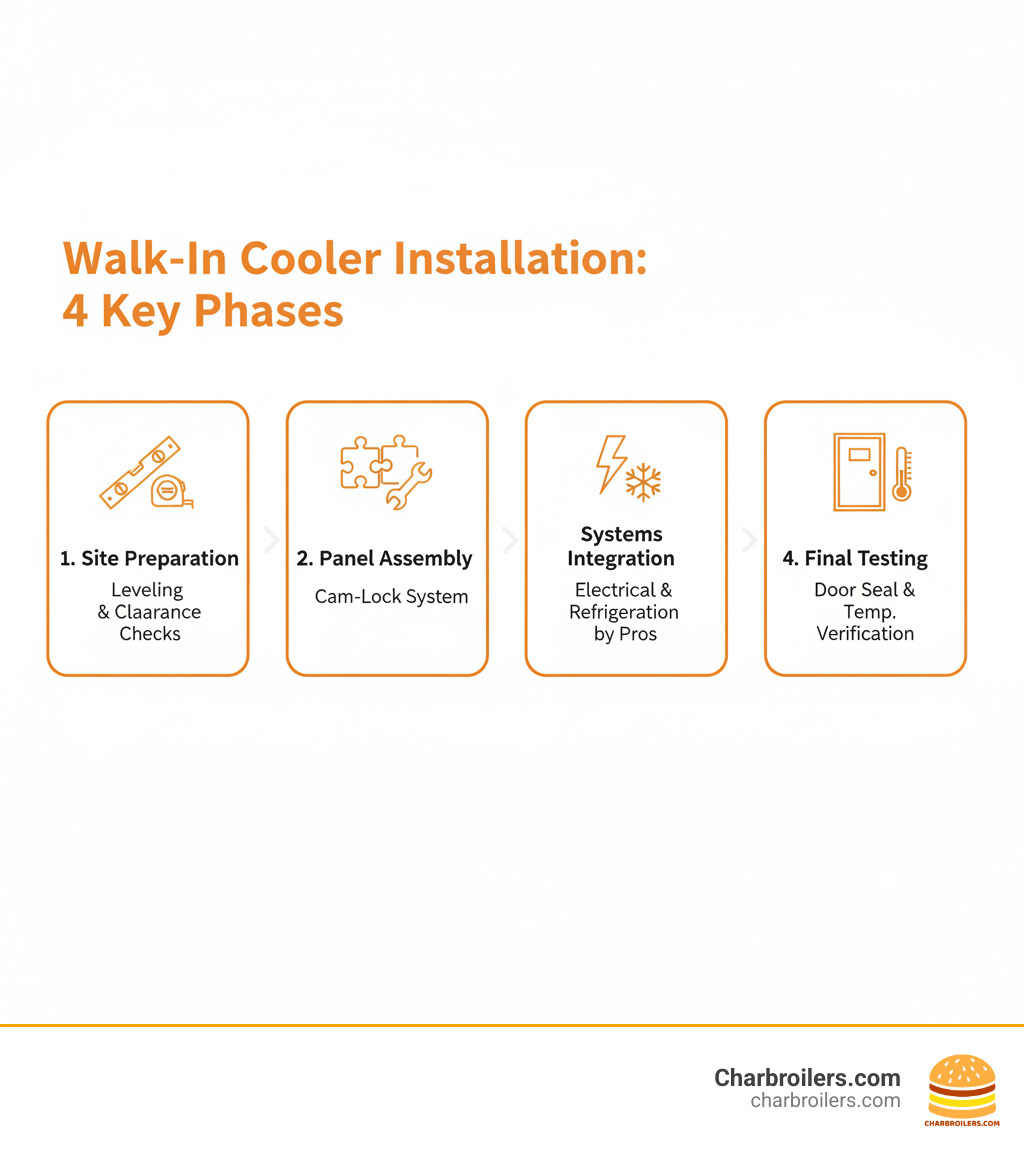
Essential Walk-In Cooler Installation Steps:
- Site Preparation - Level foundation with 2" clearance from walls
- Component Inspection - Check all panels for shipping damage
- Panel Assembly - Use cam-lock system starting with corner panels
- Sealing - Apply NSF-approved silicone to all joints
- Systems Integration - Professional electrical and refrigeration hookups
- Final Testing - Verify door seals and temperature control
Research shows that 98% of professional installations are completed on time when proper procedures are followed. However, many restaurant owners face challenges like uneven floors and panel alignment issues that can compromise their investment.
Site preparation is the most critical factor. As installation experts consistently emphasize: "Site preparation will be the key to success." A level foundation prevents door sealing problems, ensures structural integrity, and eliminates costly shimming work later.
I'm Sean Kearney from Charbroilers.com. With over a decade in restaurant equipment, I've seen how proper walk in cooler installation transforms a kitchen's efficiency. I've helped hundreds of restaurants with equipment purchases and installations, ensuring they get maximum value from their investments.
Walk in cooler installation terms to remember:
Phase 1: Pre-Installation Prep & Planning
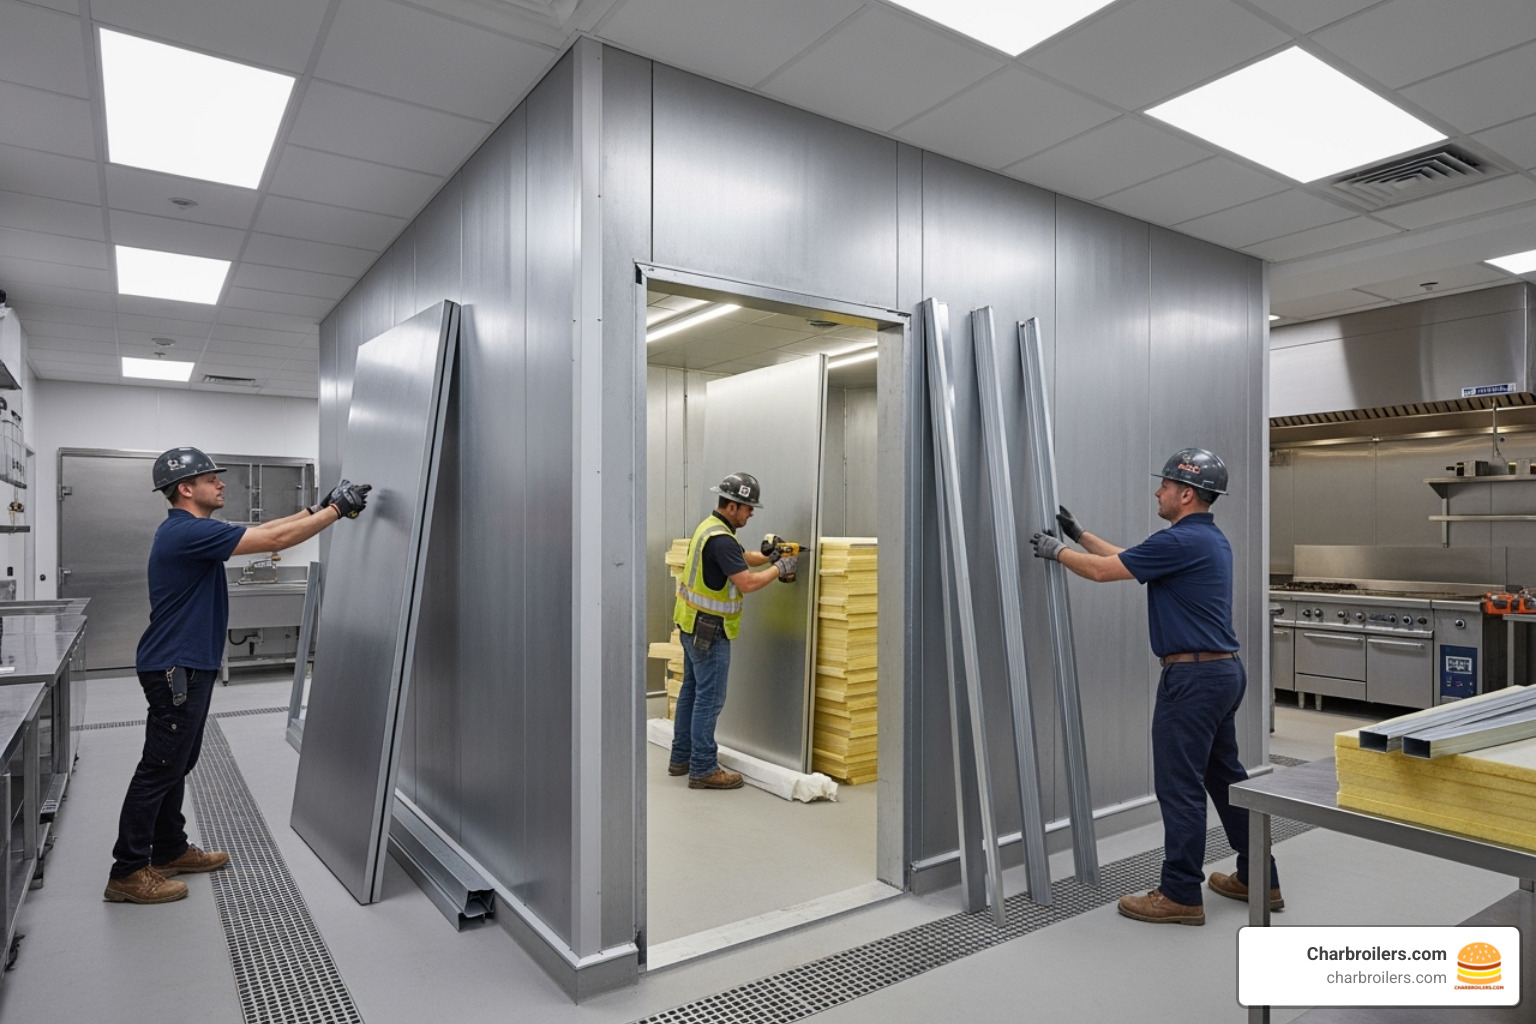
Proper planning is the groundwork for a successful walk in cooler installation. This phase sets the tone for the entire project, from site evaluation to unboxing your unit.
Critical Site and Foundation Preparation
Your installation site needs to be perfect before any panels arrive. The foundation is everything. Start with site preparation, ensuring your floor is sound, smooth, level, and made from non-absorbing material. Fix any issues with the floor now rather than later.
A perfectly level foundation is critical. Use a carpenter's level to find the highest point on your floor; this is your starting reference point. As you connect panels, use shim stock to bring everything up to this level. For insulated floors, each panel needs individual leveling. Shims must be evenly spaced under each panel, not just at the edges, to prevent sagging. For floorless units, shims should be 4-5 inches wide and placed every eight inches maximum.
Before laying panels, install an appropriate vapor barrier over the surface to prevent moisture from causing damage or mold. A minimum 2-inch clearance from existing walls is non-negotiable for airflow and to accommodate wall irregularities. Also check for overhead pipes, sprinklers, and ductwork. For detailed specifications, see a detailed manufacturer installation manual.
Essential Tools, Materials, and Safety Gear
Having the right tools is essential for a smooth installation. Your arsenal should include a 4-foot level, tape measure, chalk line, and a power drill with Phillips driver. The 5/16 inch hex wrench (cam wrench) typically comes with your cooler. You'll also need a caulk gun, rubber mallet, and basic tools like metal snips, a pry bar, utility knife, square, and hammer.
For materials, stock up on rot-resistant shims, NSF-approved silicone sealant, minimal expansion spray foam, and appropriate fasteners for your floor type.
Safety gear is not optional. Safety glasses, gloves, hard hats, and steel-toed boots should be standard. Use safety harnesses for work on lifted surfaces. Panels are heavy, so use proper lifting techniques and never work alone. All electrical and refrigeration work must be done by licensed professionals.
Receiving, Unpacking, and Inspecting Components
Your project's success begins when your shipment arrives. When the truck arrives, check everything against the bill of lading immediately. Count every box and panel to ensure it matches the paperwork.
Inspect all panels for shipping damage before signing. Look for dents, punctures, or any signs of rough handling. If you find damage, photograph it immediately while the driver is present. This documentation is crucial for freight claims.
Note all damage on the delivery receipt and have the driver acknowledge it. If there's significant damage, notify the manufacturer with your order number right away. Once you've accepted the shipment, unpack and organize panels by type (floor, wall, ceiling) to make assembly smoother.
Finally, locate your installation pack, which contains the packing list, drawings, cam plugs, and the important cam wrench. This pack is your roadmap for the entire walk in cooler installation.
For more insights on commercial kitchen equipment essentials, check out more info about commercial kitchen equipment.
Phase 2: The Step-by-Step Walk-In Cooler Installation Process
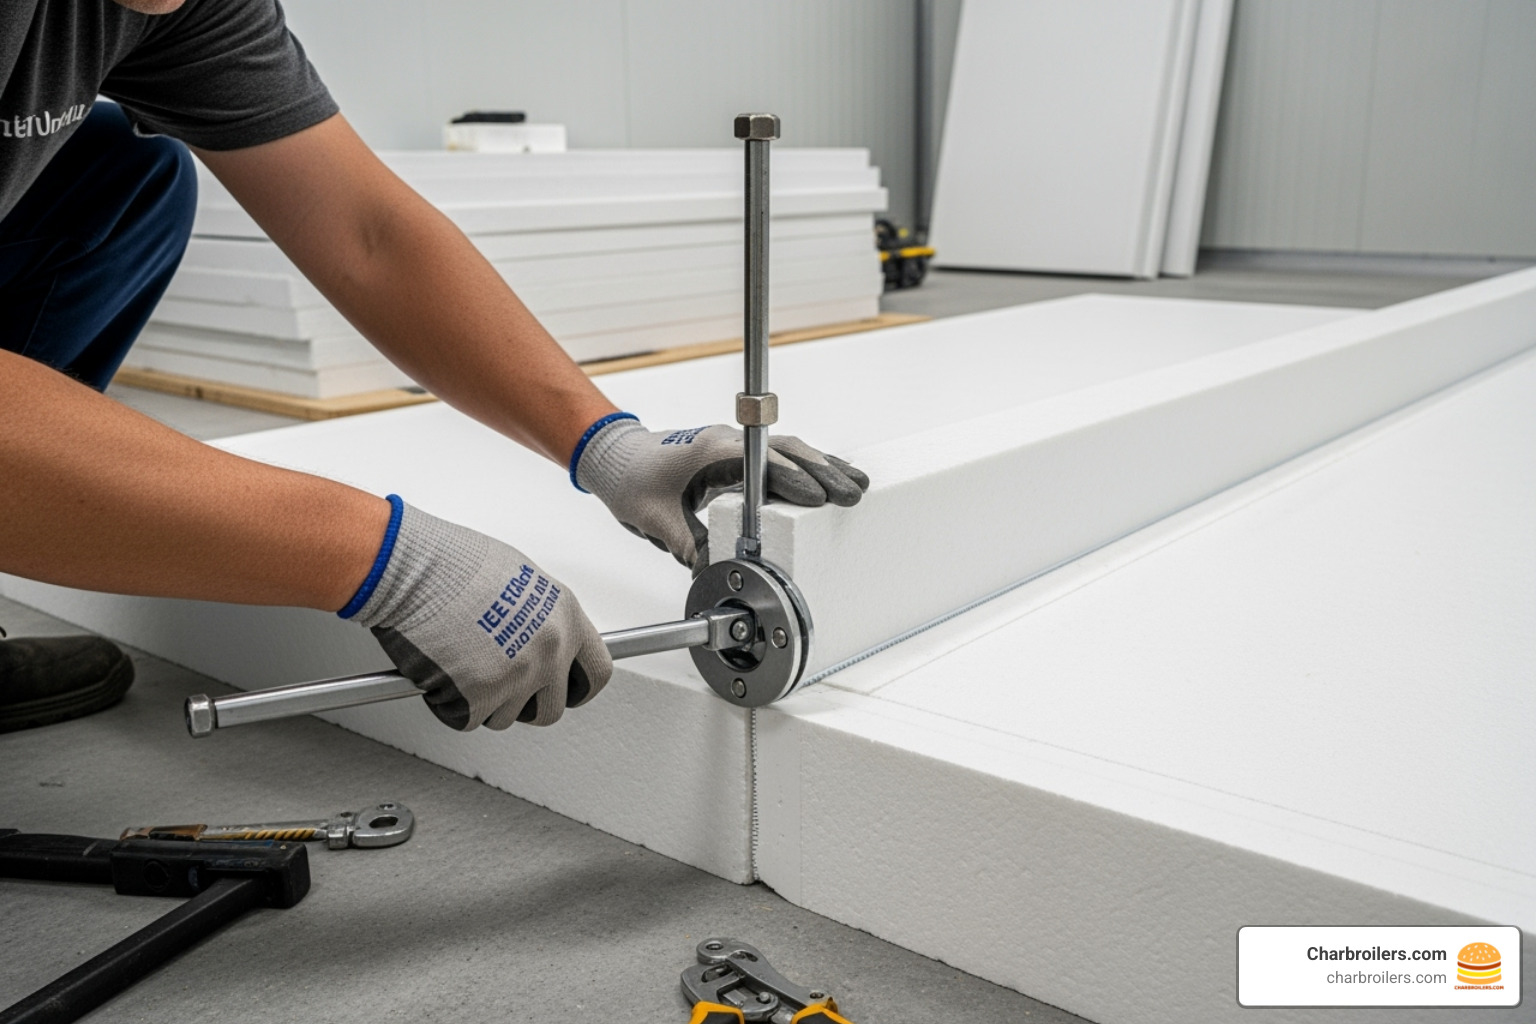
With the site prepped and components inspected, it's time to assemble the walk-in cooler. This process requires precision to ensure a perfect fit that keeps food fresh and your business running.
Assembling Panels with the Cam-Lock System
The magic of modern walk-in coolers is their cam-lock system. Every panel features a tongue-and-groove design that creates the foundation for a tight, insulated fit. The male edge of one panel slides into the female edge of the next, creating an airtight seal.
The key is how cam-locks work. An arm extends from one panel and hooks a pin in the adjacent panel. Turning the cam-lock with the provided wrench draws the panels together with significant force, creating a secure connection.
Correctly using the cam wrench requires some finesse. Before joining panels, ensure the locking arm is open by turning the wrench counterclockwise until it stops. Bring the panels together, then turn the wrench clockwise until you feel solid resistance. Do not over-tighten the cam fasteners, as they can snap and compromise the installation. The goal is snug and secure, not strained.
Always focus on seating panels firmly before locking. Push the panels together manually, ensuring the tongue-and-groove connection is seated before engaging the cam-locks. The finishing touch is installing cam-lock plugs over each hole for complete insulation and a clean, professional look.
Your Guide to a Flawless Walk-in Cooler Installation
The approach to your walk in cooler installation depends on whether you have a floored or floorless system. Both deliver excellent results when installed correctly.
Floored installations start with the insulated floor panels. Begin with a corner floor panel, using your level to ensure it's perfectly positioned. This first panel sets the standard for the rest. Use rot-resistant shims on 18-inch centers or less to support the panels and their future contents. Once floor panels are level and locked, the wall panels rest on this foundation.
Floorless installations use your existing floor. Start by marking wall locations with a chalk line. Wall panels attach to supplied screeds (vinyl or angle-shaped base pieces). Apply construction sealant to the bottom of screed sections and seal all joints to prevent air and moisture infiltration. If the floor isn't level, shim the screeds using shims that are 4-5 inches wide. Secure the screed assembly to the floor with appropriate fasteners. Many floorless units also require L-brackets to anchor the inside of wall panels to the floor.
For comprehensive guidance on commercial refrigeration systems, explore A complete guide to restaurant walk-in fridges.
Erecting Walls, Ceiling, and the Door
With the foundation set, it's time to build upward. Start with a corner wall panel, positioning it according to your layout and using a 4-foot level to ensure it's plumb. A crooked corner panel will throw off the entire installation.
Add adjacent wall panels by aligning the tongue-and-groove edges. The tops must be flush to avoid issues when installing the ceiling. Push panels together firmly before engaging the cam-locks. Install opposite walls first, then their corresponding ceiling panels.
Keep walls plumb and square by checking regularly with your level. Once all wall panels are connected, verify squareness by measuring diagonals—the corner-to-corner distances should be identical. Adjust the walls until they match to ensure ceiling panels fit properly.
Installing ceiling panels is often easier by lifting them into position rather than sliding them, which can damage gaskets. Adjust the exterior edges of ceiling panels to be flush with each other and the walls. Lock ceiling panels to each other first, then to the walls. For larger units, support long ceiling spans as specified by the manufacturer to prevent sagging.
Install the door panel and frame like any other wall panel. The door usually comes pre-hung. Check door alignment for a uniform gap around the perimeter and use your level to verify the frame is vertical. Adjust the hinges if needed to achieve proper sealing. Finally, adjust the door sweep gasket to lightly touch the floor or threshold without binding the door's operation.
Phase 3: Systems Integration and Sealing
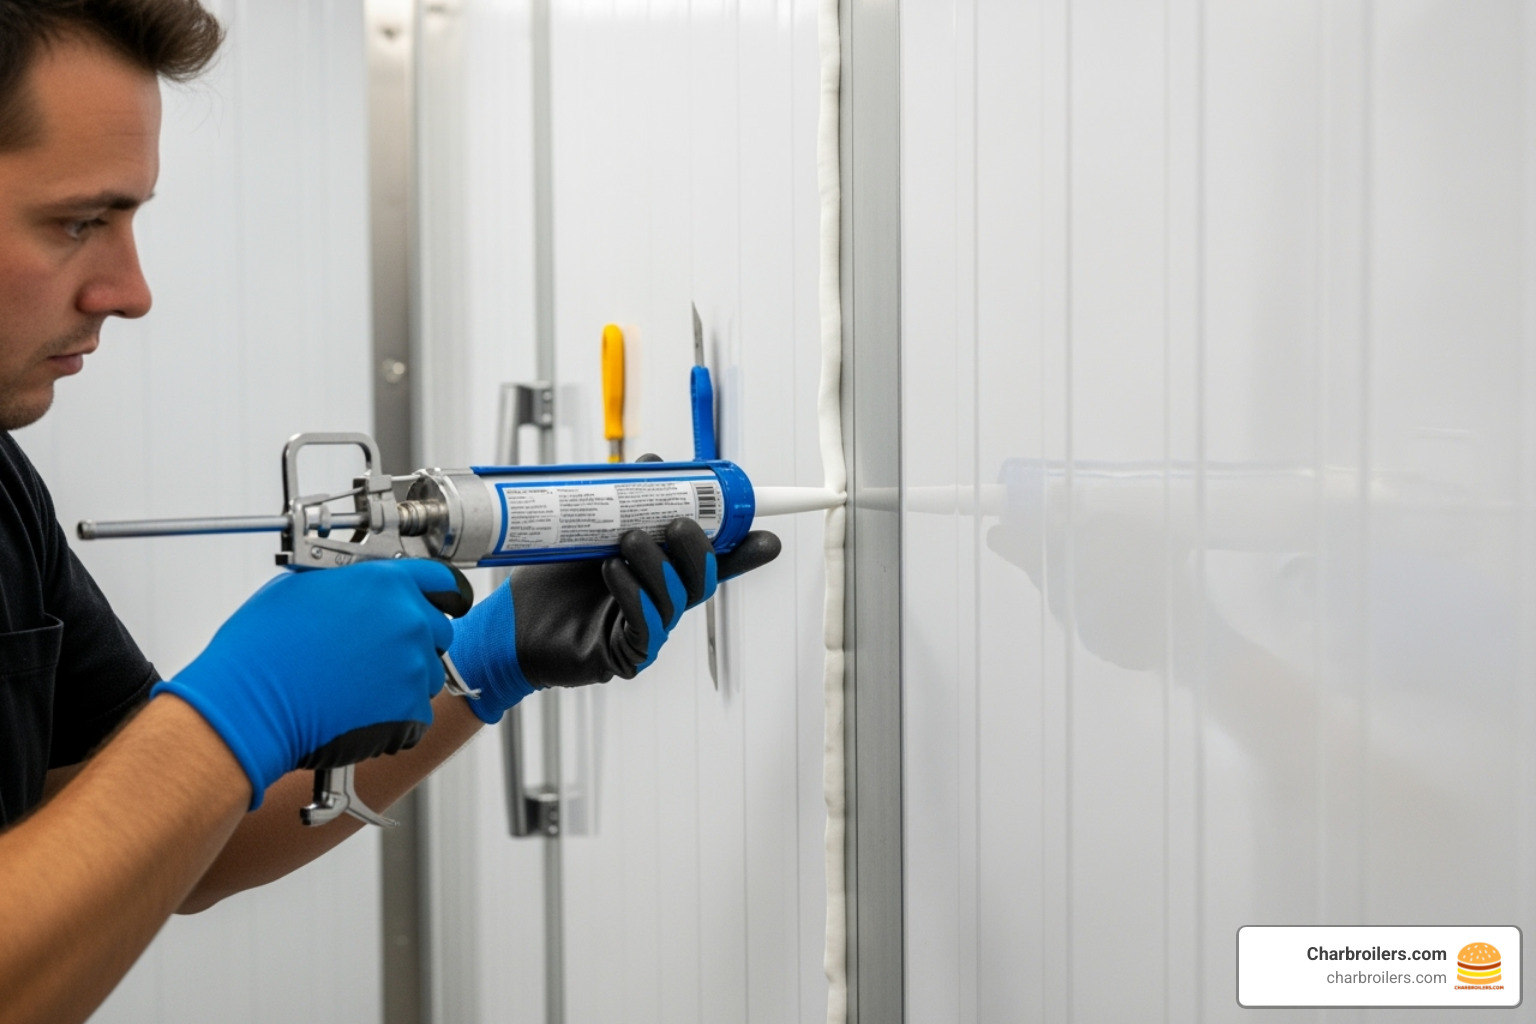
A well-assembled box is only half the battle. Proper sealing and systems integration are crucial for thermal efficiency and operational safety.
Best Practices for Sealing Joints and Gaps
Sealing every gap is one of the most critical steps in any walk in cooler installation. Even tiny air leaks can lead to high energy bills. Start by applying a continuous bead of NSF-approved silicone caulk to every interior joint. Focus first on sealing all interior wall-to-floor and wall-to-ceiling joints, working methodically to fill each joint completely.
For freezer installations, a ⅜" bead of non-drying Butyl sealant is needed between all joints. Cooler units typically require Butyl sealant where walls meet the concrete floor. Don't forget to seal the cam-lock plugs, as they can be sources of air infiltration.
For gaps too large for caulk, use minimal expansion spray foam. Apply it carefully under the walk-in walls. Once cured, trim excess foam and finish with a cove base for a professional, sanitary appearance. Remember to seal all penetrations for refrigeration lines and electrical conduit, as every hole is a potential weak point in your thermal envelope.
A Guide to Electrical and Refrigeration Connections
All electrical and refrigeration work must be performed by licensed professionals. Attempting this work yourself can lead to equipment failure, safety hazards, and voided warranties. The cost of professional installation is far less than the cost of fixing mistakes.
Your licensed electrician will handle electrical hookups, including installing a vapor-proof light and a light switch near the door. Freezer units require door frame heaters to prevent ice buildup that could compromise the door seal. These heaters should only activate at or below freezing temperatures to prevent them from burning out prematurely.
Pressure relief vents are essential, especially for freezers, to prevent the vacuum effect that makes doors hard to open. Many include small heaters to prevent ice buildup.
The refrigeration system installation involves mounting the evaporator coil (inside) and condensing unit (outside). A certified technician will run the interconnecting piping and install the condensate drain line, which may need heat tracing for freezers.
One critical rule for any walk in cooler installation: always drill penetrations in wall panels, never ceiling panels. Wall panels handle penetrations better structurally. Every penetration must be sealed airtight once lines are run. This investment in professional work pays dividends in efficiency, reliability, and peace of mind.
Phase 4: Final Checks, Maintenance, and Troubleshooting

The job isn't done once the cooler is built. Final checks, understanding your warranty, and establishing a maintenance routine will ensure your investment lasts.
Overcoming Common Walk-In Cooler Installation Challenges
Even experienced installers face challenges during a walk in cooler installation. Most problems have straightforward solutions.
Uneven floors are the most common headache. If the floor is uneven, find the highest point with your level to use as a reference. As you lock panels together, use shim stock to raise each seam to match this high point. Seal any remaining gaps underneath with minimal expansion spray foam, trim the excess, and cover with a cove base for a clean finish.
Panel alignment issues are usually fixable with patience. If panels aren't joining smoothly, re-check your level and square measurements. Never force panels together. If they resist, something is likely out of square. Measure opposite corner-to-corner dimensions to ensure the unit is square.
Door sealing problems are energy killers. Adjust the hinges to ensure the door hangs plumb and square in its frame. Check the door sweep and magnetic gasket for proper contact. Frost or condensation around a freezer door jamb indicates an adjustment is needed.
For floorless installations, gaps under walls can appear after shimming. Fill these with minimal expansion spray foam, trim the excess, and finish with a cove base or trim for a thermal seal and a sanitary appearance.
Post-Installation Maintenance and Warranty Considerations
Proper maintenance for your walk in cooler installation begins now. It makes all the difference in performance and longevity.
Initial cleaning is the first step. Clean all surfaces with a soft cloth and mild soap with warm water. Avoid harsh chemicals and high-pressure washers, which can damage the metal and foam bonds. For stainless steel, clean in the direction of the metal grain.
Building a maintenance routine is key. Check door seals monthly, inspecting gaskets for wear and cleaning them with mild soap and water. Clean condenser coils monthly or quarterly, as this has the biggest impact on efficiency and equipment life. Lubricate hinges every two months with petroleum jelly and tighten all screws in hinges, latches, and closures.
For freezer doors, check the heater wire monthly. Frost indicates the heater may need a technician's attention. Monitor thermometer accuracy monthly by placing the probe in an ice water mixture; it should read 32°F (±2 degrees).
Understanding your warranty protects your investment. Most manufacturers offer generous coverage, but improper installation can void it. Documentation is your best friend for warranty issues. Keep all installation documents, manuals, and receipts. Warranties may be voided if installation isn't performed by qualified personnel or within specified timeframes. For specific warranty terms, always refer to the documentation provided by the manufacturer.
A well-maintained walk-in cooler will serve your restaurant for decades, keeping food safe and energy costs in check.
Frequently Asked Questions about Walk-In Cooler Installation
Here are answers to common questions about walk in cooler installation to help you plan your project.
How long does a walk-in cooler installation take?
Installation time depends on the unit's size, complexity, and the team's experience. For a standard 8'x10' unit, two experienced people can often assemble the panels in one day. However, site preparation and professional system hookups will add more time to the project.
Larger or more complex units can take several days, especially if they require site modifications or have multiple compartments. Plan for the unexpected, as weather, shipping issues, or an uneven floor can impact your timeline. Building a buffer into your installation schedule is a smart move.
Can I install a walk-in cooler myself?
Assembling the panels is often a manageable DIY project if you are handy and follow manufacturer instructions precisely. The cam-lock system is designed for ease of use, and many owners successfully tackle the structural assembly with a helper.
However, the electrical and refrigeration system connections legally and safely require licensed and certified professionals. This is often required by local codes and manufacturer warranties. The savings from DIY are not worth the risk of equipment damage, safety hazards, or voided warranties.
What is the most critical step in a walk-in cooler installation?
Without question, site preparation is the most critical step in any walk in cooler installation. Starting with a perfectly flat, level, and square foundation prevents a cascade of problems with panel alignment, door sealing, and structural integrity.
Poor site prep leads to energy inefficiencies, premature wear on components, and repairs that could have been avoided. As installation experts always say: "Site preparation will be the key to success." Get this step right, and the rest of your walk in cooler installation will go much more smoothly.
Conclusion
A successful walk in cooler installation is just the beginning. This process builds the foundation for your restaurant's food safety and operational efficiency for years to come.
The meticulous steps we've covered—from crucial site preparation to professional systems integration and establishing a maintenance routine—are all essential. Skipping or rushing steps compromises the entire operation. When you follow this checklist, you're investing in your business's future success.
Proper walk in cooler installation protects your investment, ensures food safety, and controls energy costs. A proper installation ensures decades of reliable service, while a rushed job creates a constant headache.
Understanding this process helps you recognize quality work, whether you do it yourself or hire professionals. You'll catch potential problems early and get the maximum return on your investment.
Your walk-in cooler is ready to keep ingredients fresh and customers happy. Every piece of equipment in your kitchen deserves the same attention to quality. For all your other commercial kitchen needs, from cooking to prep, explore the durable equipment at Charbroilers.com.