
Master the Art of Seasoning BBQ Grills for Perfect Flavor
Seasoning your BBQ grill isn't just about cleaning—it's about creating a protective, non-stick shield by baking oil right onto the grates. For any commercial kitchen, this process is completely non-negotiable. It’s what stops rust in its tracks, gives you that perfect, even cook, and builds the signature charbroiled flavor your customers keep coming back for.
Why a Seasoned Grill is Your Greatest Asset
In a high-volume kitchen, that charbroiler is a workhorse, and how it performs directly impacts your bottom line. Thinking of seasoning as an optional chore is a costly mistake. Instead, you need to see it as a fundamental part of equipment maintenance and quality control that pays you back with every single service.
A properly seasoned grill grate gets coated with a hard, slick surface. This happens through a process called polymerization, where hot oil literally bonds to the metal. This barrier is your first and best defense against the constant assault of moisture and acidic marinades, which can destroy expensive cast iron grates with rust and corrosion.
The Core Benefits of Seasoning
When you get seasoning right, you unlock three huge advantages for your professional kitchen:
- Equipment Longevity: You'll dramatically extend the life of your charbroiler. That rust-proof shield is protecting a major investment.
- Operational Efficiency: The natural non-stick surface means delicate foods like fish or marinated chicken won't stick and tear. This cuts down on food waste and helps speed up service when you're in the weeds.
- Superior Food Quality: A seasoned grate promotes even heat distribution, getting rid of hot spots that ruin a good sear. It ensures consistent results and is key to developing that rich, smoky flavor profile.
This infographic really shows how these benefits build on each other.
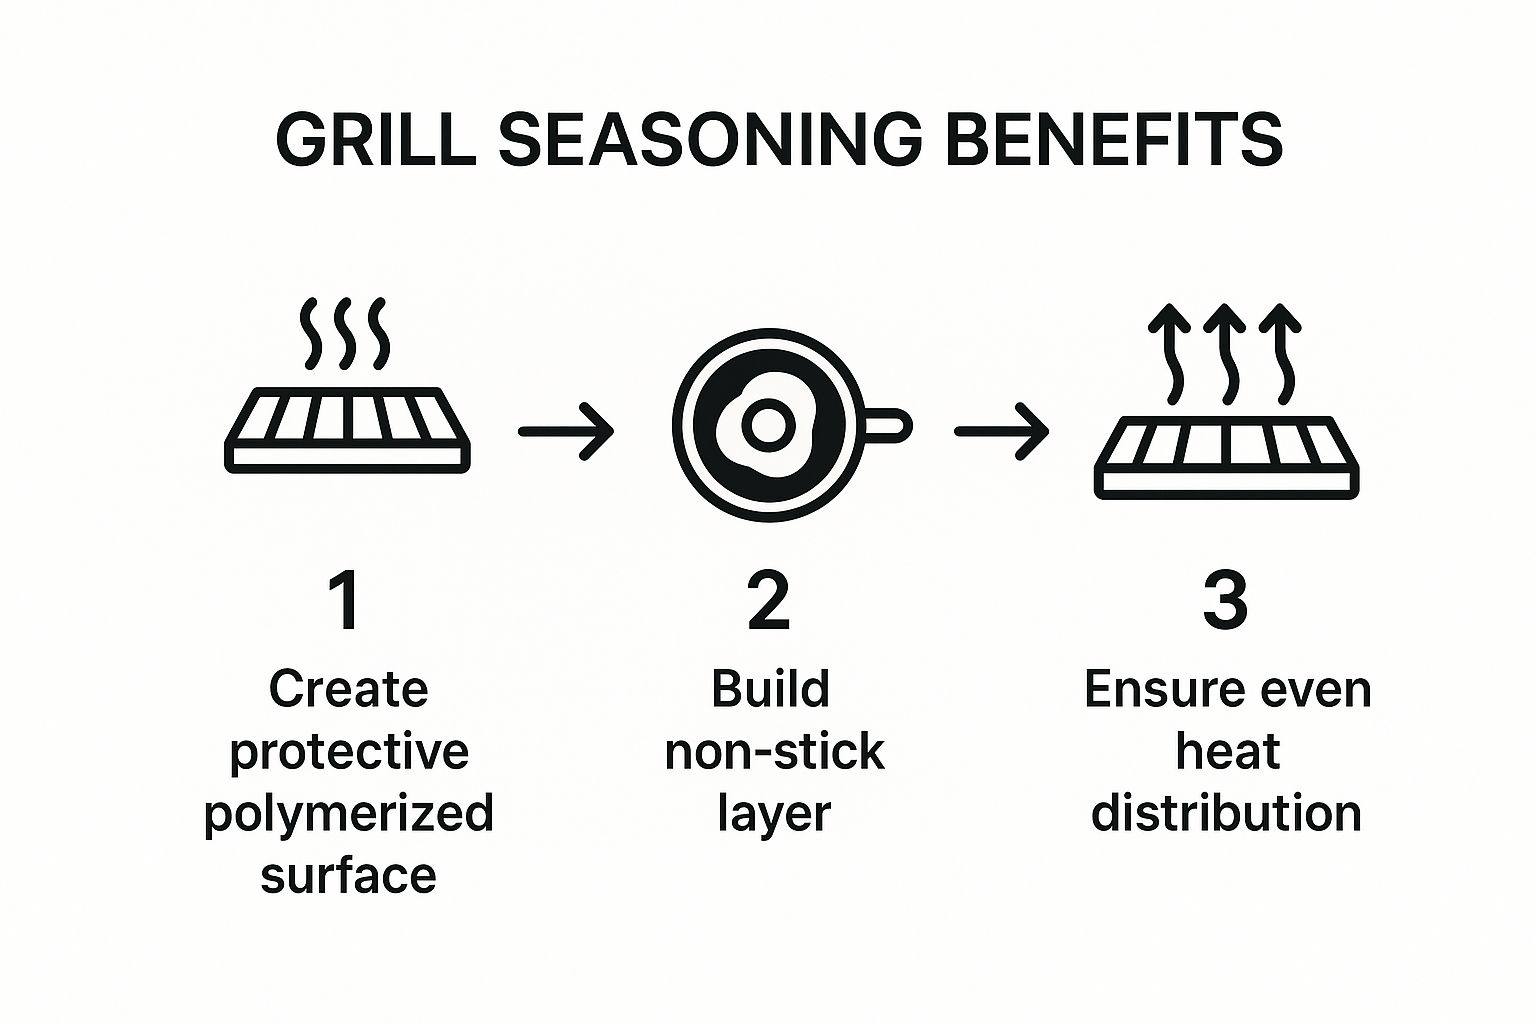
As you can see, it all starts with protecting the equipment, which leads to better heat management and, ultimately, a superior final product.
The secret to a perfect charbroil isn't just the heat; it's the history baked onto the grates. Each layer of seasoning contributes to a non-stick shield that makes cooking cleaner and more consistent.
This foundational technique is more important than ever, especially as the global demand for grilled foods continues to climb. The barbeque grill market was valued at USD 5.28 billion and is projected to hit USD 7.08 billion by 2030, all driven by customers who want those flavorful, grilled dishes. Your ability to deliver that experience starts with a perfectly seasoned grill.
If you want to truly master this process, it helps to understand the science behind it. For example, exploring the principles of seasoning cast iron skillets provides some excellent foundational knowledge that applies directly to your grill grates.
Choosing The Right Oil For Seasoning Commercial Grills
Not all oils are created equal when it comes to seasoning. The key is the smoke point—the temperature at which the oil starts to break down and smoke. For the high heat of a commercial charbroiler, you need an oil with a high smoke point that can withstand the intense temperatures without burning. A low smoke point oil will just create a sticky, acrid mess.
This table is a quick cheat sheet for picking the right tool for the job.
| Oil Type | Smoke Point (°F) | Best For | Notes |
|---|---|---|---|
| Grapeseed Oil | 420°F | Initial seasoning & daily maintenance | Neutral flavor, relatively affordable. A great all-around choice. |
| Canola Oil | 400°F | General seasoning | Inexpensive and widely available. Solid option for most kitchens. |
| Avocado Oil | 520°F | High-heat applications | Extremely high smoke point, but it's more expensive. Best for specialty grills. |
| Flaxseed Oil | 225°F | Avoid for grills | While great for home skillets, its low smoke point makes it unsuitable for high-temp commercial grills. |
| Olive Oil | 375°F | Avoid for seasoning | Low smoke point and strong flavor profile that can go rancid. Save it for finishing dishes. |
Ultimately, grapeseed or canola oil will be your best bet for reliability and cost-effectiveness. They hit that sweet spot of a high smoke point and neutral flavor, ensuring you build a tough, durable, and clean-tasting seasoning layer.
The First Seasoning For a Brand New Grill
Unboxing a new commercial charbroiler is always a good day, but your first job is also the most important. Getting that initial layer of seasoning right on a brand-new grill sets the foundation for its entire lifespan. Get this part right, and you'll have a workhorse that performs flawlessly from day one. It's not a complicated process, but it is crucial for creating that durable, non-stick surface every kitchen needs.
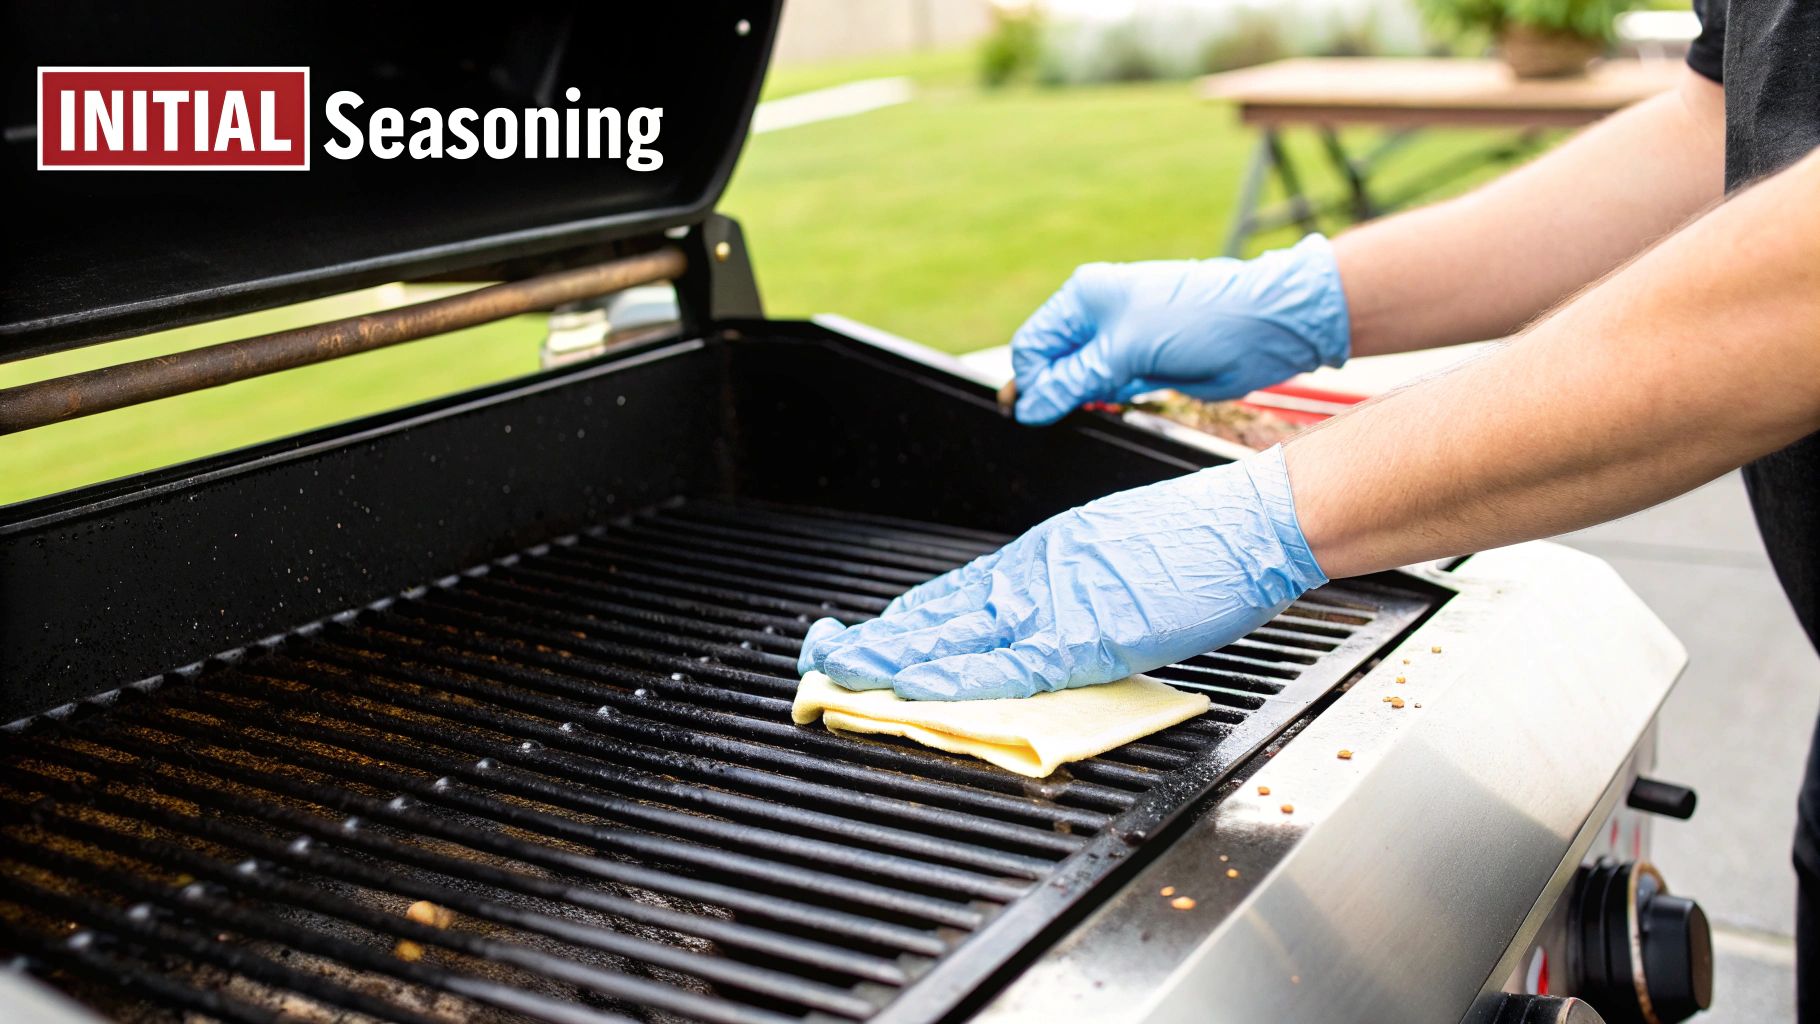
First things first, you have to deal with the protective coating from the factory. Manufacturers apply a thin layer of industrial oil or wax to stop rust from forming during shipping. This stuff is not food-safe and has to be completely removed before you even think about the seasoning process for your bbq grill.
Don't reach for harsh chemicals. All you need is a bucket of hot, soapy water and a good scrub brush to get it all off.
Once you’ve scrubbed the grates clean, rinse them with fresh water and dry them completely. This is the step people always rush, and it’s a huge mistake. Any trapped moisture will just turn to steam under the new seasoning, creating little pockets where rust can form and stopping the oil from bonding to the metal. Use a lint-free cloth or heavy-duty paper towels to get them bone dry.
Applying the Oil and Kicking Off Polymerization
Now for the main event. Your goal here is to apply an almost invisible, ultra-thin layer of oil, not to slather the grates. Using too much oil is the single most common mistake I see, and it always results in a sticky, gummy mess that never hardens properly.
To nail it, just follow these simple actions:
- Pour a small amount of a high-smoke-point oil (grapeseed or canola work great) onto a clean, lint-free cloth.
- Wipe that oil evenly across every single surface of the grates—top, bottom, and all the sides.
- Now, grab a second, completely clean cloth and wipe off all the excess oil. It should honestly look like there's almost nothing left on the surface.
That razor-thin coat is all you need for the oil to polymerize, which is just the fancy term for it bonding with the metal. Finding the right gear for your kitchen can be a challenge, and for any business in California, it's worth checking out a top-tier Los Angeles restaurant equipment supplier to make sure you start with high-quality equipment built for this kind of heavy use.
Finally, it's time to bring the heat. Put the oiled grates back in the charbroiler and fire it up to a medium-high temperature, somewhere around 400-450°F. Let it cook for about an hour. You'll start to see some smoke, but don't panic—this is a good thing. It’s the sign that polymerization is happening.
After that hour, you'll see the transformation. The metal will have darkened into a deep, semi-gloss black sheen. That's your visual proof that you've successfully created the first protective, non-stick layer of seasoning.
Turn off the heat and let the grill cool down completely on its own. Your new charbroiler is now officially ready for service, prepped to deliver consistent results and stand up to the brutal demands of a busy commercial kitchen.
Daily Maintenance For a Perfectly Seasoned Surface
That incredible, non-stick seasoning on your charbroiler isn't a one-and-done deal. It's forged in the fire, day after day, with a consistent maintenance routine. In the controlled chaos of a commercial kitchen, this rhythm is what separates a peak-performing grill from a rusty, sticky mess. The best part? It's a quick, simple process that's far more effective than any marathon deep-cleaning session.
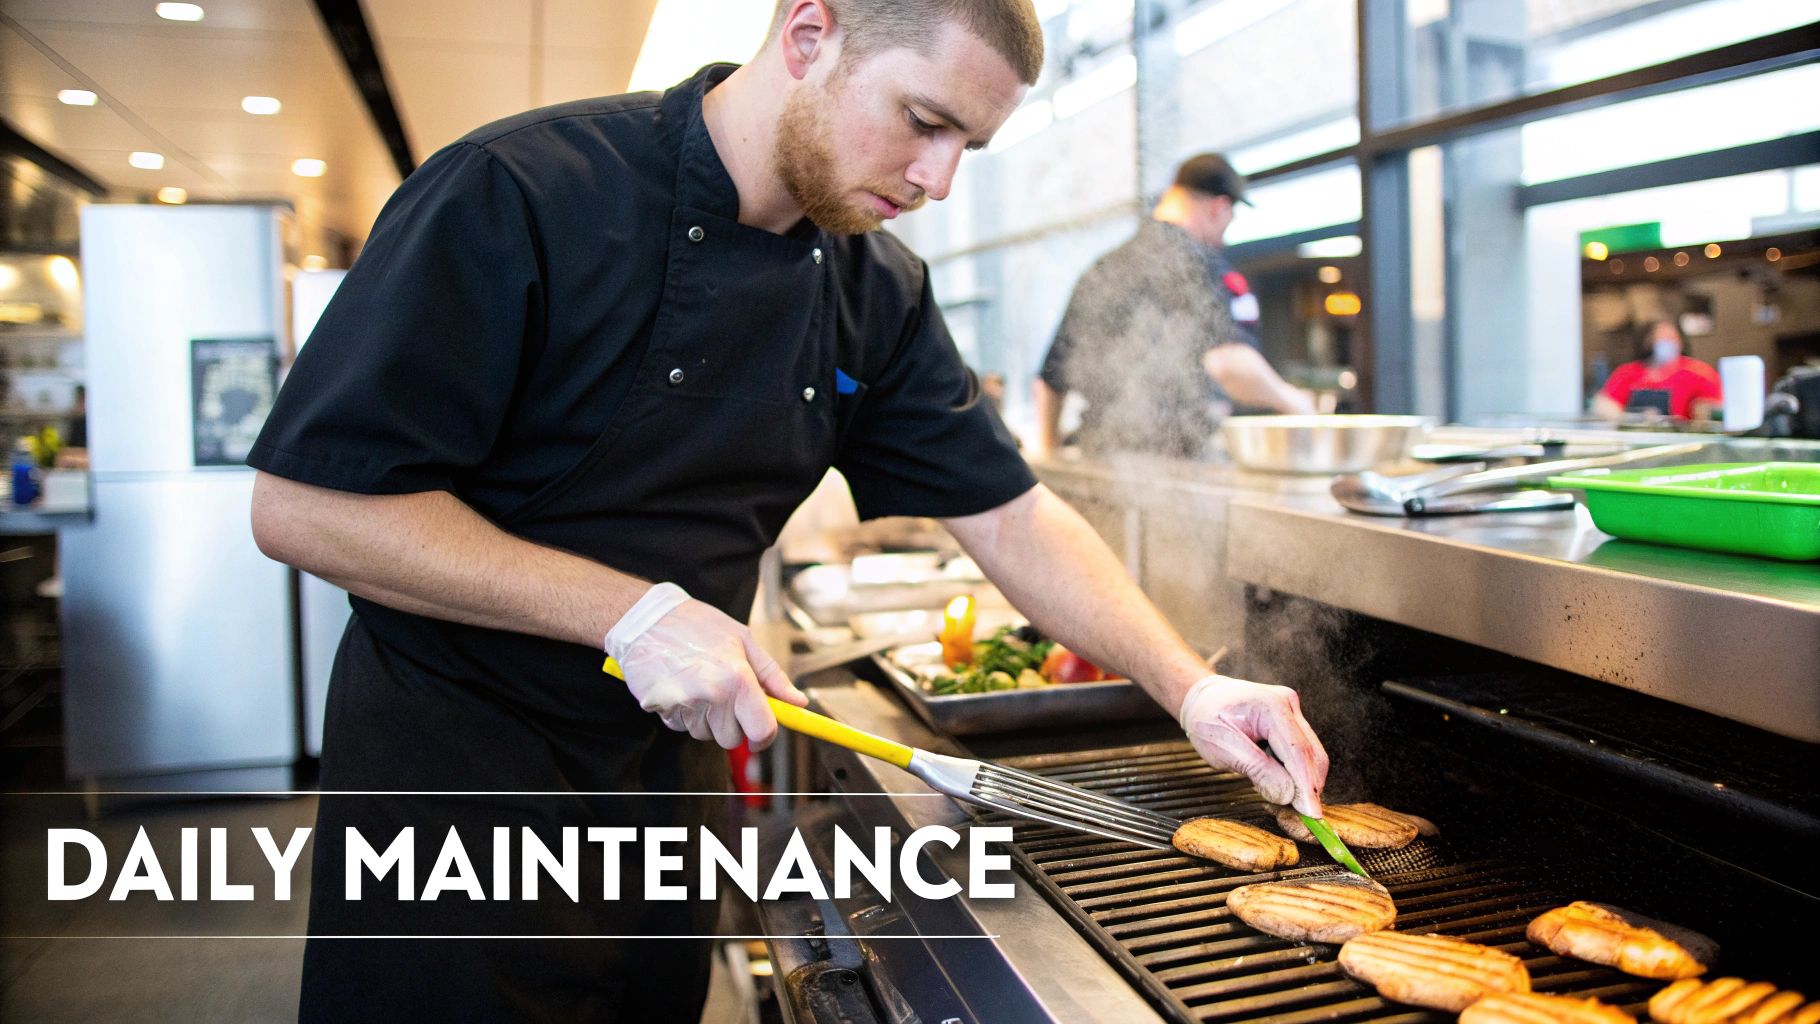
The real secret lies in what you do right after service wraps up. A solid post-service routine is all about a good grill brush and scraper—not harsh chemicals. Abrasive cleaners and heavy-duty degreasers are the enemy here; they'll strip away all your hard work, taking that beautiful seasoning right off with the grease and leaving the bare metal exposed to rust.
Instead, get to it while the grill is still warm but not blazing hot. Grab a sturdy wire brush and scrape off any leftover food debris. This is the magic window when stuck-on bits come off with minimal effort.
The Two-Minute Re-Seasoning Ritual
Once you've brushed the grates clean, it's time for a quick re-seasoning. This simple step is what reinforces that polymerized layer, protecting the cast iron and getting it ready for the next day's battle. Think of it as preventative maintenance that pays huge dividends down the line.
Here’s all there is to it:
- Wipe Down: Grab a clean, lint-free cloth or a few heavy-duty paper towels.
- Apply Oil: Pour a tiny bit of high-smoke-point oil (grapeseed or canola work great) onto the cloth, not directly on the grates.
- Coat Lightly: Give all the warm grate surfaces a quick, thin wipe-down. Just like with the initial seasoning, less is always more. You're going for a sheen, not a puddle.
And that's it. This entire process takes less than two minutes, but it makes a world of difference in building and maintaining that perfect, non-stick cooking surface.
A daily wipe-down with oil on a warm grill is the single most effective habit for building a durable, glass-like seasoning. It actively fights rust and reinforces the non-stick properties every single time you do it.
Proper seasoning for your bbq grills is an ongoing commitment, not a one-time chore. This daily ritual also does wonders for managing grease buildup. By scraping when the grill is still warm, you stop grease from hardening into a stubborn, carbonized layer that’s a nightmare to clean.
And if a flare-up happens mid-service? Resist the urge to douse it with water—that's a great way to crack the grates and ruin your seasoning. Just move the food to a cooler spot and briefly shut off the heat to let the flames die down on their own.
Bringing a Neglected or Rusted Grill Back to Life
Walking into a newly acquired kitchen and finding a rusted-out charbroiler shoved in a corner doesn’t automatically mean a big hit to your equipment budget. Think of it as a restoration project. With a bit of focused work, you can strip that neglected grill right back to its glory days, turning what looks like scrap metal into a high-performing workhorse.
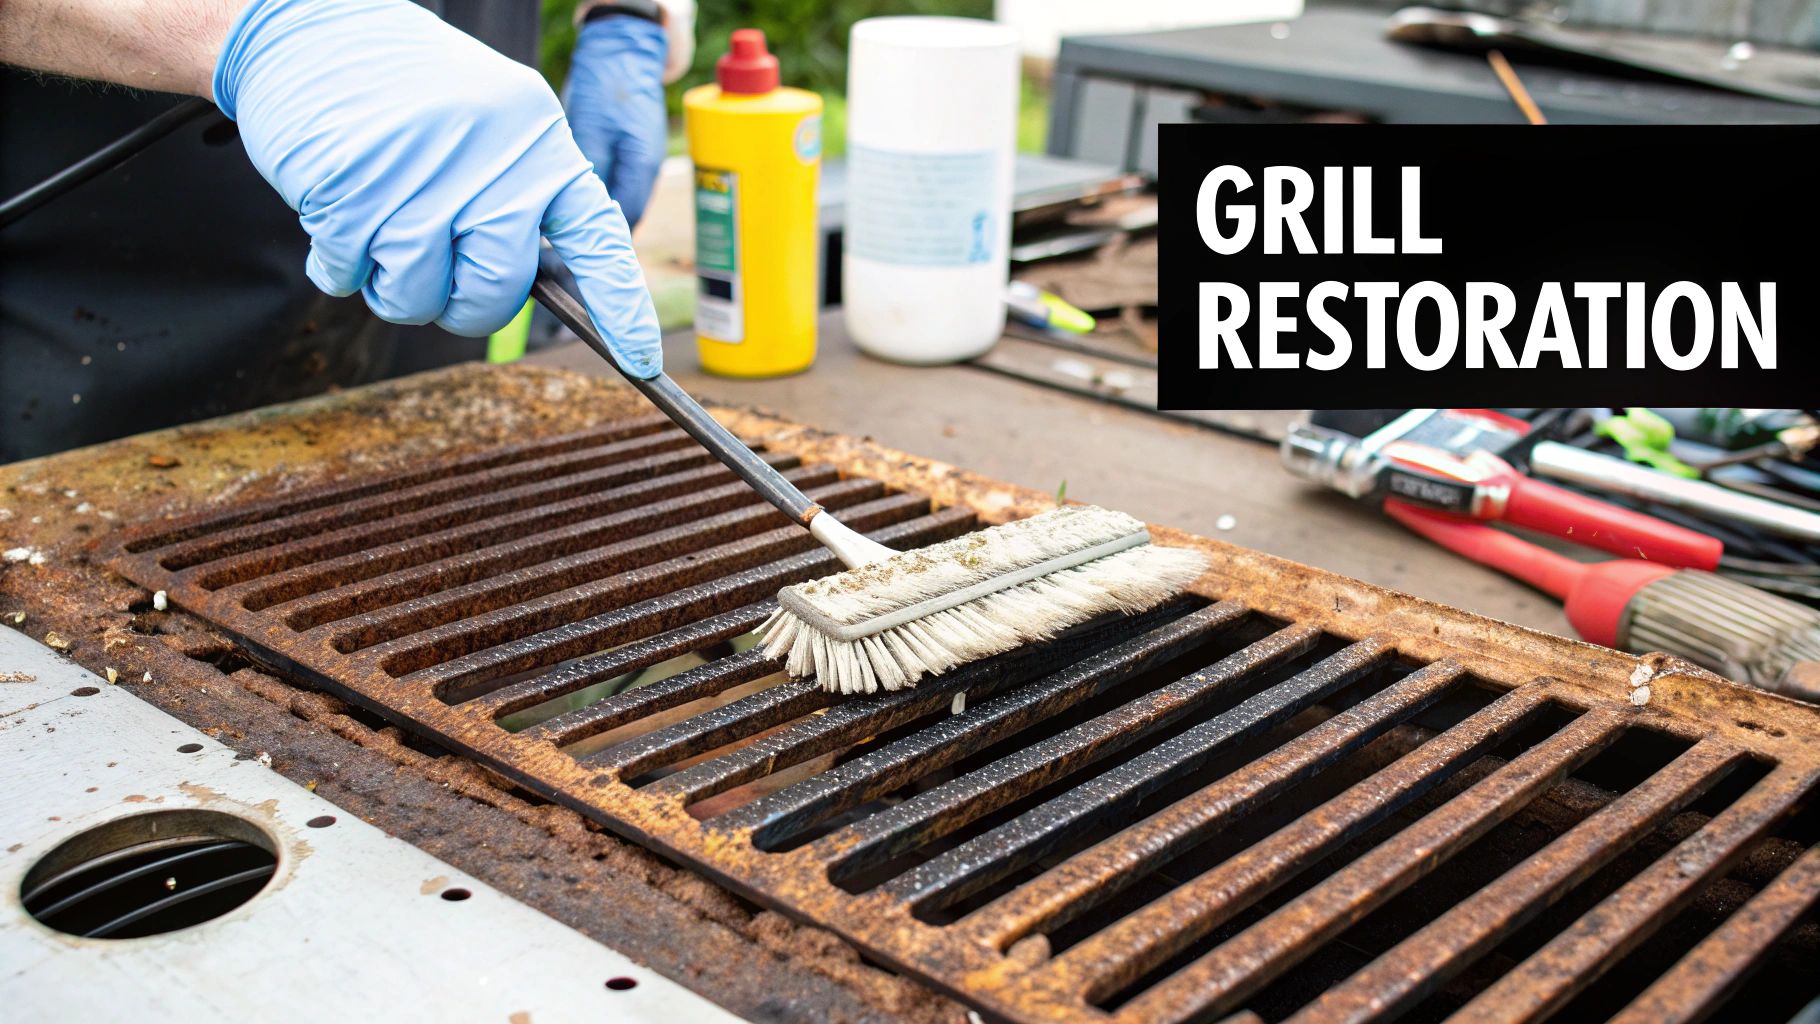
The whole process boils down to two things: aggressive cleaning and a complete re-seasoning. Your goal is to physically remove every last speck of rust and caked-on carbon, getting those grates back to bare, raw metal. This is a hands-on job, so grab the right tools and get ready for some serious elbow grease.
Stripping the Grates to Bare Metal
For this part of the job, your best friends are a heavy-duty wire brush, a tough metal scraper, and a good pair of heat-resistant gloves. First, fire up the grill to high heat to burn off any of the loose gunk. Then, let it cool down until it's just warm to the touch—not cold, but not hot enough to burn you.
Now the real work begins. Use that scraper to knock off the thick, chunky layers of carbon buildup. Once that’s done, switch to the wire brush and really attack the rust. You’ll need to put some muscle into it to get into every groove and corner.
The biggest mistake I see people make is leaving little patches of rust or carbon behind. Any contamination you miss will stop the new seasoning from bonding correctly, creating a weak spot that’s guaranteed to fail and start flaking off.
After you’ve scraped and brushed away all the visible rust and grime, give the grates a good scrub with hot, soapy water. This cleans off all the fine dust and particles left from the brushing. The next step is critical: you have to get them bone-dry, immediately. Towel them off first, then put them back on the grill and heat them for a solid 10-15 minutes to force every last drop of moisture to evaporate.
Building a New Seasoning Layer From Scratch
With clean, dry, bare metal grates, you’re essentially starting over with a brand-new grill. The re-seasoning process is the exact same one you’d use for new equipment, but it’s even more important here. You need to build a rock-solid protective layer from the ground up.
- Apply an Ultra-Thin Oil Coat: Grab a high-smoke-point oil (like canola or grapeseed) and a lint-free cloth. Wipe a super thin layer over every inch of the grate surface.
- Wipe Off the Excess: This sounds counterintuitive, but now you take a clean, dry cloth and wipe off as much of that oil as you can. The metal should look almost dry, with just a slight sheen.
- Heat to Polymerize: Put the grates back on the charbroiler and crank the heat to 400-450°F. Let them cook for about an hour, or until all the smoke stops. What you’re left with is a dark, black, non-stick finish.
This process takes a potential health hazard and turns it into a perfectly functional, reliable piece of cooking equipment. Of course, if you’re looking at a kitchen that needs a complete overhaul, a professional San Diego restaurant supply team can help you figure out what’s worth saving and what needs to go. Ultimately, proper seasoning for bbq grills is what makes restored equipment perform just like new.
Advanced Seasoning Techniques For Pro Chefs
Once you’ve got the basics down, it’s time to move on to the techniques that truly separate the pros from the amateurs. I’m talking about achieving that coveted, glass-like grill surface. This isn't about slapping on a single, heavy coat of oil and calling it a day. The real art is in building multiple, razor-thin layers of seasoning over several heat cycles. Each time you do this, you're creating a new microscopic layer of polymerized oil that bonds to the metal, building an exceptionally durable and non-stick finish.
Precision in Oil and Temperature
When you get to this level, your choice of fat really starts to matter. Canola oil is a reliable workhorse, but many experienced chefs have their favorites. Grapeseed oil, for example, is popular because it has a neutral flavor and creates a really hard, slick coat. Some old-school purists even swear by flaxseed oil, as its high omega-3 content polymerizes into one of the hardest surfaces you can get.
This is where modern equipment really gives you an edge. The rise of smart and eco-friendly grills with precise digital temperature controls makes the seasoning process for bbq grills more of a science than a guessing game.
The secret to a pro-level seasoning is patience and layers. Apply an incredibly thin coat of oil, heat it until it just starts to smoke and polymerize, let it cool completely, and do it all over again. Three or four cycles will give you a finish that a single, thick coat could never match.
It’s no surprise that the barbeque grill market is increasingly driven by these smarter solutions. Pellet grills, for instance, are seeing a 6.71% CAGR through 2030, and a big reason is that their digital controls give chefs the consistency needed for advanced techniques like multi-layer seasoning. Creating high-quality content that explains these advanced techniques is where specialized article writing and blogger outreach become crucial for equipment suppliers.
For more tips on elevating your kitchen's performance and marketing, feel free to browse our collection of expert blog posts.
Common Questions About Grill Seasoning
Even with the best instructions, a few questions always seem to pop up in the heat of a busy commercial kitchen. Let's tackle some of the most common things chefs and line cooks ask about seasoning on bbq grills. Getting these details straight is what keeps your equipment in peak condition, performing flawlessly service after service.
One of the first things people wonder is how often they need to do a full, strip-down re-seasoning. The short answer? Almost never. A quick, light re-seasoning—just wiping a whisper-thin layer of oil on the warm grates after cleanup—should be a daily ritual. A complete overhaul is only for emergencies, like when you're dealing with serious rust or someone accidentally nuked the seasoning with harsh chemicals.
Getting the Details Right
Then there’s the question of oil. Can’t you just grab a can of cooking spray and give the grill a quick blast? We strongly advise against it. Most of those aerosol sprays are loaded with emulsifiers and propellants that leave behind a sticky, gummy film instead of that hard, polymerized surface you're after. For a clean, durable finish, always stick with a pure, high-smoke-point cooking oil applied with a cloth.
The single biggest mistake you can make when seasoning a grill is using too much oil. A thick coat will never polymerize correctly; it pools and turns into a tacky, greasy mess. An incredibly thin, almost invisible layer is all you need for the heat to work its magic.
The material of your grates also changes the game a bit. Does the process differ for classic cast iron versus modern stainless steel? The core steps—clean, oil, heat—are the same, but how the metal behaves is key.
- Cast Iron: This stuff is porous and holds seasoning like a dream, creating a fantastic non-stick surface. But, and it's a big but, it’s also extremely prone to rust the second that protective layer is compromised.
- Stainless Steel: It's tough and highly rust-resistant, but its non-porous surface means the seasoning doesn't bond quite as deeply. You'll likely need to do those light, daily re-seasonings more consistently to keep it performing at its best.
Ultimately, understanding these nuances is what separates a well-maintained grill from a problem one. It’s all about reinforcing the core principles of good grill care. To ensure your restaurant supply website ranks for these topics, investing in SEO and local citation services is key to connecting with chefs searching for this information.
At Charbroilers.com, we know that high-quality equipment is the foundation of any great kitchen. Explore our wide selection of commercial charbroilers designed for durability and perfect results at https://charbroilers.com.