

How to Remove Rust from Barbecue Grills for Good
Tackling rust on a commercial barbecue grill isn't just about a deep clean. It's about scraping off that loose corrosion, hitting the grates with a food-safe solution like vinegar and salt, and then—this is the most important part—re-seasoning them with a high-smoke-point oil. This whole process does more than just restore the cooking surface; it builds a protective wall against future rust. When it comes to your grill, proper maintenance is everything, and a well-maintained grill is key for any restaurant equipment supply business.
Why Your Grill Rusts and What You Can Do About It
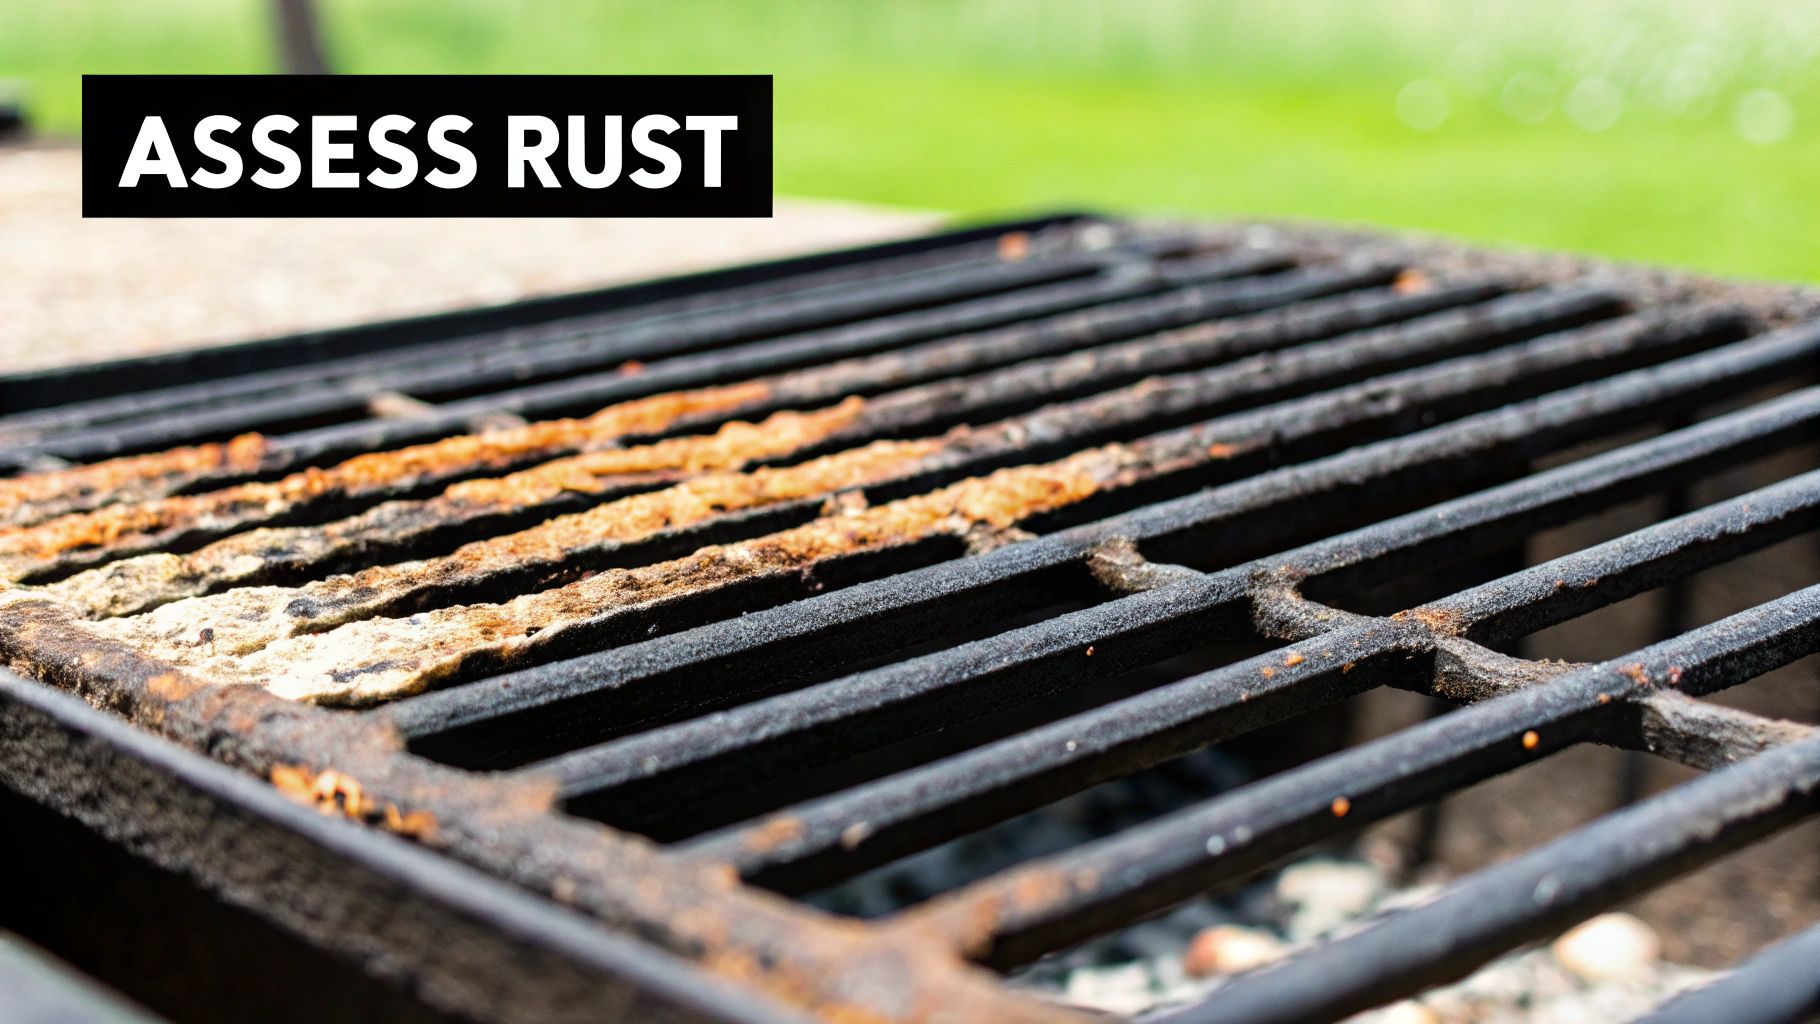
Before you grab the scraper, it helps to know what you're up against. Rust, or iron oxide, is what happens when iron or steel meets oxygen and moisture. For a commercial grill that lives outdoors and works hard, it's the perfect storm.
The main culprits are usually a mix of humidity, rain, and the acidic stuff left behind from marinades and food drippings. It doesn't matter if your setup has rugged cast iron or durable stainless steel grates—neither one is totally safe from corrosion without the right care. For a deeper dive into the science, even resources from other industries on understanding the mechanisms of corrosion can offer some seriously valuable insights.
The Power of Prevention Through Seasoning
Look, the best way to manage rust isn't scrubbing it off after it appears. It's stopping it from forming in the first place. Your single best defense is to keep your grill grates properly seasoned. Think of it just like you would a cast-iron skillet in a busy kitchen; the mission is to build up a tough, non-stick layer.
This process is called polymerization. You apply a thin coat of cooking oil and then heat the grill. That heat transforms the oil into a hard, plastic-like coating that literally seals the pores of the metal. This creates a barrier that shields it from moisture and air—rust’s two best friends.
A well-seasoned grill doesn't just prevent rust. It flat-out improves your cooking by creating a naturally non-stick surface. That means better grill marks, less food sticking and tearing, and way faster cleanup during a busy service.
Once you’ve cleaned your grill, preventing rust from coming right back is crucial. Top grill manufacturers always stress applying vegetable or canola oil to the grates as soon as they're clean and dry. This simple step dramatically reduces the metal's exposure to oxygen, slowing rust down before it can even start.
In fact, maintenance programs that include consistent oil seasoning report a rust reduction of more than 60%, especially in humid climates. It’s a small step that makes a huge difference in the longevity of your equipment. This is the kind of practical, expert content and copywriting that helps restaurant equipment businesses thrive.
Assembling Your Rust Removal Toolkit
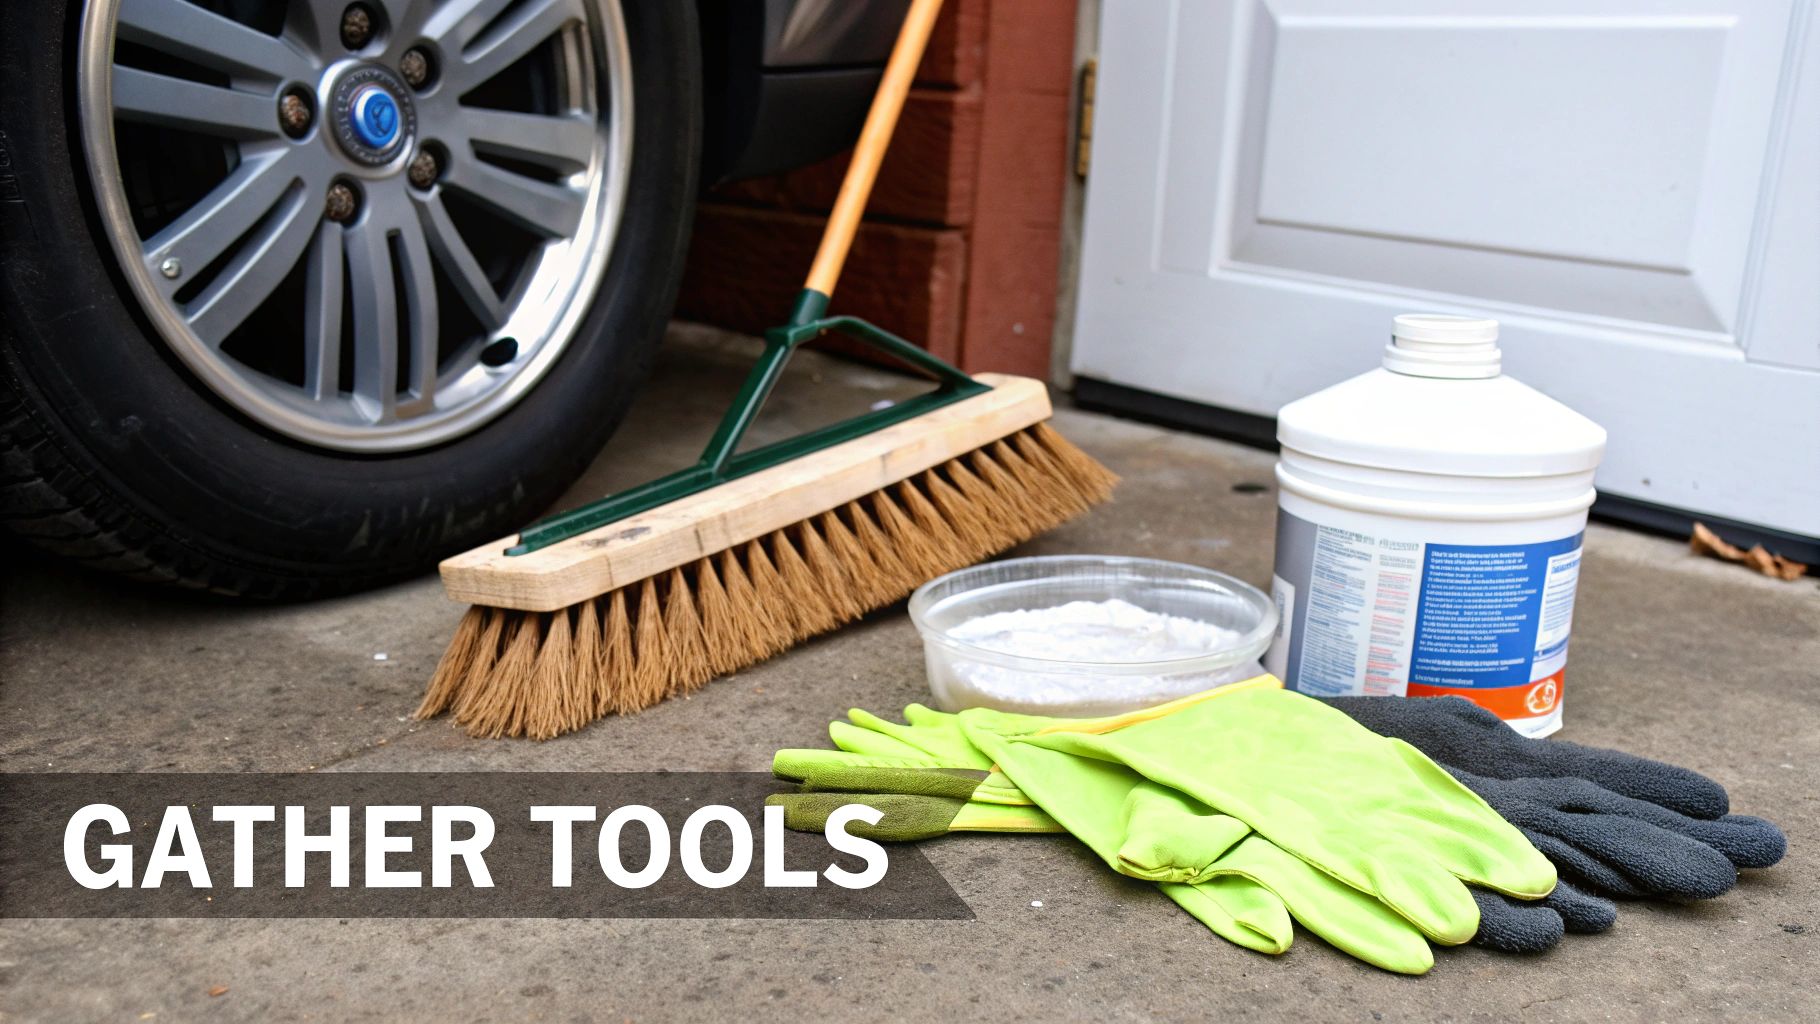
Before you even think about tackling the rust on your barbecue grill, you need to get your supplies in order. There's nothing worse than getting halfway through a job only to realize you're missing a crucial tool.
Gathering everything first makes the difference between a quick afternoon fix and an all-day headache. Your toolkit will look different depending on just how bad the rust is. For a bit of light surface rust, you can probably get away with things you already have in your kitchen. Heavy-duty corrosion, though, calls for bigger guns.
Essential Safety and Cleaning Gear
First things first: safety. You do not want rust particles or cleaning solutions getting on your skin or in your eyes. It’s a recipe for a bad day.
Start with the absolute must-haves:
- Heavy-Duty Gloves: These will protect your hands from both the abrasive surfaces and whatever cleaning solution you end up using.
- Safety Glasses: A non-negotiable. Tiny flecks of rust will fly everywhere once you start scrubbing, and you want to keep them out of your eyes.
Once you’re geared up, think about your cleaning agents. Stay away from harsh, generic household chemicals. They can strip your grill’s finish or, worse, leave behind residues that aren't safe for a cooking surface. Instead, stick with proven, food-safe options.
When it comes to natural rust removal, your best friends are white vinegar and baking soda. The acetic acid in vinegar is brilliant at dissolving rust, and baking soda makes a fantastic, gentle abrasive paste for scrubbing away those stubborn spots.
Tools for Scrubbing and Scraping
The last piece of the puzzle is what you'll use for the actual elbow grease. Whether you need a simple brush or a more aggressive scraper really just depends on the state of your grill.
A stiff brass bristle brush is usually the perfect tool for the job. It's tough on rust but softer than stainless steel, which means it’s far less likely to scratch up your grill grates.
If you're dealing with serious rust buildup, you might need a sturdy putty knife or scraper to lift off the thick, flaky patches before you get into the finer scrubbing. To make sure you're properly equipped, it's a good idea to research some effective cleaning supplies that fit the job.
Many commercial kitchens source their heavy-duty gear from specialized outlets, and you can often find similar professional-grade tools from a Dallas restaurant supply provider. For these suppliers, providing great information through blog posting and article writing is essential for SEO success.
Using Food-Safe Methods for Light Rust
When you’re dealing with that light, surface-level rust that seems to pop up after a humid weekend or a lazy cleanup, you don’t always need to break out the heavy-duty chemicals. In fact, some of the best solutions are probably already in your pantry. Using common household items is a great, food-safe way to get your grill back in shape without worrying about harsh residues. These methods are my go-to for routine maintenance and minor flare-ups.
One of the most reliable tricks in the book is a simple vinegar and salt soak. The acetic acid in plain white vinegar is a natural rust-eater, and the salt gives it a bit of abrasive kick to help lift the corrosion off the surface. It’s a powerful duo that’s still gentle enough for your grates, breaking down rust without stripping the metal—a big plus for cast iron grates where you want to protect that hard-earned seasoning.
If you're dealing with stubborn patches, a thick baking soda paste is another fantastic option. Just mix baking soda with a little water until you have a gritty, spreadable paste. Slather it directly onto the rusty spots, let it sit for 20-30 minutes, and then get to work with a soft bristle brush. It works wonders on those concentrated areas where a simple spray-down just won’t cut it.
Choosing Your Natural Cleaning Method
Not sure which kitchen-friendly method to try first? Sometimes it just comes down to what you have on hand and how much time you've got.
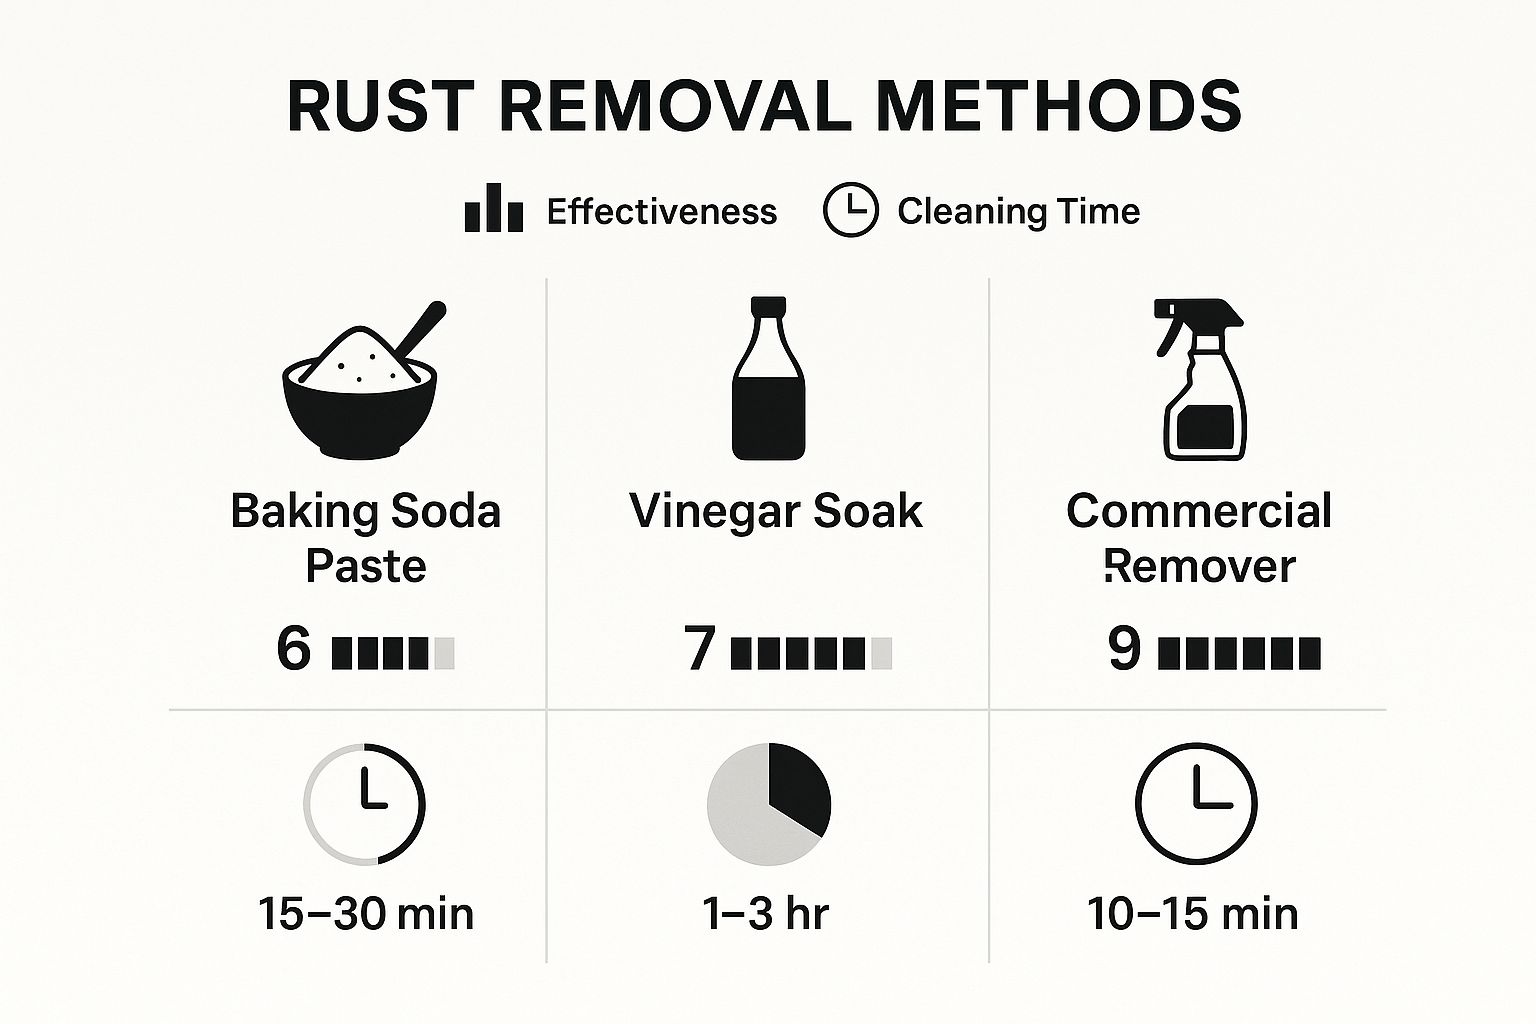
As you can see, commercial removers are definitely the fastest route, but natural methods like a good old-fashioned vinegar soak are surprisingly effective if you have a little patience.
This really backs up what I’ve seen time and time again. Most grill rust—over 70% of it, in fact—isn't because the grill is low quality, but because of improper cleaning and storage. When done right, acidic solutions can eliminate up to 90% of rust from grill grates. A popular technique is to mix two parts vinegar to one part salt in a spray bottle, coat the grates, and then seal them in a heavy-duty plastic bag overnight. This gives the solution maximum time to work its magic. You can find more great tips on these methods in various guides on how to clean rusty grill grates.
To help you choose the best approach for your grill, here’s a quick breakdown of the most common natural rust removal methods.
Natural Rust Removal Method Comparison
| Method | Best For | Required Time | Effectiveness |
|---|---|---|---|
| Vinegar & Salt Soak | Widespread light rust, especially on removable grates | 8-12 hours (overnight) | High |
| Baking Soda Paste | Stubborn, concentrated rust spots on any surface | 30-60 minutes | Medium to High |
| Lemon Juice & Salt | Minor surface rust, quick touch-ups | 1-2 hours | Medium |
| Onion Rub (Hot Grill) | Very light rust & grime, post-cook cleaning | 5-10 minutes | Low (for cleaning) |
Each of these methods has its place, and choosing the right one often depends on the severity of the rust and how much time you can spare.
Pro Tip: For a quick, old-school trick, try using a halved onion. While the grill is still hot, spear half an onion on a grill fork and rub it vigorously over the grates. The onion's natural acids create a steam-cleaning effect that helps lift away minor rust and stuck-on gunk.
Ultimately, working these simple, food-safe practices into your regular cleanup routine is the best defense against light rust. It keeps your grill safe for cooking, ensures your food tastes the way it should, and helps you get more years out of your equipment.
How to Tackle Heavy Rust on Grill Grates
When that light surface rust you’ve been ignoring finally digs in and becomes deep, pitted corrosion, it’s time to get serious. We’re moving past the gentle stuff and into a more aggressive strategy. This is for those commercial grills that have truly seen some action and need a real intervention to get back to peak cooking performance and safety. Don't worry, bringing them back from the brink is totally doable with the right approach.
For those seriously corroded grates, your best friend is often good old-fashioned mechanical removal. This is where a wire wheel attached to a power drill really shines. First, make sure the grate is secured on a stable surface—you don't want it flying across the kitchen. Then, just methodically work the wire wheel over all the rusted spots. The idea is to strip away all that flaky, deep-seated rust without gouging the metal underneath. Keep the drill moving in smooth, even passes.
Considering Commercial Rust Removers
If power tools aren't your thing, commercial rust removers offer a powerful chemical alternative. These products are designed to dissolve iron oxide fast, but you have to be careful about which one you pick. Always, and I mean always, choose a product that is explicitly labeled as food-grade or food-safe. The last thing you want is to contaminate your cooking surface with nasty chemicals.
When you use these products, follow the manufacturer's directions to the letter. It usually involves applying the solution, letting it do its thing for a specific amount of time, and then giving it a good scrub.
The most critical step when using a commercial cleaner is the rinse. You must rinse the grates thoroughly with clean water multiple times to ensure every trace of chemical residue is gone. Any leftover chemicals can be hazardous when heated.
Exploring Traditional Methods
Old-school grill masters have been dealing with rust for ages, and they’ve come up with some effective techniques. A classic method for getting rust off barbecue grill grates involves a one-two punch of heat and ammonia. This approach works wonders on moderate corrosion that’s built up from moisture and old food. The process is simple: crank up the grill to burn off the grease and loosen the rust, then scrub the cooled grates with ammonia to dissolve what's left. If you want a deeper dive, you can check out some detailed guides on historical grill maintenance.
Sometimes, a deep clean reveals that the damage is just too significant, and it’s time for a replacement. For restaurant owners who need to source new grates or other heavy-duty parts, it pays to look into specialized suppliers. You can often find durable, high-quality replacement parts from a Seattle restaurant equipment provider that gets the unique demands of a busy commercial kitchen. Effective local citation services can help customers find these suppliers when they need them most.
The Final Step: Seasoning and Protecting Your Grill
Once you've done the hard work of scrubbing away every last bit of rust, the job is only half-finished. Honestly, protecting that newly cleaned metal is what really matters for the long haul. This final stage is all about creating a durable shield to prevent corrosion from creeping back in.
The most important part of this process is seasoning. After you’ve scrubbed the grates clean, they need to be bone-dry. Even a little lingering moisture can undermine all your effort. I always towel-dry them first, then pop them back on the grill over low heat for a few minutes. That ensures every last drop of water has evaporated.
Building Your Protective Barrier
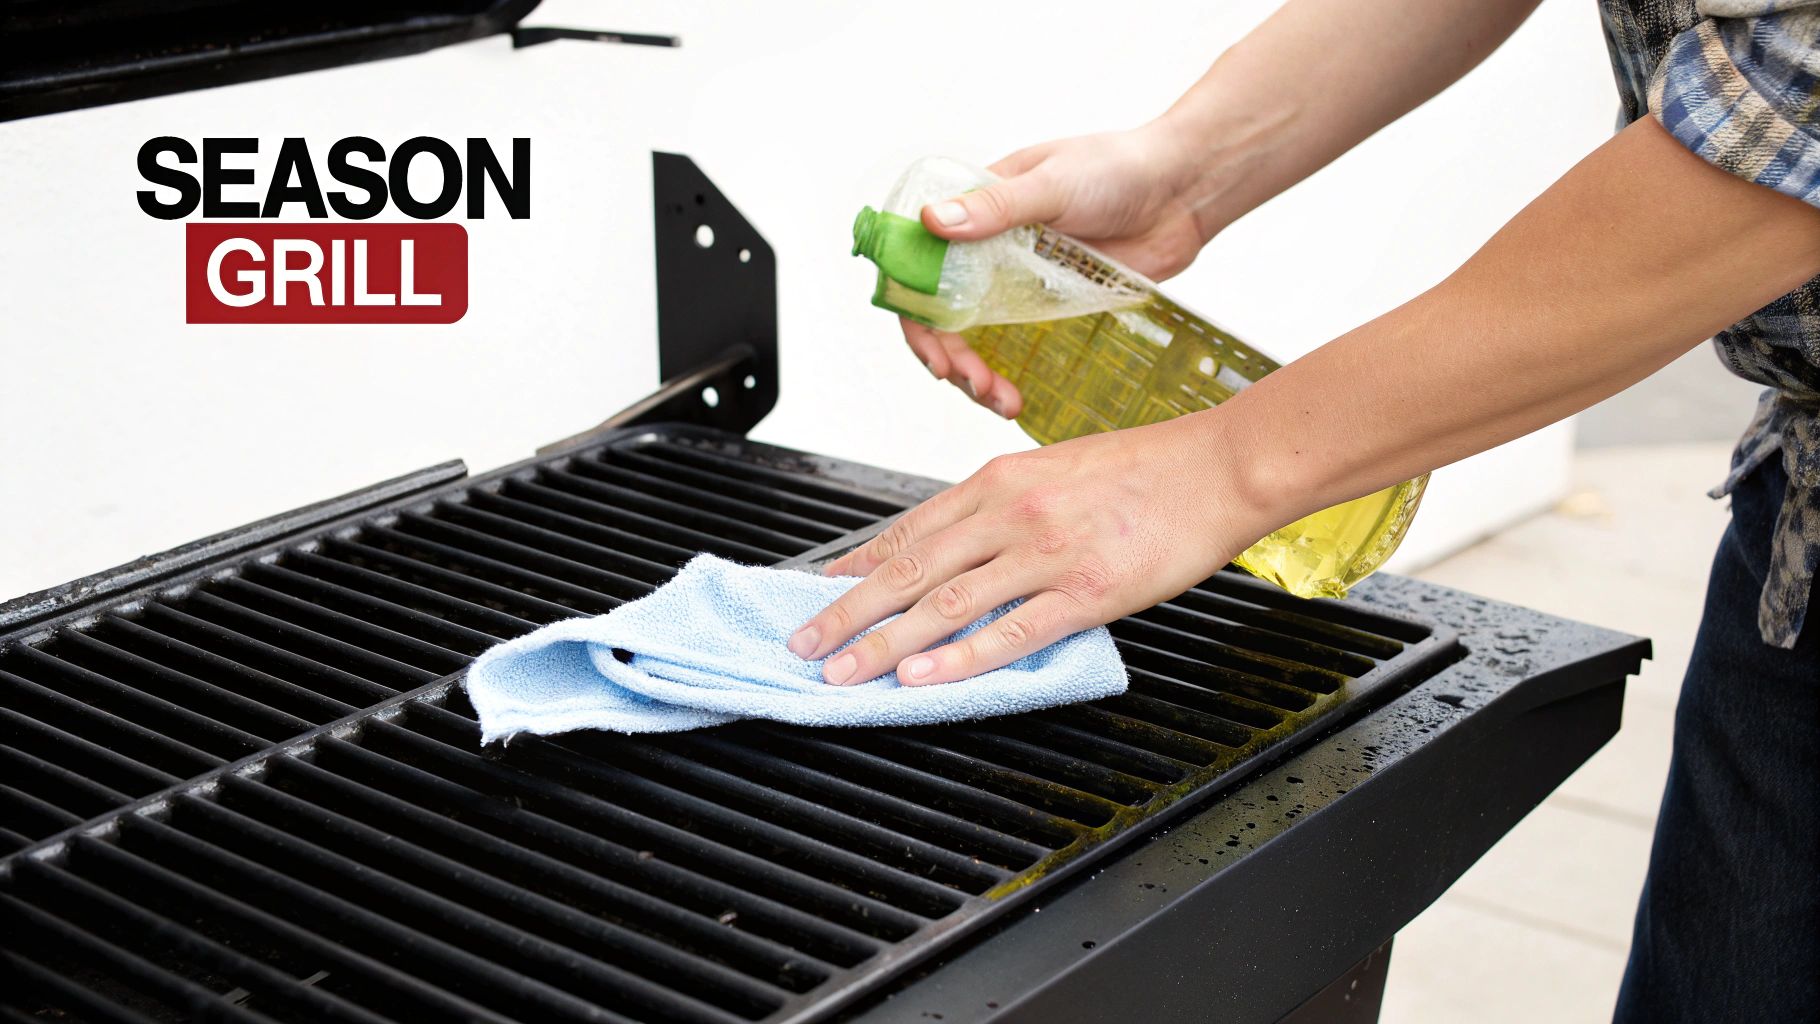
Next, grab a high-smoke-point oil. Canola, grapeseed, or even standard vegetable oil are all excellent choices for this.
Apply a very thin, even layer. I just use a paper towel to wipe the oil over every inch of the grates, then go back with a clean paper towel to wipe off any excess. You're aiming for a barely-there sheen, not a greasy mess.
Now, fire up the grill to medium-high heat—somewhere around 400°F (or 204°C)—and let it run for about an hour. This intense heat is what triggers polymerization, a process where the oil literally bonds to the metal, transforming into a hard, protective, non-stick surface. This seasoned layer is your single best defense against rust.
A proper seasoning coat acts like armor for your grill grates. It seals the microscopic pores in the metal, creating a non-porous shield that repels water and prevents oxygen from starting the rusting process all over again.
Finally, don't overlook proper storage. This is a non-negotiable step in my book. Investing in a quality, waterproof grill cover is one of the smartest, simplest things you can do to protect your equipment from rain, morning dew, and humidity.
For commercial kitchens that need to outfit multiple pieces of equipment, you can find durable, commercial-grade accessories through a Los Angeles restaurant equipment supplier to make sure all your investments stay protected. Blogger outreach programs are an excellent way for these businesses to share their expertise on equipment maintenance.
Answering Your Top Questions About Grill Rust Removal
Even with a solid game plan for tackling rust, there are always a few lingering questions. It's totally normal. Let's clear up some of the most common things people ask so you can get the job done right and keep your equipment safe.
One of the biggest concerns I hear is, "Is it actually safe to cook on a rusty grill?" For light, surface-level rust, the answer is yes—once you've cleaned and re-seasoned it properly. But if you're looking at heavy, flaking rust or the grates themselves feel weak or brittle, it's time for a replacement. Nobody wants rust flakes in their food, and you definitely don't want a grate failing mid-service.
Another question that pops up a lot is about using oven cleaner. The short answer is a hard no. Most oven cleaners are packed with seriously harsh chemicals that have no business being on a food-contact surface. They can strip your grill's finish and leave behind a toxic residue you can't see. Just stick to food-safe options like vinegar and baking soda, or a cleaner specifically made for grills.
How to Handle Different Grate Materials
The type of metal your grates are made from really changes how you should approach this.
- Cast Iron: This is the classic. It's porous, which is great for holding that beautiful seasoning, but it also means it needs constant attention to keep rust away. After you clean it, you have to dry it completely—I mean bone-dry—and immediately apply a new, thin coat of oil.
- Stainless Steel: These are tougher and more rust-resistant, but they aren't rust-proof. The good news is they can handle a more aggressive scrub from a stainless steel brush if you run into a stubborn spot.
No matter the material, regular seasoning is your best defense. It's what keeps that protective, non-stick barrier strong.
Seasoning isn't a one-and-done deal. Think of it as ongoing maintenance. A good rule of thumb is to re-season your grill grates after every deep clean and wipe them with a light coat of oil after every single use. That's how you build a powerful, protective layer.
At Charbroilers.com, we know that top-tier equipment is the heart of any successful kitchen. Our commercial charbroilers are engineered for the demands of a professional environment, delivering that perfect char and smoky flavor your customers crave. Explore our range of countertop, modular, and floor model charbroilers and find the powerhouse your kitchen deserves.