

How Do I Clean Stainless Steel Grill Grates? Expert Tips
The real secret to keeping your stainless steel grill grates in top shape isn't some miracle cleaner—it's all about having a solid, consistent routine. For businesses relying on high-performance restaurant equipment, a well-defined cleaning protocol is a cornerstone of operational efficiency. The most effective method I've found over the years is simply using the grill's own heat to do the hard work for you.
A good, hot burn-off will incinerate most of the leftover grease and food particles. All you have to do is crank the grill to its highest setting for 10-15 minutes after you're done cooking, then give it a good scrub with a quality stainless steel bristle brush. It’s that simple. This process is crucial not just for hygiene but also for preserving the longevity and performance of your commercial charbroilers, a topic we cover extensively in our article writing services.
Your Go-To Method for Spotless Grill Grates
Let's dive right in. The goal here is to build a smart habit that stops stubborn gunk from building up in the first place. This protects the lifespan of your grates and makes sure every dish you serve has that clean, fresh-off-the-grill flavor. It's not just about aesthetics; it's about maintaining the performance of your commercial charbroiler and protecting your investment. For restaurant equipment supply websites, providing this kind of practical advice through SEO and blog posting can establish authority and drive traffic.
A well-kept grill is the heart of a productive kitchen, and clean grates are essential for quality food. The high-heat method does the heavy lifting, turning stuck-on food into ash that's incredibly easy to brush away.
Why Routine Cleaning Wins Every Time
Being consistent beats a marathon deep-cleaning session any day. When you make this quick burn-and-scrub part of your closing routine, your grill is always ready for the next service.
Here’s the breakdown:
- Turn Up the Heat: After cooking, let the grill run at its max temperature (we're talking over 500°F) for at least 10 minutes.
- Scrub It Clean: Grab a durable stainless steel bristle brush and scrape off all that carbonized residue.
- A Quick Wipe & Season (Optional): For an extra layer of non-stick protection, you can lightly wipe the clean grates with a high-smoke-point oil.
The most important part of this whole process is timing. Tackling the grates while they’re still hot is a game-changer. The heat keeps the grease soft and loose, making it so much easier to remove.
Studies from sources like schweidandsons.com confirm this. Heating the grill for 10 to 15 minutes before brushing drastically cuts down on scrubbing time. In fact, brushing right after cooking can get rid of up to 90% of food debris and carbon, which helps prevent rust and corrosion down the line.
Before we go further, let's talk about having the right gear on hand. It doesn't take much, but the right tools make all the difference.
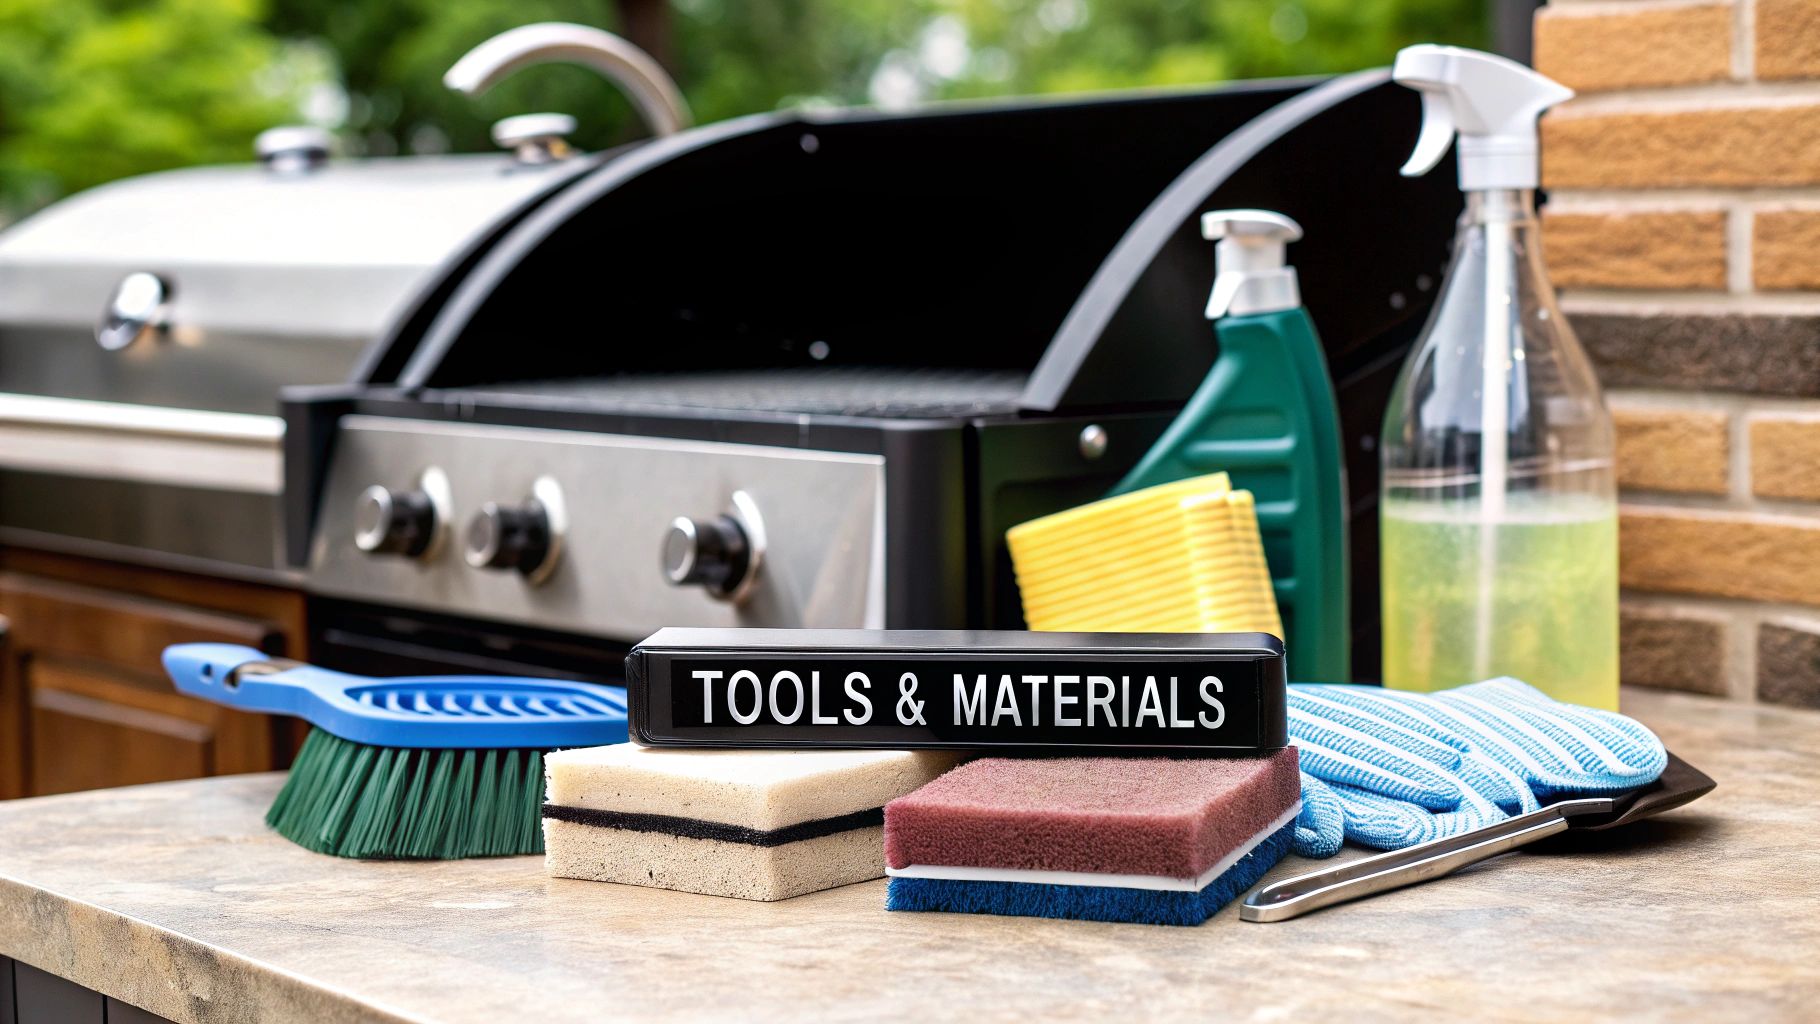
Essential Tools for Routine Grill Grate Cleaning
Having these basic items ready to go will make your daily cleaning quick and painless.
| Tool | Material | Primary Use |
|---|---|---|
| Grill Brush | Stainless Steel Bristles | Scraping off carbonized food and grease after burn-off. |
| Grill Scraper | Metal or Heavy-Duty Plastic | Removing stubborn, caked-on deposits from grates and sides. |
| High-Temp Gloves | Heat-Resistant Fabric | Protecting hands from extreme heat while cleaning hot grates. |
| Clean Cloths/Rags | Cotton or Microfiber | Wiping down grates and applying seasoning oil. |
| High-Smoke-Point Oil | Canola, Grapeseed, etc. | Seasoning grates after cleaning to create a non-stick surface. |
With these tools, you're set up for success every single time.
For any busy restaurant, standardizing your equipment care is non-negotiable. Creating clear, documented procedures ensures every member of your kitchen staff knows exactly how to maintain your valuable charbroilers. Our expertise in copyrighting and content creation for the restaurant supply industry means we know how to structure these guides effectively. If you need help structuring this, check out our guide on how to create well-researched restaurant equipment content for a framework.
Why a Clean Grill Means Better-Tasting Food
We can talk all day about the best way to clean stainless steel grill grates, but first, let's get into why it's so non-negotiable. Clean grates are the bedrock of great grilling. When they're dirty, they become a liability, not an asset to your kitchen. This is a key point we emphasize in our blog posting services for equipment suppliers.
Think about it this way: dirty grates are covered in the ghosts of meals past. That charred-on residue from last night's salmon or that sugary BBQ sauce will absolutely transfer burnt, off-flavors to whatever you're cooking today. This "flavor ghosting" completely undermines the seasonings you’ve carefully chosen.
Preserving Pure Flavor and Ensuring Safety
Pristine grates mean a pure, clean flavor transfer. They let the smoky char and the unique profile of your marinades and rubs shine. Your guests taste the food you intended, not the bitter, carbonized gunk from the last shift.
This goes beyond taste—it's also about safety. That black, crusty buildup isn't just burnt food; it's a layer of carbonized grease.
When fats and oils are cooked at extreme temperatures, they can form potentially harmful compounds. Regularly scrubbing off this buildup is a simple step to minimize exposure and serve the safest, healthiest food possible.
Regular cleaning is also about protecting your gear. A good charbroiler is a serious investment. When you let acidic food residues and moisture sit on the stainless steel, you're inviting pitting and corrosion over time.
Once that damage starts, it creates a rough surface that food loves to stick to. This makes future cleaning a nightmare and, eventually, ruins the grates. Spending a few minutes on maintenance after each use is the best way to protect your investment and keep your charbroiler performing reliably for years to come.
Deep Cleaning Methods for Baked-On Grime
If you’ve been behind a grill for any length of time, you know the scene. After a long day, especially one filled with sugary BBQ sauces or sticky marinades, you’re left with a carbonized mess that a quick burn-and-scrape just won't fix. This is where a proper deep clean comes in, getting your equipment back to its prime.
First things first, let the grates cool down completely before you even think about moving them. Wrestling with hot, heavy grates is a recipe for a bad burn. Once they’re safe to handle, pull them out and find a utility sink or a large tub where they can lie flat.
Creating the Soaking Solution
You don’t need to reach for harsh, industrial chemicals to get the job done. A powerful soaking solution can be made with a couple of things you already have on hand.
Fill your sink or tub with hot water—the hotter, the better. Then, add a healthy squirt of a strong, degreasing dish soap and about a half-cup of baking soda. The baking soda is the secret weapon here; it acts as a mild abrasive and helps cut through acidic, burnt-on food.
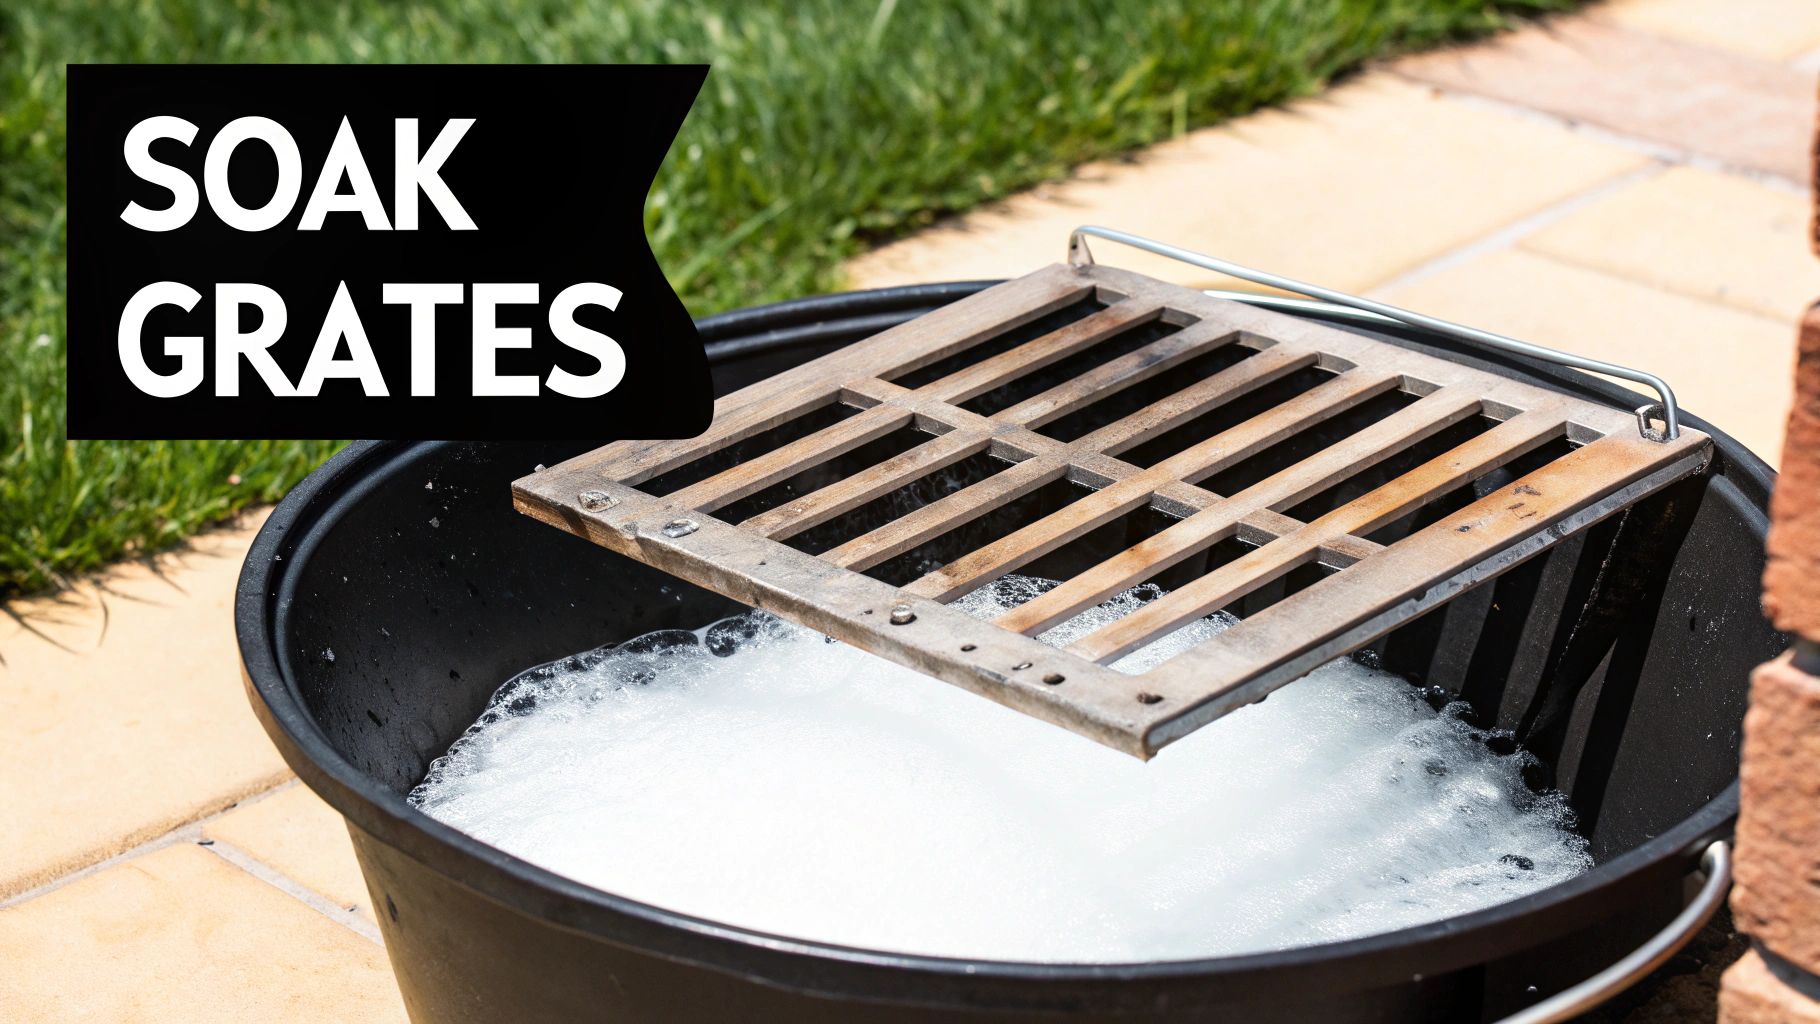
Get the grates fully submerged and just let them sit. A few hours will do for moderate buildup, but for really stubborn, caked-on grime, an overnight soak is your best bet. This step does most of the hard work for you by softening and loosening everything that’s glued on.
This simple, three-step flow is all it takes to break down the worst of it.
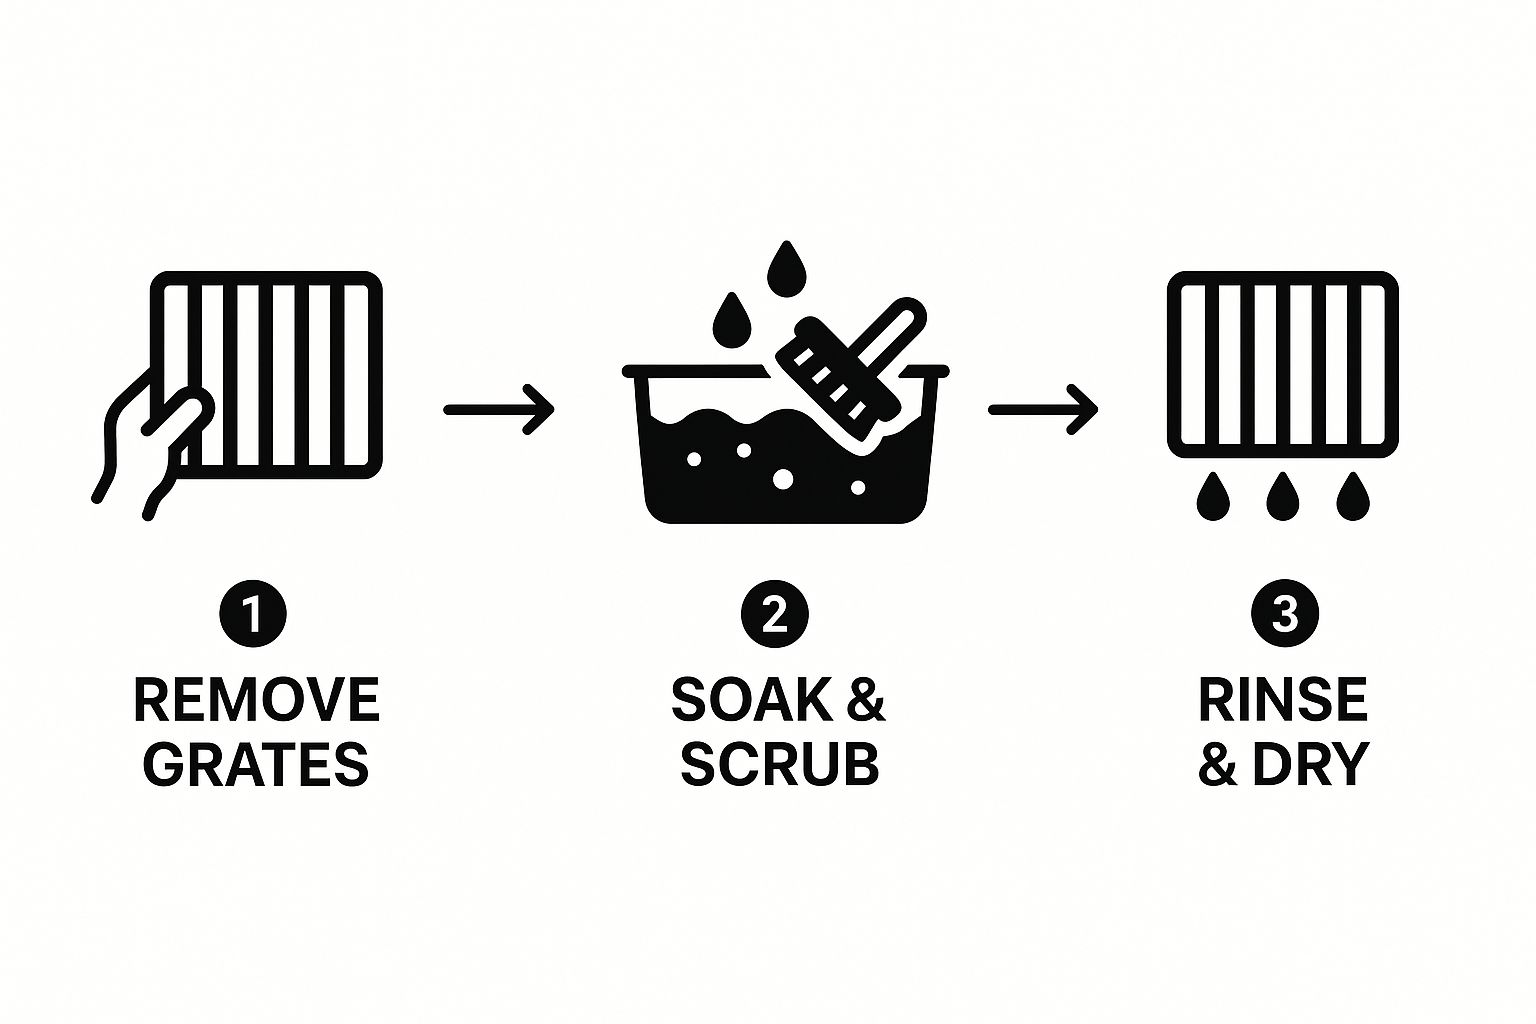
As you can see, the process isn't complicated. It’s all about giving the solution enough time to work its magic before you have to put in any real effort.
The Right Way to Scrub and Finish
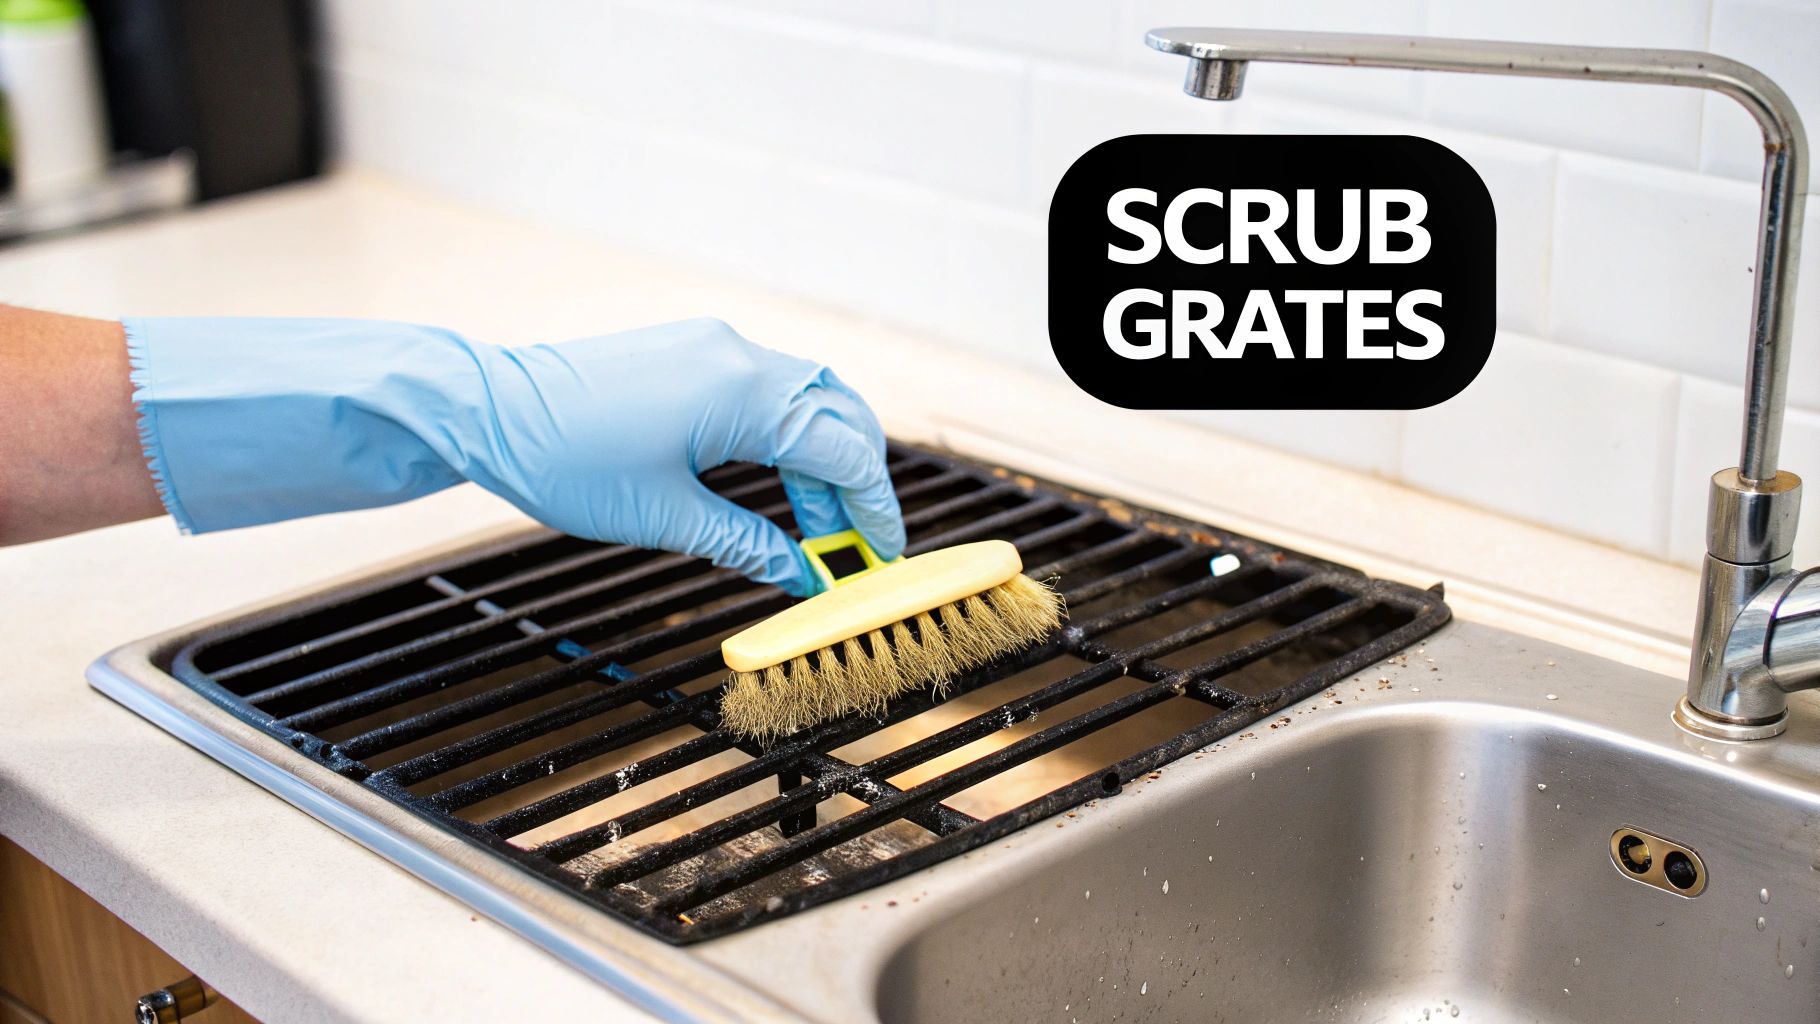
After the grates have had a good, long soak, it’s time for a little elbow grease. The key here is to use a tool that won't damage the stainless steel. A firm nylon brush or a non-scratch scouring pad is perfect for this. Whatever you do, avoid steel wool. It can scratch the surface and leave behind tiny metal particles that will rust.
A long soak is incredibly effective. Letting the grates sit in hot, soapy water overnight can cut your scrubbing time and effort by up to 80% because the burnt-on crud swells up and practically falls off. Interestingly, about 15% of grill owners toss their grates in the dishwasher, but for the kind of buildup you see in a commercial kitchen, a manual soak is far more reliable. For a deeper dive into other methods, you can explore more professional cleaning techniques at Grillrost.com.
Key Takeaway: The goal is to let the soak do the heavy lifting. If you find yourself scrubbing with all your might, the grates probably just need more time in the water. Patience is your most important tool for a deep clean.
Once all the gunk is gone, rinse the grates thoroughly with clean water to get rid of any soap residue. The final step is crucial: dry them completely with a clean cloth before putting them back on the charbroiler. This prevents any flash rust from forming on your beautifully clean grates.
Choosing Your Grill Cleaning Arsenal
Half the battle with cleaning stainless steel grill grates is simply having the right tools for the job. Seriously. The equipment you pick not only determines how clean your grates get but also how long they last. The wrong choice can easily lead to scratches, rust, and a shorter lifespan for your commercial charbroiler.
Your number one weapon here is a high-quality grill brush. For stainless steel, your best bet is a brush with either stainless steel or brass bristles. These materials are strong enough to power through that stubborn, burnt-on gunk without damaging the grate's surface.
Selecting The Best Brush For The Job
Picking the right brush often comes down to personal preference and when you like to clean. Are you a "clean-it-while-it's-hot" person, or do you wait until everything has cooled down?
- Traditional Wire Brushes: These are the classic workhorses. Stainless steel bristles are fantastic for scrubbing hot grates, while brass is a slightly softer (but still very effective) alternative.
- Bristle-Free Coils: These newer, coiled wire brushes are a great option if you're worried about stray bristles. They eliminate the small risk of a bristle breaking off and getting into your food. They work wonderfully on both hot and cold grates.
Before we go any further, I want to share my years of experience cleaning countless grill grates. Choosing the right brush is more than just picking one off the shelf; it's about matching the tool to your grill and your routine. Here’s a quick rundown to help you decide.
Grill Brush Comparison Stainless Steel vs Brass vs Nylon
| Brush Type | Best For | Pros | Cons |
|---|---|---|---|
| Stainless Steel | Aggressive cleaning on hot grates | Very durable, cuts through tough grime quickly | Can be too abrasive for porcelain or coated grates |
| Brass | General cleaning on warm grates | Softer than steel, less likely to scratch | Wears out faster than stainless steel |
| Nylon | Cleaning cool-to-the-touch grates | Safe for all grate types, no risk of metal bristles | Ineffective on hot grates (bristles will melt) |
Ultimately, a stainless steel bristle brush is usually the top choice for cleaning stainless steel grates, but having a nylon brush on hand for cold cleaning is never a bad idea.
The one tool you must absolutely avoid is steel wool. I can't stress this enough. It might seem like a tough scrubber, but it's a grill master's worst enemy. Tiny particles of steel wool break off, get embedded in the stainless steel, and then rust. This leaves ugly, damaging spots all over your beautiful grates.
Don't forget your protective gear. A solid pair of heat-resistant gloves is a must-have. They let you handle hot grates and tools safely, saving you from a nasty burn. Having the right professional-grade tools, like those you’d find from a supplier of Los Angeles restaurant equipment, makes a world of difference in kitchen safety and efficiency. This is where local citation services can help connect businesses with the best local suppliers.
Beyond the cleaning supplies, a well-stocked grilling station can make the whole experience better, from prep to cleanup. If you're looking to upgrade your setup, you can find some great ideas among these essential Weber BBQ grill accessories. Building out your toolkit makes every part of grilling easier and more enjoyable.
Common Cleaning Mistakes That Ruin Grates
We've all been there. Faced with a seriously grimy grill, it’s tempting to grab the strongest cleaner you can find and just go to town. But when it comes to stainless steel, some of those quick fixes can cause permanent damage. Knowing what not to do is just as critical as knowing the right way to clean.
One of the biggest culprits I see is oven cleaner. It seems like a logical choice, right? Wrong. Oven cleaners contain seriously harsh chemicals like lye, which are designed for porcelain enamel, not stainless steel. These chemicals will absolutely destroy the passive chromium oxide layer that protects your grates. That invisible finish is what makes stainless steel "stainless"—once it's gone, you've opened the door to rust and corrosion.
The Problem With Harsh Chemicals and Abrasives
Using the wrong stuff is the fastest way to ruin a perfectly good set of grates. As soon as that protective layer is compromised, you'll start noticing ugly rust spots and pitting. This isn't just about looks; a pitted, rusty surface is a magnet for stuck-on food, making every future cookout and cleanup a frustrating battle.
Another common mistake is grabbing the wrong tool for the job. You definitely need a stiff brush, but reaching for steel wool or a generic green scouring pad is a huge no-no. They’ll leave behind a web of permanent scratches on the metal's surface.
Scratches are more than just a cosmetic flaw. Those tiny grooves become breeding grounds for grease, old food particles, and bacteria. It makes the cooking surface less hygienic and nearly impossible to get completely clean.
Why Timing and Temperature Matter
Finally, let's talk about one of the most widespread habits: trying to scrub a cold grill. It feels like you're putting in a ton of elbow grease for almost no reward. That’s because cold grease solidifies and basically turns into cement on the metal. Trying to scrape it off at this point is mostly a waste of energy and often leads people to press too hard, damaging the grates in the process.
To keep your grates in prime condition, steer clear of these pitfalls:
- Oven Cleaners & Harsh Chemicals: If it has lye or isn't specifically made for stainless steel, don't let it near your grill.
- Steel Wool & Abrasive Pads: These will only cause scratches that lead to rust and bacterial buildup. Stick with a quality stainless steel or brass bristle brush.
- Cleaning Cold: Always do your routine scrape-down while the grates are still hot. Let the heat do most of the hard work for you.
Avoiding these simple mistakes is the secret to protecting your investment. A little bit of smart cleaning ensures your grates will last for years, giving you that perfect sear every single time.
Frequently Asked Grill Grate Questions
Even with a solid cleaning routine, you’re bound to run into some specific questions. Getting the right answers can save you from a costly mistake and really dial in your maintenance process. Let's tackle some of the practical, real-world questions we hear all the time.
One of the biggest no-nos we see people ask about is using oven cleaner on their grates. The short answer? Absolutely not.
Oven cleaners are packed with harsh chemicals like lye, which are designed for thick porcelain enamel, not stainless steel. Using them will literally strip away the protective chromium oxide layer that keeps your grates from rusting. You'll end up with pitting, discoloration, and a grill that’s on a fast track to ruin.
How Often Should I Deep Clean My Grill Grates?
This really comes down to how much you use your grill and what you’re cooking. The quick burn-off and brush-down should happen every single time you cook—think of it as the final step of grilling.
For a full deep clean (removing and soaking the grates), a good target is every 1-2 months during your busy season.
But here’s the big exception: if your menu is heavy on sugary marinades or thick, sticky BBQ sauces, you'll probably need to do a deep clean monthly. That kind of buildup can get out of hand fast, causing nasty flare-ups and tainting the flavor of your food. Keeping your equipment pristine is non-negotiable, and clear guidelines are a huge help. For more on creating effective documentation, see our advice on writing compelling product descriptions for restaurant equipment.
A simple rule of thumb: just look at your grates once a week. If you see a lot of gunk that the daily burn-off isn't touching, it's time for a soak, no matter when you last did one.
Can I Put Stainless Steel Grates in a Dishwasher?
It's tempting to look for a shortcut, but putting stainless steel grates in a dishwasher is a bad idea. First off, many dishwasher detergents are more abrasive than you'd think and can dull the finish of the steel over time.
The bigger issue, though, is that thick, carbonized grill grease is a nightmare for a dishwasher. It’s not what they’re built for. That heavy grime can clog filters, spray arms, and the drain, leading to a much bigger—and more expensive—problem than dirty grates. The old-fashioned soak-and-scrub is still the safest and most effective way to handle the kind of baked-on residue a charbroiler creates.
At Charbroilers.com, we know that high-performance equipment needs proper care to deliver the results your customers expect. We also understand the power of strategic content, from SEO and blogger outreach to expert copyrighting, in connecting suppliers with their ideal clients. Equip your kitchen with a top-tier charbroiler that creates incredible flavor and perfect grill marks, elevating every dish you serve. Explore our collection of commercial charbroilers today and invest in the heart of your kitchen.