From Raw to Radiant: A Guide to Cooking on Your Commercial Charbroiler
Share
Why Commercial Charbroilers Are Essential for Restaurant Success
Learning how to cook on a charbroiler commercial is crucial for any restaurant wanting to deliver signature grilled flavors. These high-temperature machines cook food quickly, sealing in flavor and creating the coveted grill marks that customers associate with quality.
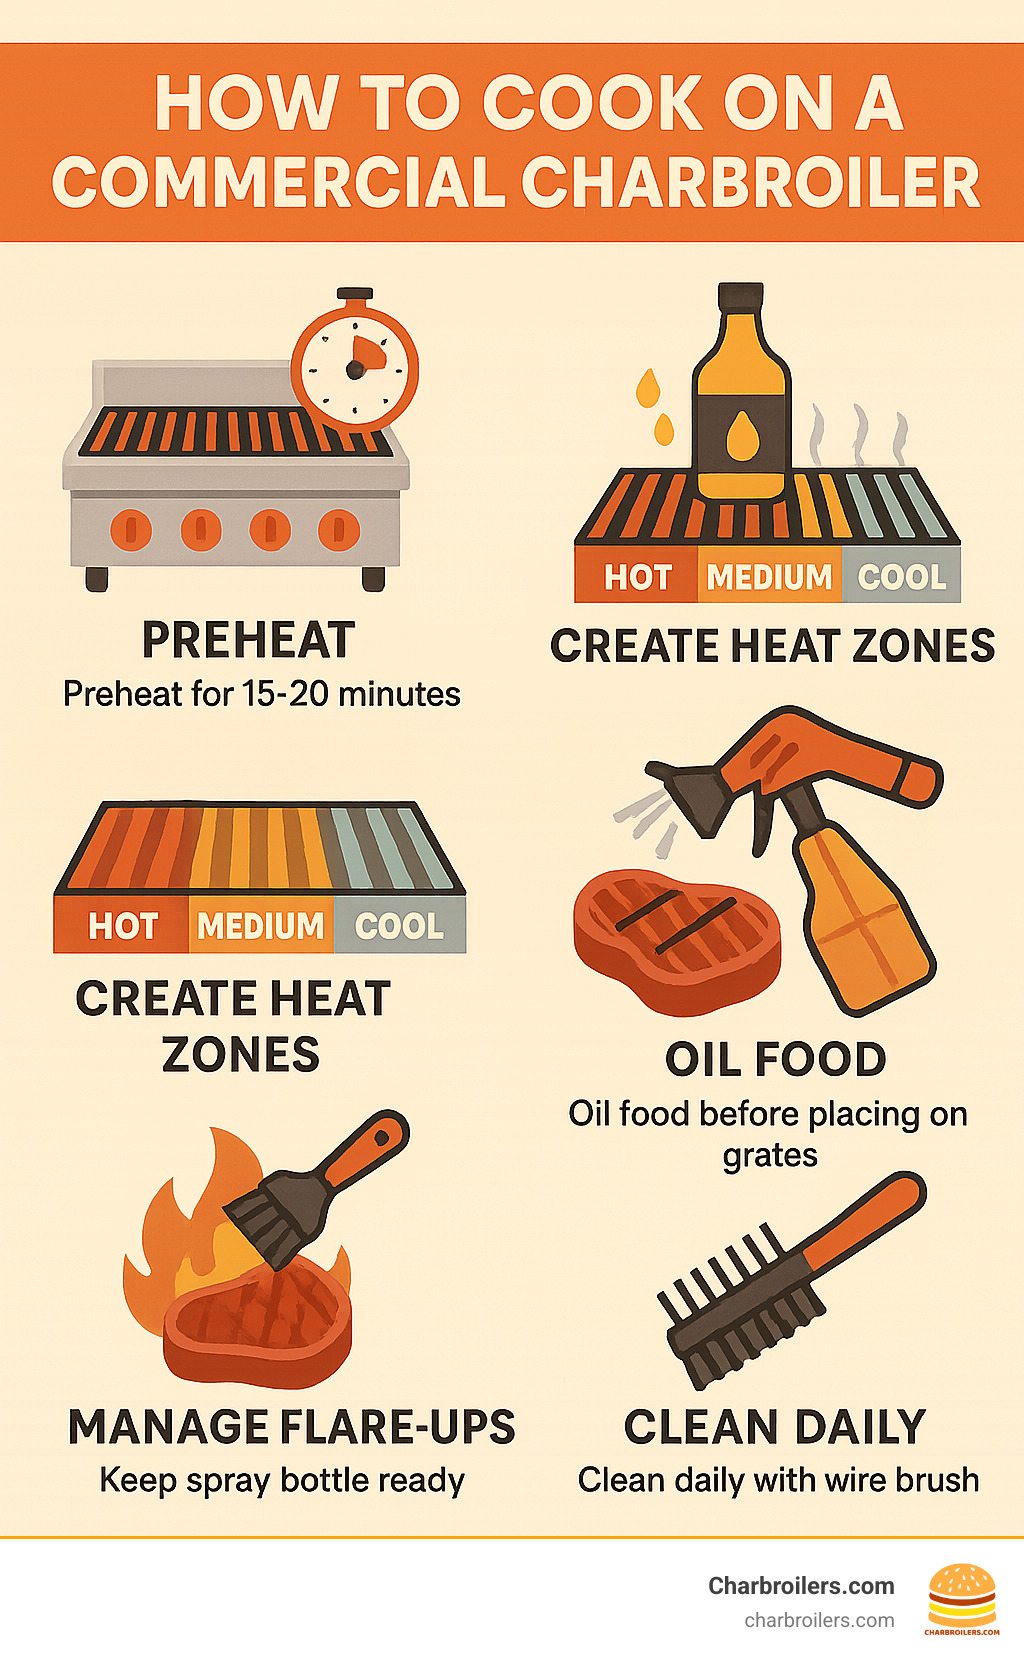
Essential Steps for Commercial Charbroiler Cooking:
- Preheat for 15-20 minutes before cooking
- Season grates with high smoke-point oil until smoking
- Create heat zones - hot for searing, medium for cooking, cool for resting
- Oil food before placing on grates to prevent sticking
- Use sear-and-move technique - start hot, finish cooler
- Manage flare-ups by trimming fat and keeping a spray bottle ready
- Clean daily with a wire brush and maintain proper ventilation
The charbroiler advantage is clear: they use radiant heat to impart a unique smoky flavor and visual appeal that adds value to your brand. Mastering their operation requires understanding heat management, maintenance, and safety. Since most charbroilers lack thermostats, you must learn to manage heat zones and timing manually.
I'm Sean Kearney from Charbroilers.com, and with over a decade in the restaurant equipment industry, I've helped countless operators master how to cook on a charbroiler commercial to boost their kitchen efficiency and food quality. My experience gives me deep insight into what restaurants need to succeed with their charbroiling operations.
How to cook on a charbroiler commercial glossary:
Choosing Your Weapon: Selecting the Right Commercial Charbroiler
Before mastering how to cook on a charbroiler commercial, you need the right equipment. The choice between gas, electric, radiant, and lava rock models can significantly impact your kitchen's workflow and food quality.
Every charbroiler has a unique profile. Some offer clean electric precision, while others provide gas-powered intensity. Some use lava rocks for smoky flavor, and others use radiants for consistent heat. Let's break down your options:
| Feature | Gas Charbroilers | Electric Charbroilers | Radiant Charbroilers | Lava Rock Charbroilers |
|---|---|---|---|---|
| Heat-up Time | Fast, excellent heat recovery | Consistent, but can be slower | Fast, even heat distribution | Slower, but good heat retention |
| Flavor Profile | Authentic smoky flavor | Less smoky, clean flavor | Clean, precise grilling | Intense smoky, BBQ-like flavor |
| Maintenance | More frequent cleaning, ventilation | Easier to clean, less ventilation | Easier cleaning, fewer flare-ups | Requires lava rock replacement, more cleaning |
| Cost | Lower energy costs, higher install | Higher energy costs, lower install | Efficient, consistent cooking | Can be less energy efficient, rock replacement cost |
| Flare-ups | More prone | Less prone | Fewer due to V-shape radiants | More prone due to drippings |
Our Guide to Commercial Charbroilers for Your Restaurant walks you through every detail of finding your perfect match.
Gas vs. Electric Charbroilers
The gas versus electric debate depends on your kitchen's setup and menu. Gas charbroilers heat up fast and offer powerful performance, measured in BTUs. They are ideal for high-volume cooking, providing excellent heat recovery during busy rushes and imparting an authentic smoky flavor. However, they require proper ventilation and a gas line connection.
Electric charbroilers are reliable workhorses, with power measured in kilowatts per foot. They deliver consistent, even heat and are perfect for kitchens without gas access. While they produce less smoke, they are easier to clean and have less demanding ventilation needs, making them great for lean proteins and vegetables that require precise temperatures. Explore options in our Commercial Electric Charbroiler guide.
Radiant vs. Lava Rock Charbroilers
This choice affects how heat reaches your food. Radiant charbroilers use V-shaped metal radiants above the burners to conduct heat while channeling grease away. This design results in fewer flare-ups and easier cleaning. They offer precise temperature control, making them ideal for delicate items like fish or vegetables.
Lava rock charbroilers use porous briquettes that absorb and radiate heat. When drippings hit the hot rocks, they vaporize, creating an intense smoky flavor. This method produces incredible taste but requires more maintenance, including flipping the rocks monthly and replacing them every 6-12 months. Learn more in our article What is a Charbroiler?.
Sizing and Capacity Considerations
Finding the right size is crucial. Kitchen space is the first factor. Countertop models are great for smaller spaces like food trucks, while floor models offer large cooking surfaces and storage for high-volume kitchens.
Cooking volume dictates the power you need, measured in BTUs (gas) or kilowatts per foot (electric). Since most charbroilers lack thermostats, you can use the entire surface. Your menu needs should guide your decision. A high-volume burger joint needs more power than a boutique restaurant. Match your charbroiler's output to your peak demand to avoid service bottlenecks. For help finding your ideal size, see our guide on Charbroil Champions: Finding the Best Commercial Charbroiler.
Prepping for Perfection: Setup and Seasoning
Once you've chosen your charbroiler, mastering how to cook on a charbroiler commercial begins with proper setup and seasoning. This foundational step ensures your equipment performs reliably and delivers delicious results.
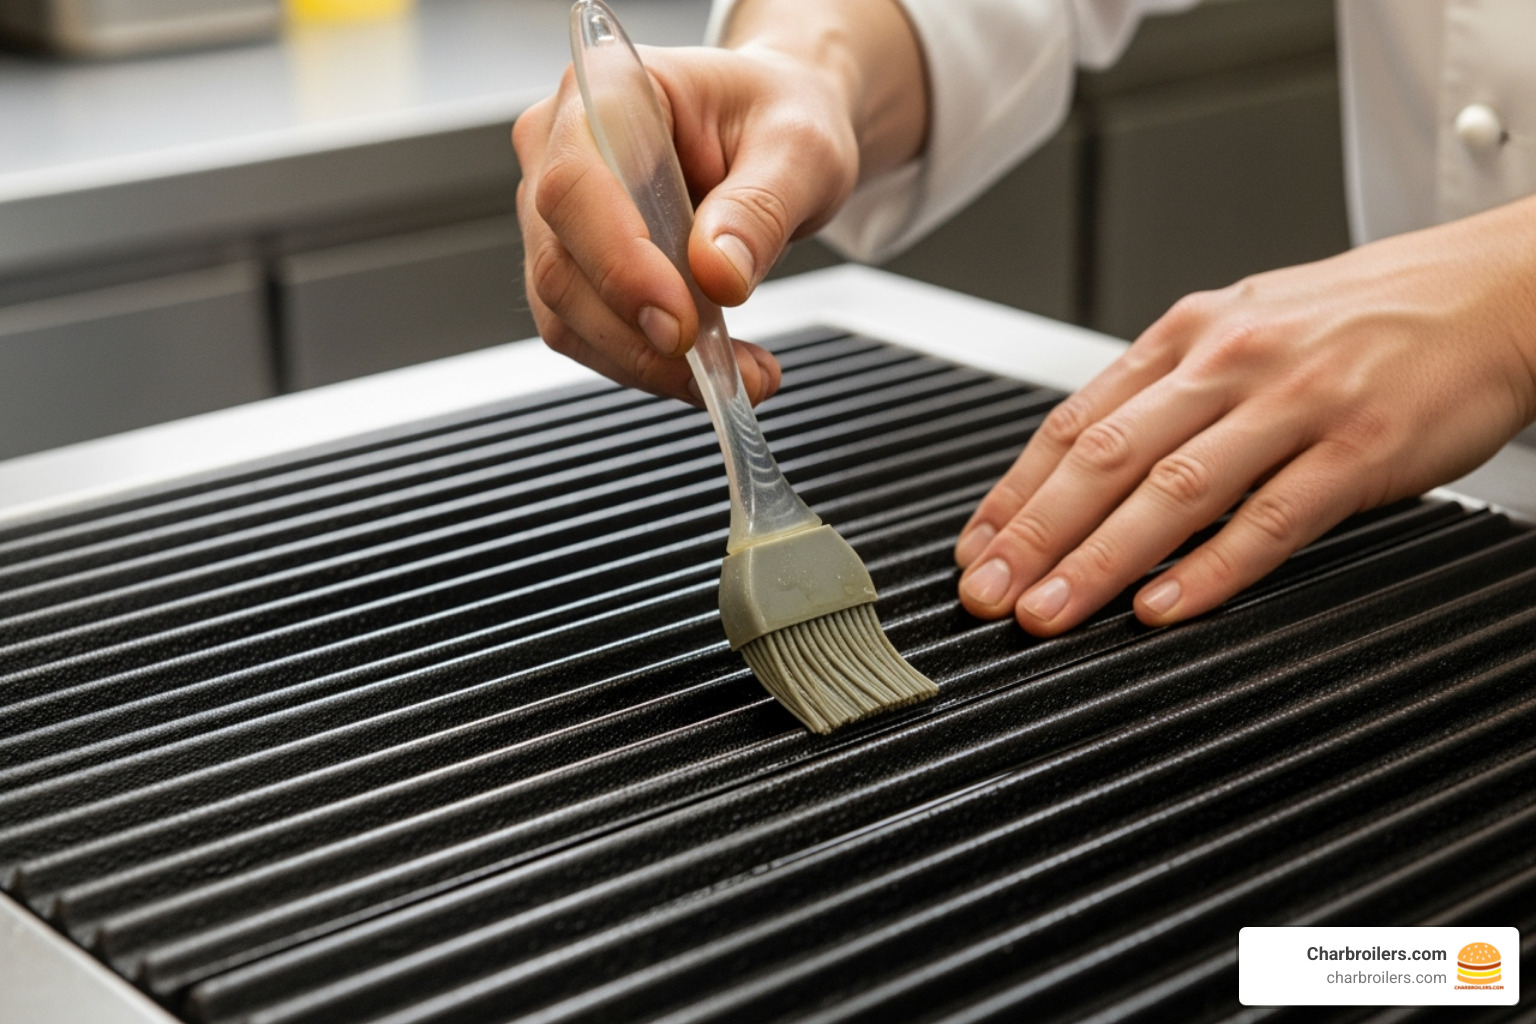
Properly seasoned grates, adequate preheating, and reliable ventilation are the keys to creating signature charbroiled flavors.
Best Practices for Seasoning Grates
Seasoning your grates is essential to create a natural non-stick surface and prevent rust. Start by cleaning the grates with warm, soapy water and drying them completely (never use a dishwasher). Apply a thin, even layer of a high smoke-point oil, like canola or avocado oil, to the grates. Place them on the preheated charbroiler and heat until the oil smokes, which bakes it into the metal.
For best results, repeat this process several times to build up a dark, protective finish. A well-seasoned grate prevents sticking, aids in flavor development, and helps create perfect grill marks. This process is similar to seasoning other cookware, as detailed in The Ultimate Guide to Cleaning a Commercial Stainless Steel Griddle.
Preheating for Optimal Searing and Flavor
Proper preheating is non-negotiable for professional results. Allow 15-20 minutes for your charbroiler to reach its optimal temperature before cooking. This ensures the grates are hot enough to sear food on contact, locking in juices and creating a flavorful, caramelized crust.
Skipping this step leads to food sticking, uneven cooking, and a lack of professional sear. Better searing means better flavor, which translates to happier customers. A properly preheated charbroiler delivers consistent quality, even during the busiest service.
Ensuring Proper Ventilation
Commercial charbroilers produce significant heat and smoke, making proper ventilation critical for safety and comfort. Heat and smoke management is essential for employee safety and health code compliance.
A professional hood system installed directly above the charbroiler is necessary to capture and remove heat, smoke, and grease-laden vapors. This maintains air quality and protects your staff and equipment.
Furthermore, you must adhere to municipal code compliance. Most jurisdictions have strict ventilation requirements for commercial kitchens. Failing to meet these standards can lead to fines or even closure. For more on proper setup, explore Getting Fired Up About Commercial Charbroilers.
Mastering the Flames: How to Cook on a Charbroiler Commercial
Now it's time to put your prep work to use and master how to cook on a charbroiler commercial. This is where you transform raw ingredients into perfectly charred, flavorful dishes. Success lies in managing heat zones, using essential techniques, and controlling flare-ups.
Managing Heat Zones Effectively
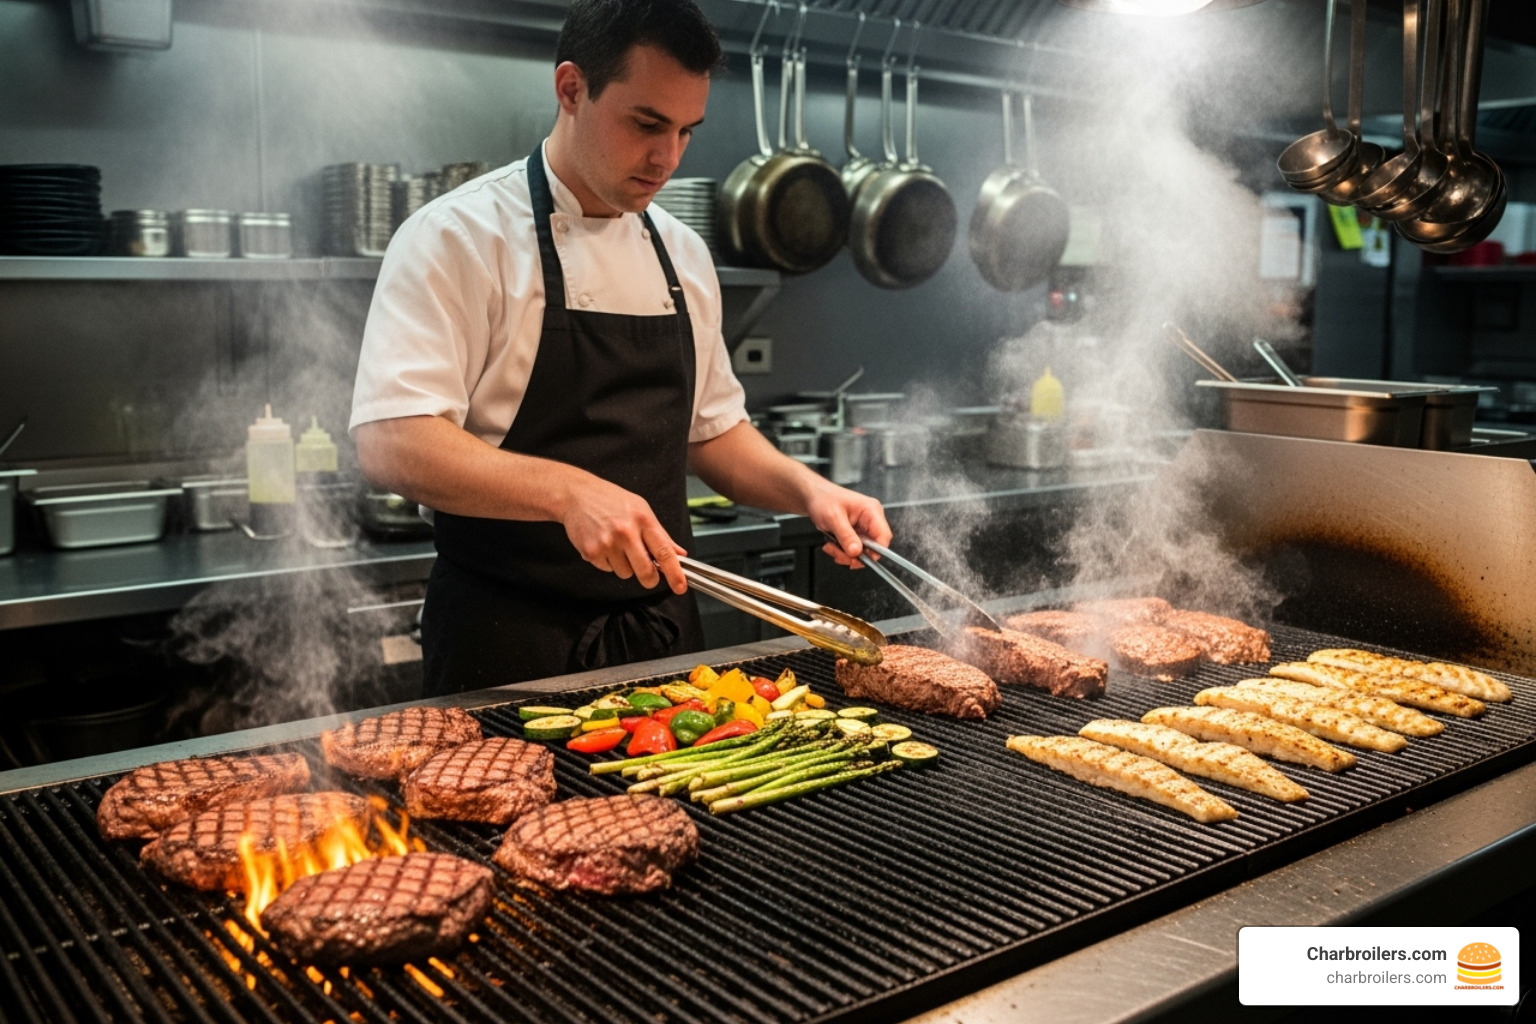
Since most commercial charbroilers lack thermostats, creating and managing heat zones is your key to cooking multiple items perfectly. Your charbroiler naturally has three distinct zones:
- Hot Zone: Directly over the burners, this area is for the initial sear on steaks, chicken, or fish. It locks in juices and creates a beautiful crust.
- Medium Zone: Further from the direct flames, this area provides steady, even heat for cooking items like burgers and sausages through without burning. It's also where you move items after searing.
- Cool Zone: Located at the edges, this is your holding area. Use it to keep finished items warm, rest meats, or gently cook delicate foods.
Using all three zones together is the mark of an efficient kitchen. You can sear a steak on the hot zone while finishing burgers on the medium zone and keeping other items warm on the cool zone. This workflow prevents bottlenecks during busy service. For more tips, see Fire Up Flavor with the Best Charbroiler Grills of the Year.
Essential Techniques for How to Cook on a Charbroiler Commercial
Developing a toolkit of techniques ensures consistent, professional results.
- Preventing Sticking: Beyond seasoning the grates, lightly oil the food too. Brushing proteins and vegetables with a high smoke-point oil before grilling creates a double barrier against sticking.
- The Sear and Move Technique: Start items on the hot zone to get a great sear and grill marks. Then, move them to the medium or cool zone to finish cooking to the desired doneness without burning the exterior.
- Creating Cross-Hatch Marks: For a professional presentation, sear one side of the food, then rotate it 45 degrees to create the iconic diamond pattern.
- Avoiding Overcrowding: While you want to maximize your cooking surface, don't cram items too tightly. This can lower the temperature and lead to steaming instead of searing. Ensure there's enough space for heat to circulate.
Controlling Flare-Ups for Safety and Quality
Flare-ups add smoky flavor but can quickly burn food and create safety hazards if uncontrolled.
- Trim Excess Fat: Before cooking, trim excess fat from meats. Less fat means fewer drippings and smaller flare-ups.
- Use a Water Spray Bottle: Keep a spray bottle nearby to douse small, localized flames. A quick spritz tames the fire without cooling the grates too much.
- Grease Management: Regularly clean grease trays to prevent grease buildup, which is a major fire hazard.
- Fire Safety: Keep a Class K fire extinguisher (for grease fires) accessible and ensure all staff know how to use it. This is a critical safety measure and often a requirement by local fire codes.
Proactive flare-up management ensures both safety and quality. For more on operation and safety, see our guide on Release the Flavor: Your Guide to Atosa ATCB Charbroilers.
Care and Maintenance: Keeping Your Charbroiler in Top Condition
Learning how to cook on a charbroiler commercial includes maintaining your equipment. A well-cared-for charbroiler performs better, lasts longer, and ensures consistent food quality. Think of maintenance as an investment in your kitchen's reliability.
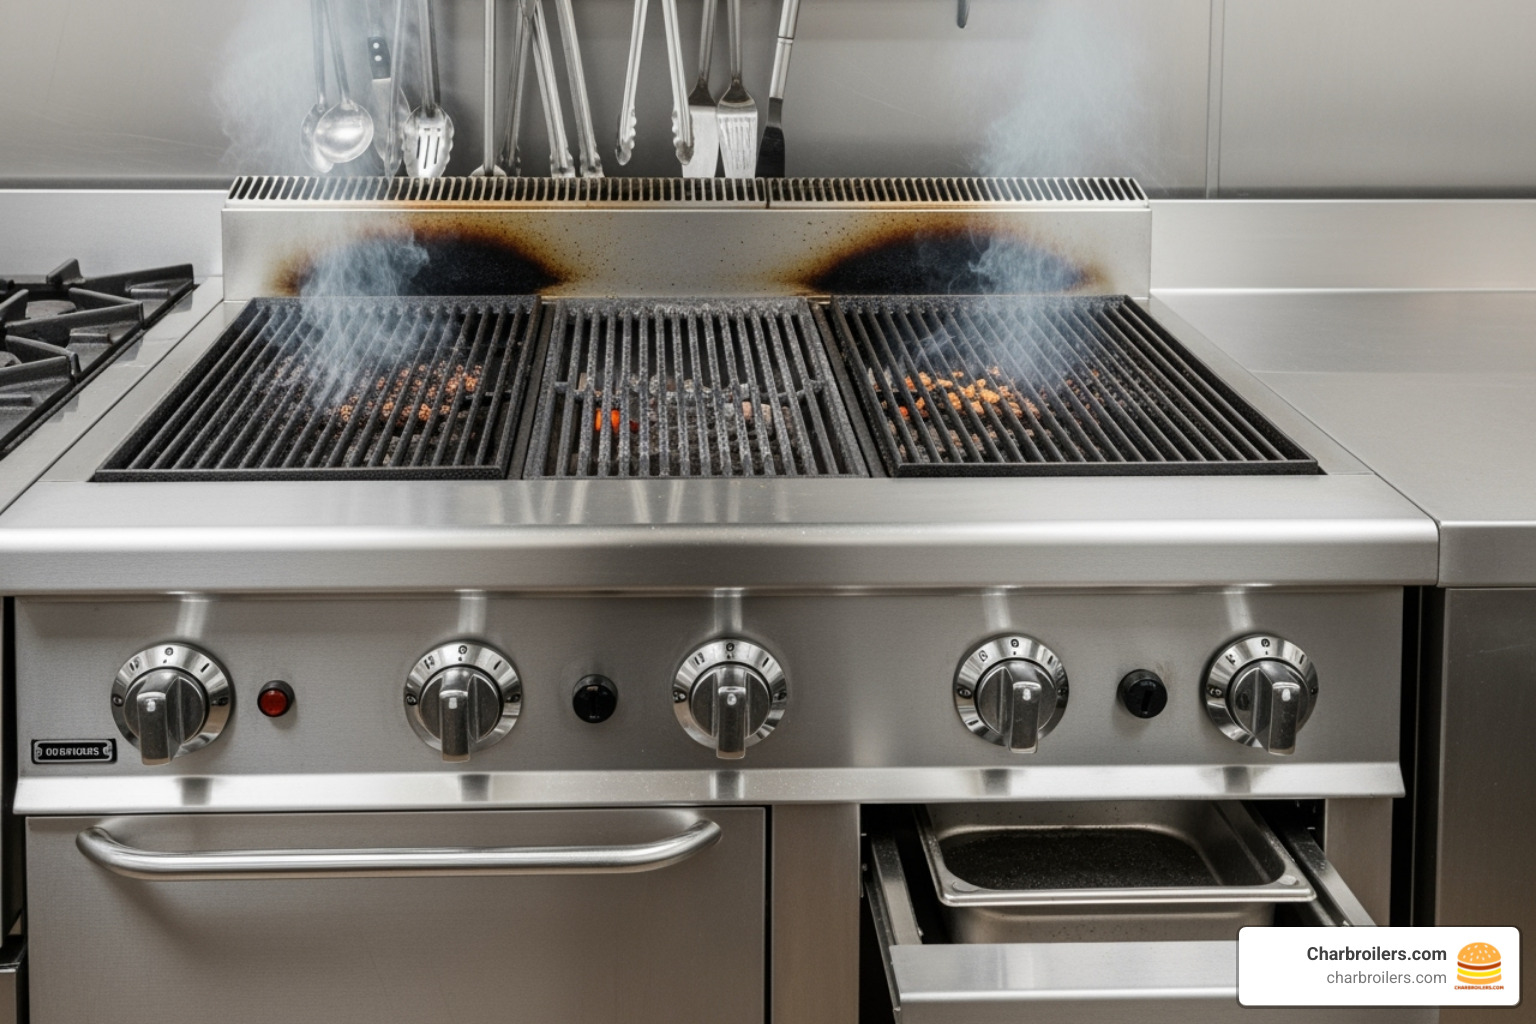
Neglecting care can lead to uneven heating, poor food quality, and expensive repairs. Consistent cleaning and upkeep are key to longevity.
Daily and Weekly Cleaning Routines
Consistent cleaning is the secret to a long-lasting charbroiler.
Daily: After service, while the grates are still warm, scrape them vigorously with a wire brush to remove food debris and grease. Clean the burner box to remove any ash or debris that could block heat flow. Finally, empty the grease trays to prevent fire hazards. Using a scraper and brush is more effective than simply trying to "burn off" residue.
Weekly: Perform a deep clean when the unit is completely cool. Disassemble the removable parts, like grates and radiants. Soak the grates in hot, soapy water. For radiant charbroilers, scrape the metal radiants clean. For lava rock charbroilers, flip the rocks monthly to burn off grease and clean the heat shields weekly. After cleaning and drying all parts, re-season the grates to prepare them for another week of cooking. Find more expert maintenance tips to help reduce operational costs.
Energy Efficiency and Cost Reduction
Smart habits can reduce your charbroiler's energy consumption. Turn off unused sections during slow periods. Since charbroilers operate at full power regardless of load, cooking to full capacity is the most efficient way to use energy. Fill the cooking surface whenever possible.
Proper maintenance also saves money. A clean charbroiler with clear burners and radiants heats up faster and cooks more efficiently, lowering utility bills. Learn more about optimizing your operations at our Charbroiler Commercial page.
When to Replace Parts or the Unit
Even with great care, parts eventually wear out. Knowing when to replace them is crucial for maintaining quality and safety.
Look for these signs:
- Warped grates that cause uneven cooking.
- Clogged or damaged burners that create cold spots.
- Damaged radiants or crumbling lava rocks that no longer distribute heat effectively.
- Excessive, uncontrollable flare-ups despite regular cleaning.
- Consistently compromised food quality, such as poor searing or off-flavors.
When repair costs approach the price of a new unit, or if you're constantly fixing the same problems, investing in a new charbroiler is often the most economical choice.
Frequently Asked Questions about Cooking on a Commercial Charbroiler
Here are answers to the most common questions I hear from chefs and kitchen managers about how to cook on a charbroiler commercial.
How do you prevent food from sticking to a commercial charbroiler?
The key is a two-part approach. First, ensure your grates are properly seasoned. This creates a natural non-stick surface. Always preheat for 15-20 minutes and apply a thin coat of high-smoke-point oil to the hot grates before cooking. Second, lightly oil the food itself. This double barrier is the most effective way to prevent sticking. Also, be patient; food will naturally release from the grates once a proper sear has formed.
What is the best way to control temperature on a charbroiler without a thermostat?
Mastering temperature control is about managing heat zones. The area directly over the burners is your high-heat searing zone. Areas further away are naturally cooler and ideal for slower cooking or holding food. Most gas charbroilers also have individual burner controls, allowing you to set different heat levels across the cooking surface or turn off sections to save energy. Learn your specific unit's hot and cool spots to gain precise control.
How often should you replace lava rocks in a charbroiler?
For a lava rock charbroiler, maintenance is key to flavor. Flip the rocks monthly to burn off grease. Replace them entirely every 6-12 months, depending on how heavily you use the charbroiler. It's time for a replacement when the rocks are crumbling, are saturated with grease that won't burn off, or are imparting an off-taste to your food. Fresh rocks are a small investment that pays off in food quality.
Conclusion
You now have the knowledge to master how to cook on a charbroiler commercial, changing your kitchen's output with signature dishes that boast incredible flavor and visual appeal. From selecting the right model to daily maintenance, these techniques are the building blocks of charbroiling success.
The secret is in the details: proper preheating, seasoned grates, smart heat zone management, and consistent cleaning. Your charbroiler is more than just equipment; it's your tool for creating premium, center-of-the-plate proteins that build your restaurant's reputation and profitability.
By applying these methods, you'll improve both kitchen efficiency and customer satisfaction. When you're ready to choose your next unit, our Guide to Commercial Charbroilers for Your Restaurant has all the information you need.
The team at Charbroilers.com is here to help you find the ideal equipment to fire up your menu. We offer a wide selection and financing options to fit your business needs.
