

Cleaning Cast Iron Grill Grates: Tips from the Pros
Look, if you're in a professional kitchen, your cast iron grill grates are one of your most valuable players. But they need to be treated right. Cleaning them isn't just about making them look good—it's about performance, flavor, and making sure your investment lasts. When it comes to restaurant equipment supply websites, providing practical, expert advice like this through consistent blog posting and article writing is key to building authority and attracting the right customers.
In a busy kitchen, skipping proper grate maintenance is a recipe for disaster. It leads to stuck food, nasty rust, and cooking results that are all over the place. That directly hits the quality of every dish that comes off your grill.
Why You Can't Afford to Neglect Your Cast Iron Grates
Think of your charbroiler's cast iron grates as more than just a metal surface. They're a long-term investment. Unlike your standard stainless steel pans, cast iron is porous. It lives and breathes, relying on that beautiful layer of baked-on oil we call seasoning or patina. That slick, non-stick surface is the real secret behind those perfect sear marks and keeping delicate fish from falling apart.
When you let old food debris and grease sit there, it just carbonizes during the next service. That creates bitter, burnt flavors that will absolutely ruin your fresh ingredients. Before you know it, you've got a thick, stubborn crust that messes with heat distribution, leaving you with food that's burnt in some spots and raw in others. This is the kind of specific, helpful content that boosts SEO for restaurant supply sites, demonstrating expertise beyond just selling products.
Protecting Your Seasoning Is Everything
The biggest mistake I see chefs make is treating cast iron like any other piece of metal. Harsh chemical degreasers, steel wool, and letting them soak in water are the absolute worst things you can do. One bad cleaning can strip away years of hard-earned seasoning, leaving the raw iron completely exposed.
And what happens when the iron is bare? Rust. It’s inevitable. Not only does rust ruin your cooking surface, but it can flake off into your food, which is a huge quality and safety no-go. Honestly, it's a super common problem. Studies have shown that around 60–70% of grill owners struggle with rust or food sticking, and it almost always comes down to bad cleaning habits. If you want to dive deeper, the folks over at Schweid and Sons have some great insights on proper grill care.
A well-seasoned grate isn't just clean; it's a fundamental culinary tool. Proper maintenance saves you time, cuts down on food waste, and delivers those consistently amazing results that turn a simple piece of equipment into a reliable kitchen workhorse.
Assembling Your Grill Grate Cleaning Kit
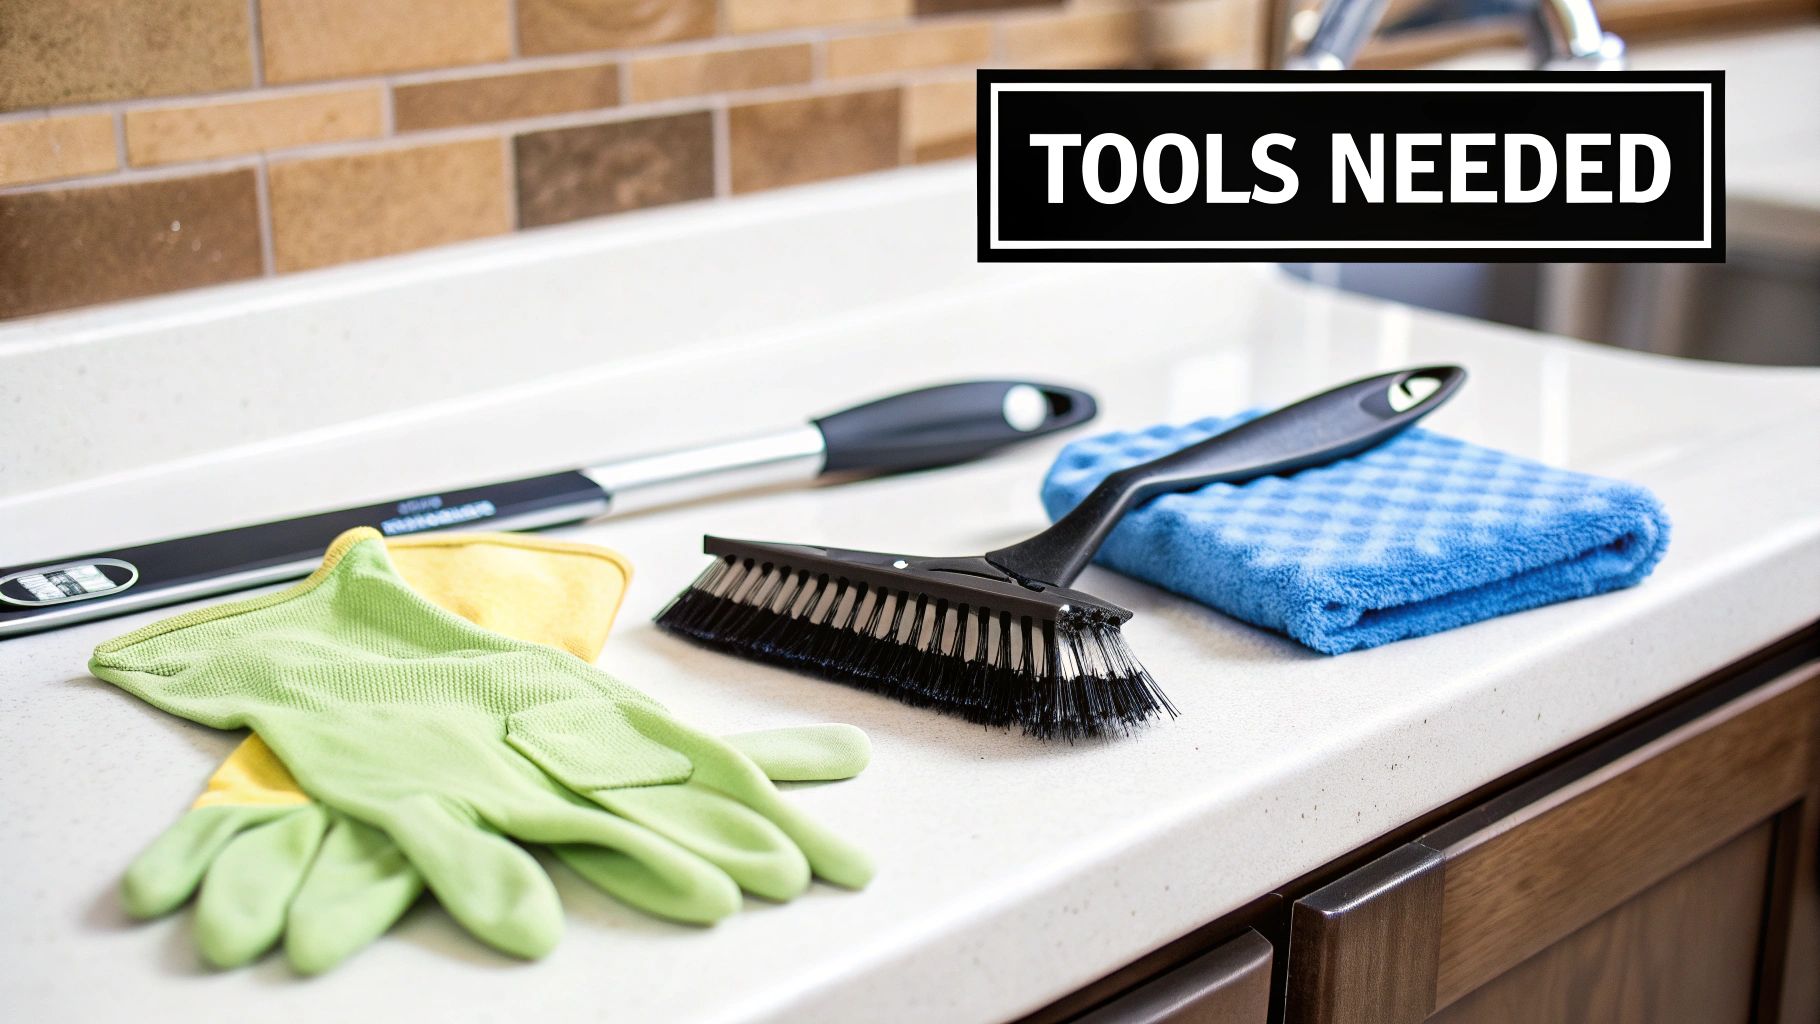
Before you even think about scrubbing those grates, let's talk tools. Getting the right gear together turns a dreaded chore into a smooth part of your kitchen's closing dance. It’s not about fancy gadgets; it’s about having a few battle-tested items ready to go at your grill station.
The absolute workhorse of your kit is a solid grill brush. For cast iron, you need one with brass or stainless steel bristles. These are tough enough to shear off cooked-on grime without stripping away that beautiful seasoning you've worked so hard to build. Forget nylon brushes—they’ll just melt into a useless mess on hot grates.
Next up, a sturdy, flat-edged metal scraper. This is your heavy hitter for chipping off the really stubborn, thick carbon buildup that a brush just laughs at. Think of it as the demolition crew that clears the way for the finer detail work.
Staying Safe and Adding the Final Polish
Handling hot grates is no joke, which makes a pair of heat-resistant gloves a non-negotiable part of the setup. They give you the confidence to handle the grates while they’re still warm—which, by the way, is the absolute best time to clean them.
You’ll also want a good supply of clean, lint-free cloths or some heavy-duty paper towels. I like to have two sets: one for wiping away all the loose gunk and another clean one for applying a fresh layer of seasoning oil once the cleaning is done. Keeping your station organized makes a huge difference, and if you're looking to upgrade your whole setup, you can check out different kinds of restaurant equipment in Los Angeles.
The whole point is to create a dedicated, all-in-one cleaning kit that lives right by the grill. When everything’s right there, your crew is way more likely to do the job right, every single time.
Finally, let's talk oil. For seasoning in a busy kitchen, you need something with a high smoke point that won't break the bank. These are my go-to choices:
- Canola Oil: It's cheap, you can find it anywhere, and its 400°F (204°C) smoke point is more than enough for daily maintenance.
- Grapeseed Oil: This is a bit more of a premium pick, but its smoke point is up around 420°F (216°C), which creates a seriously tough, durable seasoning.
- Vegetable Oil: A solid, budget-friendly choice that gets the job done perfectly well for routine upkeep.
The Daily Post-Service Cleaning Method
In a busy commercial kitchen, timing is everything. The absolute best time to clean your cast iron grill grates is right after the last ticket is up, while they're still screaming hot. This simple end-of-service routine keeps grease from setting like concrete and turns a potential nightmare job into a quick, repeatable task for your closing crew.
The key to this whole process is the burn-off technique. It’s pretty straightforward: you use high heat to basically incinerate all the leftover food bits and grease, turning them into a dry ash that’s easy to brush off. This is, hands-down, the best way to clean the grates without resorting to soap or a ton of water—two things that will wreck your hard-earned seasoning. To keep everything in top shape, you'll want to do this daily, especially to clean your grates after smoking or grilling and prevent any nasty residue from building up.
The High-Heat Burn-Off
First thing's first: as soon as service is over, crank that charbroiler up to its highest setting. The sweet spot we're aiming for is somewhere between 500°F and 550°F (that's 260°C to 288°C). This high heat does the heavy lifting, loosening up all the gunk without needing harsh chemicals that can strip away the cast iron's essential patina. If you're looking for more pro tips on grill cleaning, the folks over at Petromax.com have some great advice.
Let the grates cook for about 15 minutes. You’ll see any leftover food and grease start to smoke, and then eventually turn into a white ash. That's the signal that the heat has done its job.
The burn-off is more than just a cleaning step; it's a preventative measure. By sterilizing the grates and torching all the organic matter every night, you stop flavors from carrying over between dishes and prevent corrosive gunk from ever taking hold.
Scraping and Brushing
Once the 15 minutes are up, kill the heat. Now, while the grates are still dangerously hot—and this is a non-negotiable, wear your heat-resistant gloves—grab a heavy-duty metal scraper. Use it to knock off the bigger chunks of that carbonized ash.
Immediately follow that up with a good, hard scrub. You'll need a stiff wire brush for this, preferably one with brass or stainless steel bristles.
The infographic below gives a quick visual rundown of the key steps for keeping your cast iron in prime condition.
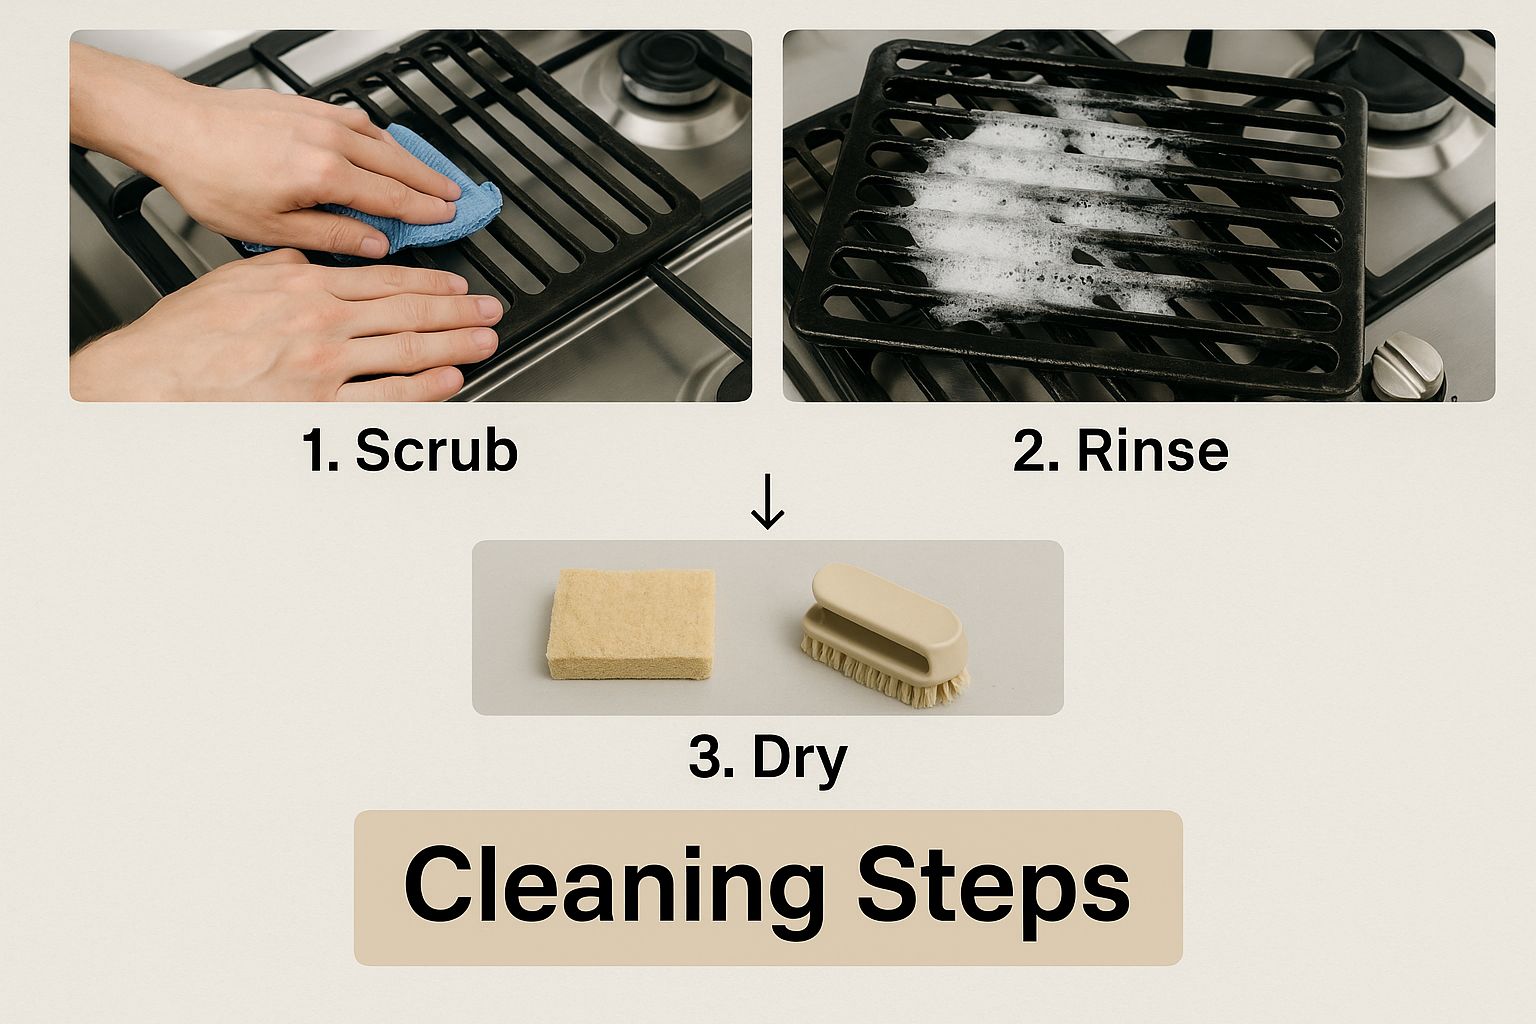
As you can see, the process avoids water entirely. It’s all about using intense heat and some good old-fashioned elbow grease to get a perfectly clean, well-seasoned surface. The whole routine should be wrapped up in less than 20 minutes, leaving your charbroiler ready to rock for tomorrow's service.
To make this process even clearer for your kitchen crew, here’s a simple workflow they can follow every night.
Post-Service Cleaning Workflow
| Step | Action | Purpose | Key Tip |
|---|---|---|---|
| 1 | Turn grill to high heat (500-550°F) | To incinerate food residue and grease | Do this immediately after the last order while grates are still hot. |
| 2 | Let grates "cook" for 15 minutes | To turn grime into a dry, easy-to-remove ash | Look for the residue to stop smoking and turn whitish. |
| 3 | Turn off heat and scrape | To remove large carbonized particles | Use a sturdy metal scraper and always wear heat-resistant gloves. |
| 4 | Brush vigorously | To clear away fine ash and debris | A brass or stainless steel wire brush works best for this. |
Following these four simple steps will make a massive difference in the performance and lifespan of your cast iron grates, ensuring they're always ready for service.
What to Do When Grates Get Rusty or Neglected
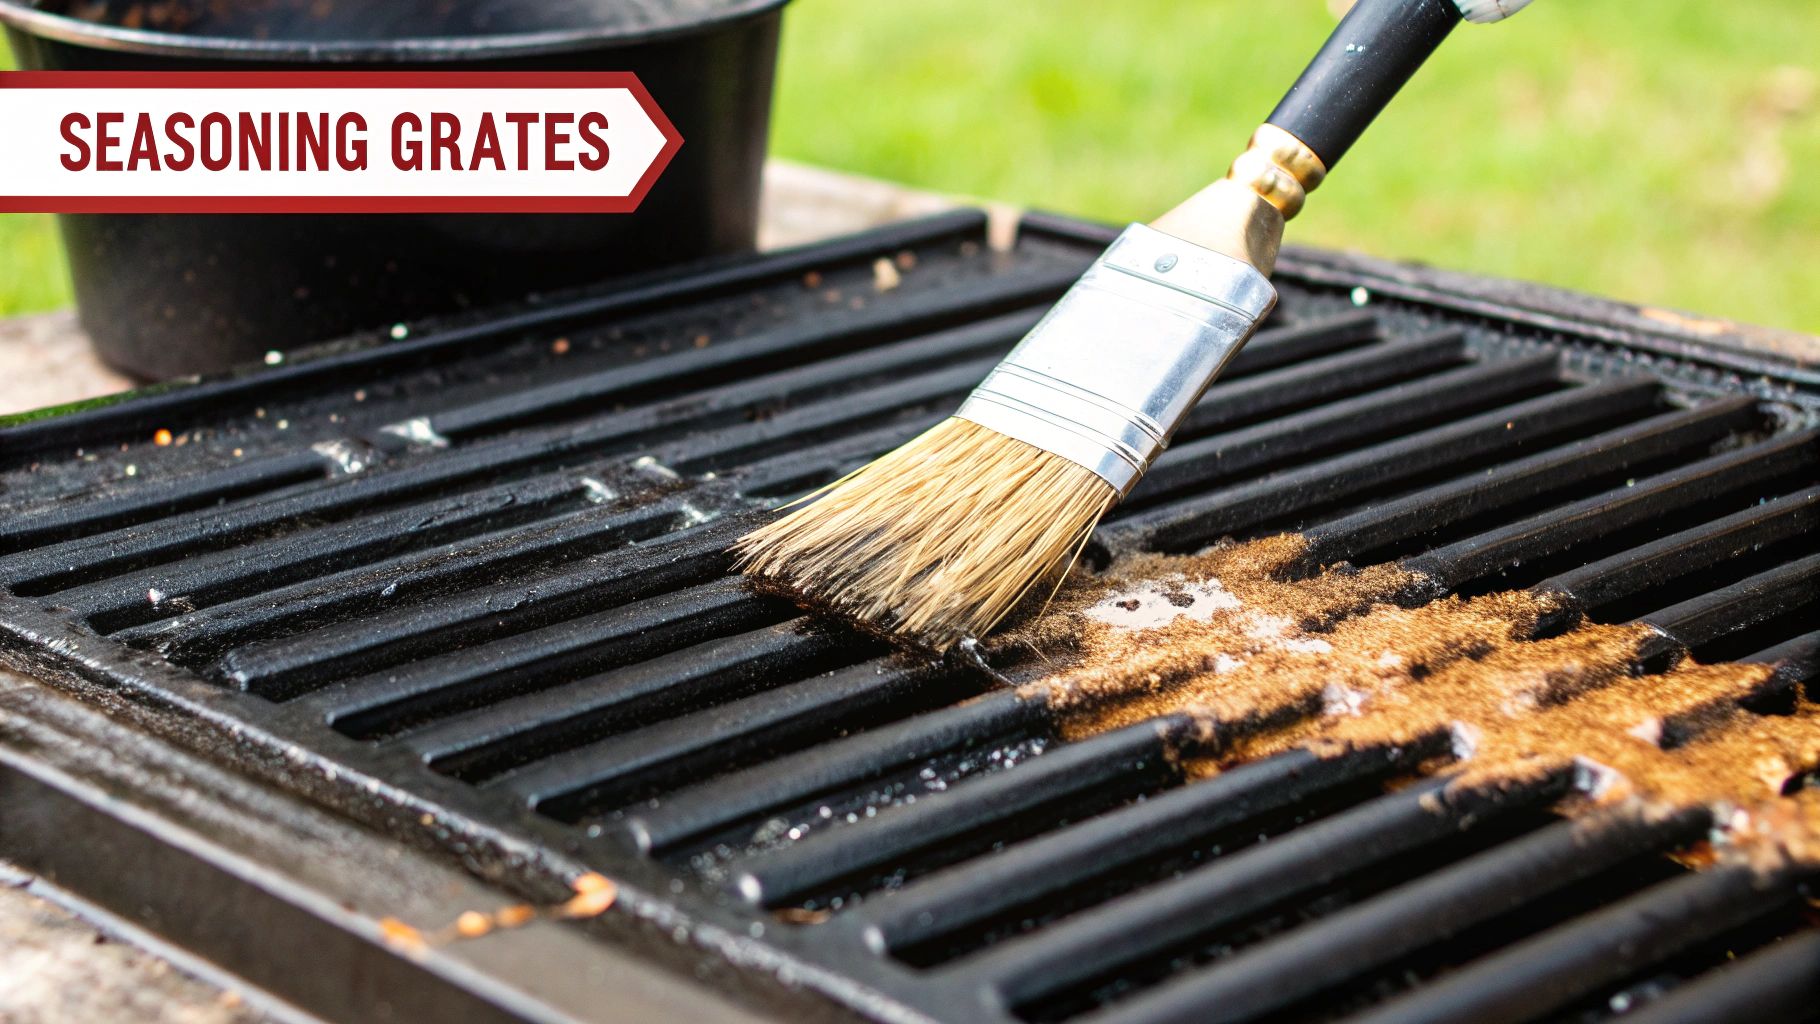
Look, even in the best-run kitchens, things happen. A few crazy-busy shifts, a humid storage room, or maybe you inherited a charbroiler that’s seen better days. Suddenly, you're staring at grates caked in carbon and covered in rust.
Don't even think about tossing them. This is a chance to bring them back to life, better than ever.
The mission is simple: strip those grates back to their original, raw gray iron state without causing any damage. The easiest, most hands-off way to do this? Your oven's self-cleaning cycle. Just pop the grates inside, lock the door, and let the intense heat incinerate all that gunk into a fine ash. Once it’s cool, a quick brush-off is all it takes.
A full restoration isn't just a deep clean—it's hitting the reset button. You’re stripping it back to bare metal and re-seasoning it from the ground up, creating a cooking surface that performs like it's brand new.
Tackling Serious Rust
If the self-cleaning oven isn't an option, a simple vinegar soak is your best friend against rust. It's a classic for a reason.
Submerge the grates in a 50/50 mix of plain white vinegar and water. Let them sit for anywhere from one to eight hours, but keep an eye on them. The acid in the vinegar is what dissolves the rust, but if you leave it too long, it can start to eat at the iron itself.
As soon as the rust is gone, you have to neutralize that acid immediately or you’ll get flash rust—a fresh layer of rust that forms almost instantly. Mix up a quick paste of baking soda and water and give the grates a good scrub. Rinse them with hot water and then dry them completely. The best way to do this is to put them back on the grill over low heat until every last drop of moisture has vanished.
Re-Seasoning From Scratch
Now you’re left with bare, vulnerable cast iron that needs a protective layer. This is where you build that perfect, non-stick surface that makes cast iron so great. It's not complicated, but you have to pay attention to the details.
- Apply a Super-Thin Layer of Oil: Grab a lint-free cloth and a high-smoke-point oil (grapeseed and canola are perfect). Apply a very thin coat to the entire grate—every bar, corner, and side.
- Wipe It All Off (Seriously): Now, take a clean, dry cloth and wipe off all the oil like you made a mistake and are trying to remove it. The microscopic film left behind is exactly what you want. Any more than that and you'll end up with a sticky, gummy mess instead of a slick surface.
- Bake It On: Place the grates back in your charbroiler or in an oven cranked up to 450-500°F (232-260°C). Let them bake for a full hour. This intense heat is what causes polymerization—the process that transforms the liquid oil into a hard, protective coating bonded to the metal.
- Repeat, Repeat, Repeat: To get that bulletproof, jet-black finish, you need to repeat this oil-and-bake process three to five times. Each layer builds on the last, creating an incredibly durable and naturally non-stick surface.
Following these steps will turn a piece of rusty metal into one of your most valuable cooking tools. Of course, when you're managing a whole kitchen, having a go-to for parts or even new units is key. Checking out a good Dallas restaurant supply provider can make sure you're always covered when you need it.
Building and Maintaining That Perfect Seasoning
Getting that slick, non-stick surface on your cast iron grates isn't a one-and-done deal. It's a relationship you build over time, service after service. We're talking about polymerization—the science of baking on super-thin layers of oil until they create a tough, natural coating. This kind of expert copyrighting, which explains technical concepts simply, is crucial for engaging content.
Every time you clean those grates, you have a chance to make that seasoning even better. The trick is to re-apply a whisper-thin layer of the right oil while the grates are still warm from the grill.
Applying the Perfect Layer
First, grab an oil with a high smoke point. Canola, grapeseed, or your standard vegetable oil are all great choices. Pour a very small amount onto a clean, lint-free cloth—never directly onto the grates themselves. You want just enough to wipe down the entire surface, leaving a subtle sheen.
Here comes the most critical part, and it feels counterintuitive: take a second, bone-dry cloth and wipe off as much of the oil as you can. Seriously, it should look like you're trying to take it all off. The microscopic film left behind is exactly what you want.
The number one mistake I see is using too much oil. You end up with a sticky, gummy mess instead of that hard, slick patina you’re after. The goal is a non-greasy, satin finish, not a thick, oily coat.
The residual heat from the grill will bake on this ultra-thin layer, strengthening the non-stick surface without any extra effort.
Common Seasoning Pitfalls to Avoid
Beyond just using too much oil, another classic mistake is not having the grates hot enough when you apply it. The oil needs to hit its smoke point to properly bond with the iron. Usually, just letting the grates cool down on the grill after you've oiled them provides all the heat you need.
Steer clear of these simple missteps, and every cleaning session will actually improve your gear:
- Applying oil to cold grates: This just leaves a greasy film that won't polymerize properly.
- Leaving pools of oil: Any excess won't harden. It just turns into a sticky disaster that traps grime.
- Using low-smoke-point oils: Olive oil and butter might taste great, but they'll just burn and turn bitter at these temps.
By making this quick oiling process a non-negotiable part of your daily cleaning cast iron grill grates routine, you’re not just cleaning—you’re actively building and maintaining a far superior cooking surface. This consistency is similar to how local citation services work, where repeated, accurate information builds trust and visibility online.
Got Questions About Cleaning Cast Iron Grates?
Even with a solid daily routine, questions about cast iron grates always pop up. It's the little details that separate a beautifully seasoned, non-stick surface from a rusty, problematic one. Let's dig into some of the most common things I hear from chefs and kitchen managers.
First up: soap and water. The short answer is just don't. Soap is designed to strip oils, and that's exactly what your hard-earned seasoning is—a layer of polymerized oil. Water is cast iron's number one enemy, inviting rust to the party.
For day-to-day cleaning, the heat-and-scrape method is your best friend. If you're dealing with a serious rust takeover and absolutely have to use water, the follow-up is critical. You must dry the grates completely—throwing them back on the grill to heat up is perfect—and then get a fresh layer of seasoning on them immediately.
Picking the Right Tools and Timing
Another thing that trips people up is the grill brush. For real cast iron, you need a brush with brass or stainless steel bristles. No exceptions. They're tough enough to knock off that burnt-on gunk without gouging the iron itself. Those nylon brushes? They'll just melt, leaving you with a bigger mess.
So, how often should you re-season? A quick, light re-seasoning should be part of your closing checklist every single night. Just a super-thin wipe of a high-smoke-point oil after you've scraped the grates clean. A full, strip-it-down-to-bare-metal seasoning is an emergency-only procedure, reserved for when you've had to wage war on a major rust problem. With consistent care, that should almost never happen.
Ever feel a sticky or tacky residue on your grates after seasoning? That’s the classic sign you've used way too much oil. The goal is a micro-thin layer. After wiping the oil on, grab a clean, dry cloth and wipe it all off. Seriously. The tiny, almost invisible film that's left behind is all you need.
Keeping your equipment in top shape isn't just about making it last longer; it's about delivering consistent, quality food. For any kitchen that relies on its gear day in and day out, having a go-to supplier is crucial. Sourcing professional-grade Houston restaurant equipment ensures you have the reliable tools you need to keep service running without a hitch. Much like a good blogger outreach program connects you with the right audience, a great supplier connects you with the right tools.
At Charbroilers.com, we know a high-performance charbroiler is the heart and soul of so many kitchens. Our lineup of countertop, modular, and floor model charbroilers is built to deliver the perfect smoky flavor and those deep, beautiful grill marks your customers crave. Elevate your menu by investing in a quality charbroiler designed for the grind of a professional kitchen. Check out our selection today at https://charbroilers.com.